0 likes
17 uses
Design conversational AI experiences with AI chatbot templates from Miro. Plan flows, prompts, and chat UX with collaborative wireframes.
7 templates
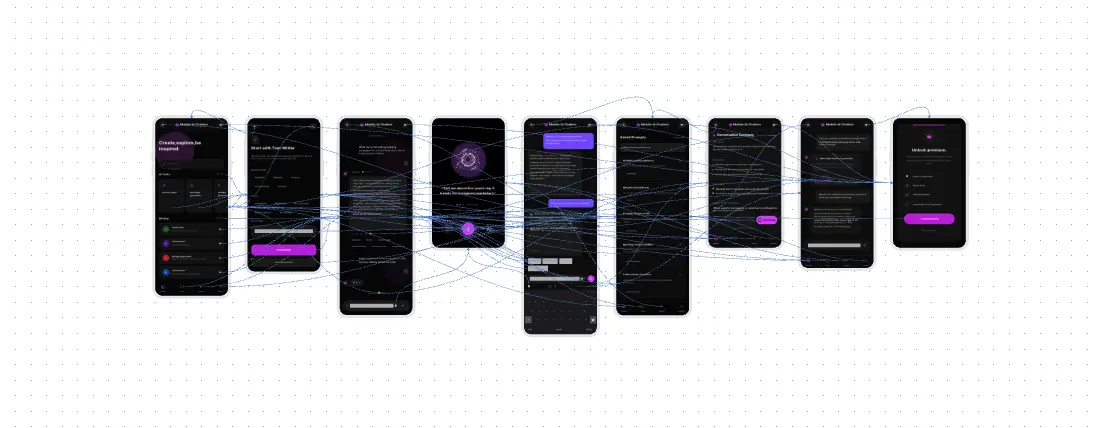
An AI Chatbot Prototyping and Design template is an interactive conversation canvas and UI playground designed for UX/UI designers, product managers, and conversation designers. Unlike traditional static wireframes, designing an AI agent requires mapping conversational flow charts right alongside actual interface layouts. By utilizing a standardized Miro template, product squads can design responsive user interfaces (UIs), wireframe chat windows, simulate model response states, and map chat-bubble progressions synchronously before handoff to high-fidelity prototyping tools or front-end developers.
An actionable prototyping workspace provides a full kit of interface elements, layout wrappers, and state indicators built to simulate real-world app or web environments. Every high-performance Miro chatbot design board contains these five core elements:
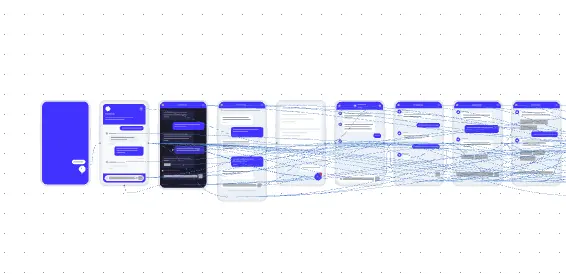
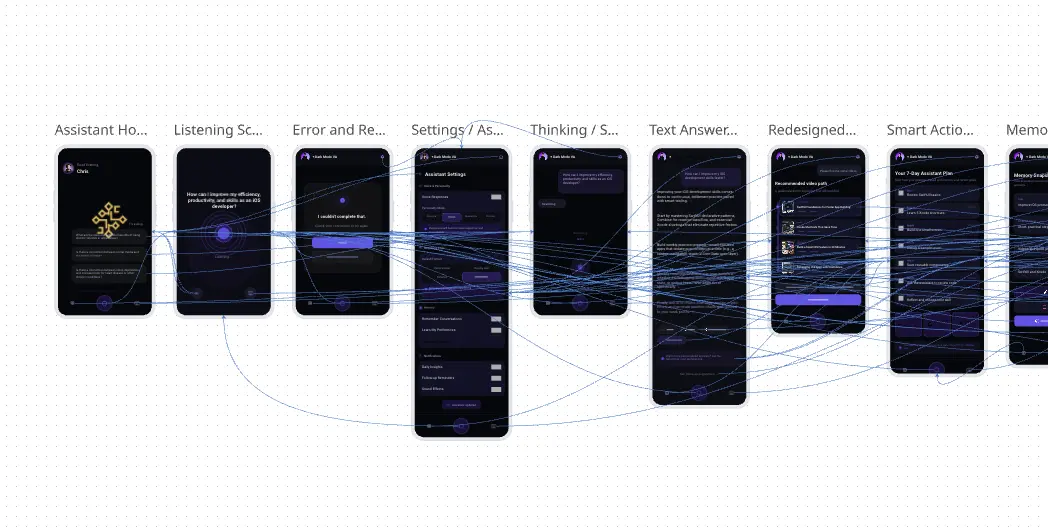
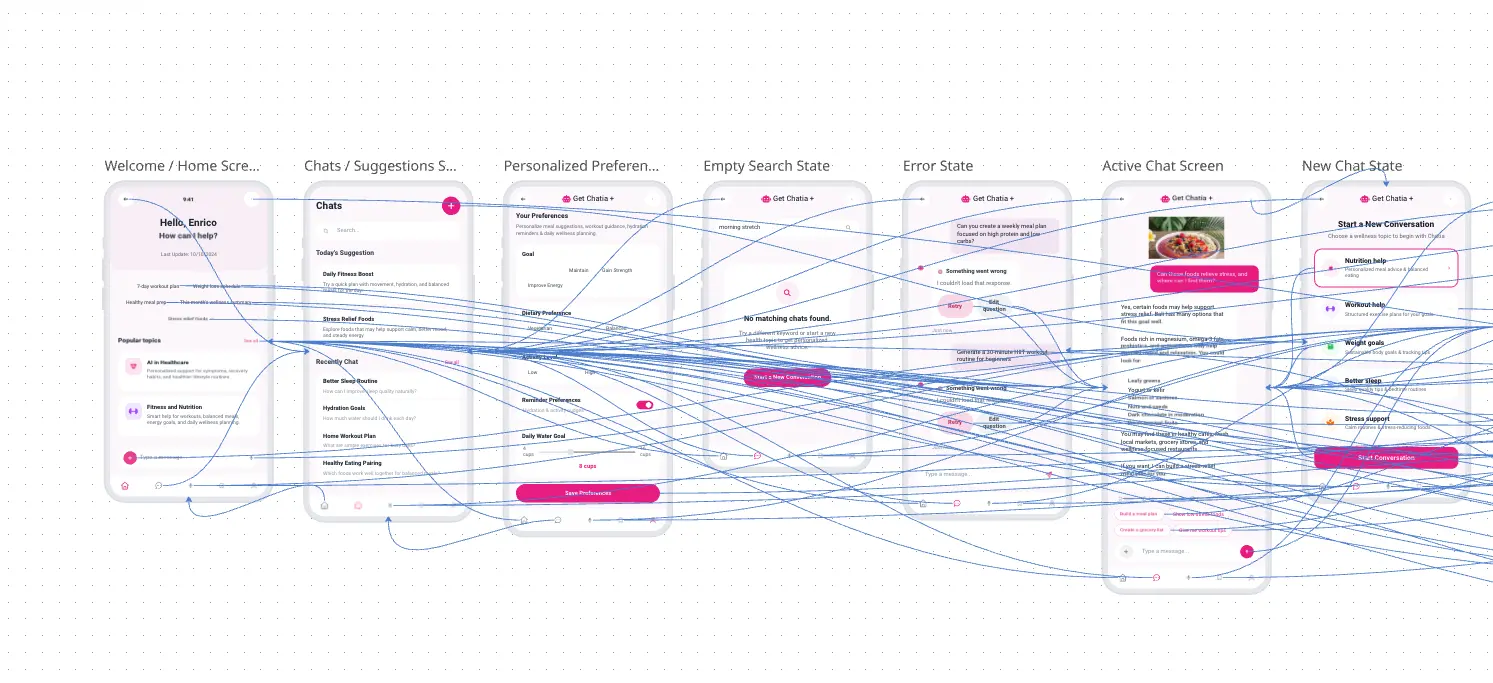
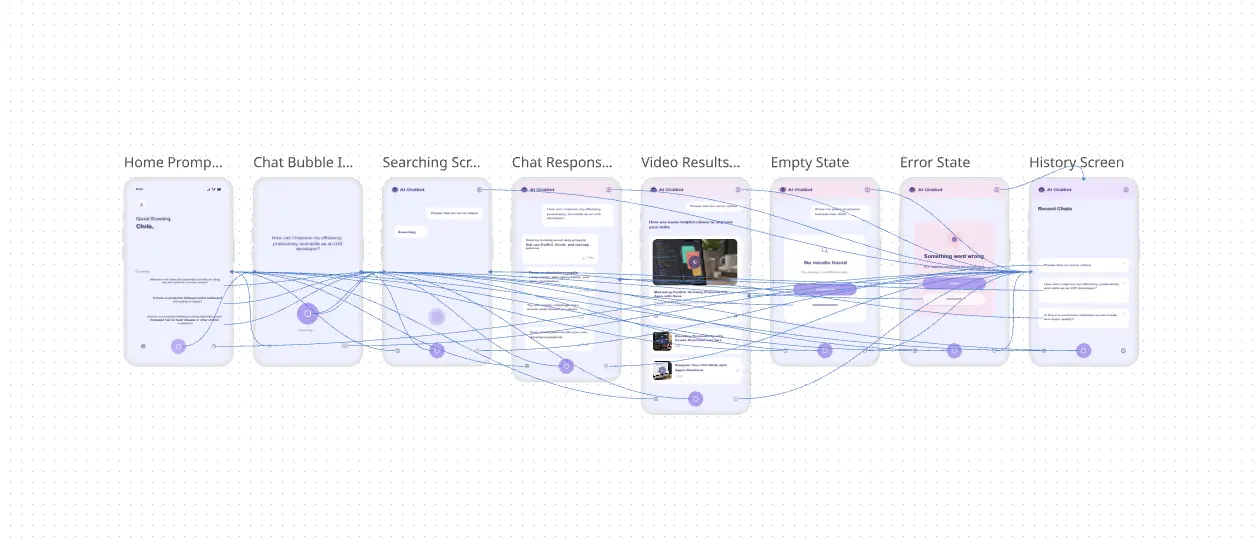
The Viewport Frame Grid: A spacious layout of desktop and mobile browser/app wrappers where teams arrange consecutive message screen sequences side-by-side.
The Chat Element Component Kit: A drag-and-drop repository of responsive conversation blocks, including:
User Chat Bubbles: Right-aligned UI containers for human inputs.
Bot Chat Bubbles: Left-aligned UI containers for system returns, complete with brand avatar placeholders.
System Message Blocks: Centered, borderless text lines indicating system events (e.g., "John from Support has joined the chat").
Interactive UI Rich-Cards: Reusable UI components for rich-media returns, such as horizontal product carousels, selectable booking calendars, multi-option radio buttons, and file upload modules.
The Chat Input State Matrix: A dedicated design shelf displaying alternative states for the primary text entry area (e.g., Active Input, Disabled/Loading State, Quick-Reply Button Mode, Voice/Mic Recording Mode).
Gesture & Flow Connectors: Color-coded, labeled connector lines that map component interactions on Screen A straight to the corresponding responsive UI transformation on Screen B.
1. Define Your Viewport and Device Constraints Open your AI Chatbot template in Miro. Before pulling chat bubbles onto the canvas, define your design guardrails inside the configuration metadata block (e.g., “Mobile iOS App Widget, 375px viewport width, Dark Mode UI option”). Lock this reference module to ensure all subsequent UI element blocks maintain perfect size proportions. You can also use Miro AI to create your own AI Chatbot prototype or change the existing template based on your needs!
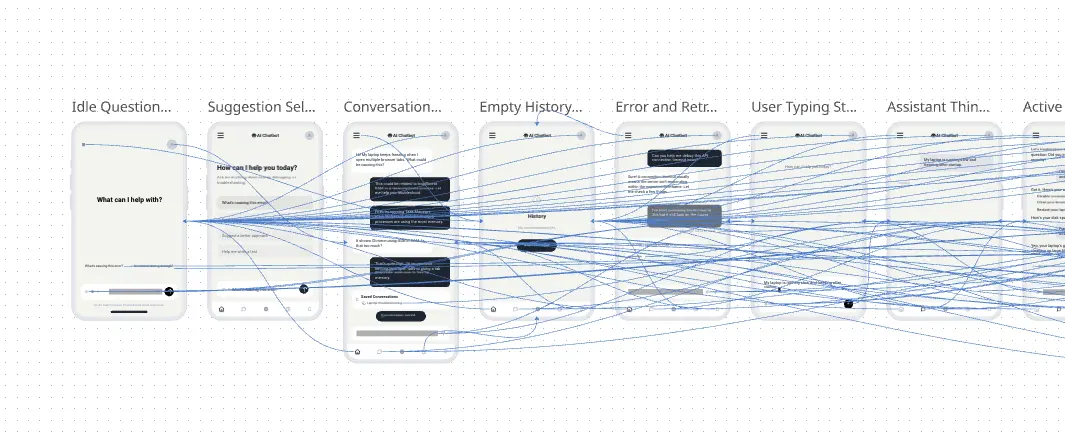
2. Wireframe the Baseline Conversational States Arrange three identical viewport frames side-by-side on the board. Use the Chat Element Component Kit to lay out the progressive structural phases:
Frame 1: The Empty/Greeting State showing the initial bot intro bubble and quick-reply suggestion chips.
Frame 2: The Processing State showing a user message bubble paired with a pulsing "typing indicator" animation placeholder.
Frame 3: The Response State displaying the returning bot text container.
3. Inject Rich Media UI Patterns Navigate to the mid-conversation screen frames. Where your agent returns high-fidelity data (like product links, flight choices, or metrics charts), drag and drop Interactive UI Rich-Cards directly into the left-aligned bot lane. Ensure buttons, image boxes, and link boundaries are clearly defined with thin layout borders.
4. Conduct a Blind UI "Usability Walkthrough" Gather your UI designers, product managers, and developers on the Miro board. Have the facilitator zoom into Frame 1 in full-screen presenter mode. Move frame-by-frame along the connector lines, asking the engineers to audit the interface elements: "Are these carousel cards utilizing native components? Do we have enough screen padding for mobile thumbs?" Mark design changes with neon digital notes.
5. Freeze and Export to Development Hand-off Once the interface structures, screen sequences, rich content patterns, and state changes are fully aligned across your product and engineering stakeholders, lock all structural canvas elements. Export the completed frame layout as a high-resolution PDF schematic or share the active Miro board link directly with your UI/UX design tool of choice or front-end engineering sprints.