About the Spider Diagram Template
Discover an intuitive way to organize, visualize, and brainstorm your ideas using Miro's spider diagram template. This valuable tool provides a clear layout for mapping out concepts or events and their associated elements in a digestible format. Not only does it streamline the process of idea organization, it also facilitates real time collaboration and interaction, making it perfect for individual ideation and team brainstorming sessions.
What's a spider diagram template?
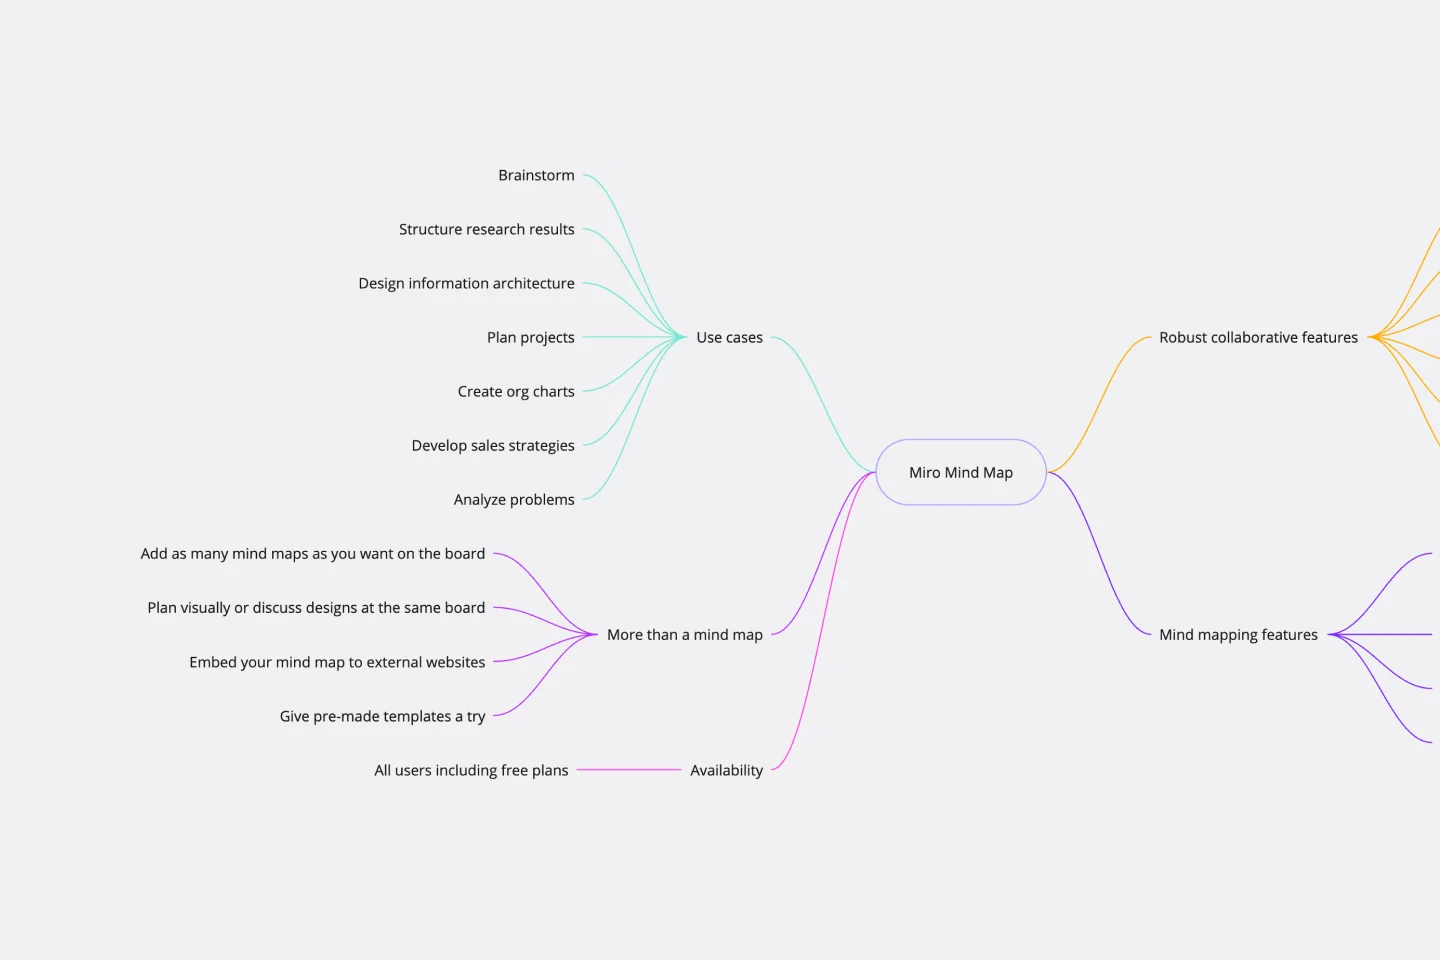
A spider diagram template, also known as a spidergram or a mind map, is a visual tool used to represent ideas, tasks, or other elements linked to and arranged around a central concept or theme. The main idea sits at the center of the diagram, with 'legs' branching out to display related topics or subtopics. This design allows users to understand the relationships between different points and how they all tie back to the central theme.
How to use the spider diagram template in Miro
Using the spider diagram template in Miro is a straightforward process supported by the platform's automated diagramming features. Let's explore this process more thoroughly:
1. Selecting the template
Start by opening a new Miro board.
Click on the Template Library icon in the left toolbar.
Search for the 'Spider Diagram Template' and select it to open on your new board.
2. Setting up your diagram
Identify your central node, representing the main concept or question you're exploring.
Click on the central node and enter your main idea.
3. Creating and labeling branches
Start creating branches from the central node that represent related ideas or subtopics.
To create a branch, click on the central node, drag, and create a new connected node.
Click on this newly created node and enter your subtopic.
Repeat this process for all related subtopics or ideas.
4. Using automated suggestions
Miro's AI-driven features can suggest related concepts, making brainstorming more effortless and robust. Find the AI feature in the context menu bar.
5. Customizing your spider diagram
Miro offers many customization options:
Colors: Differentiate your ideas using various colors for each node or branch.
Text: Enhance your nodes with detailed descriptions or bullet points.
Attachments: Provide more context by adding files, images, or hyperlinks to your nodes.
6. Inviting your team
Click the 'Share' button to invite team members to your board.
Team members can join the board and add their inputs, facilitating real time collaboration.
7. Saving and sharing
Once your Spider Diagram is complete, save it for future reference. Miro also allows you to share your completed diagram with non-Miro users via a link or export it as an image or PDF.
By following these steps, you can effectively use Miro's Spider Diagram tools, promoting clear visualization of ideas and facilitating efficient brainstorming sessions.