112 likes
1.2K uses
How can we best structure and leverage our Miro boards to support truly engaging workshops? Rather than just loosely stringing together a series of neat ideas & activities, if we step back & more closely examine: how we move, how we share, how we gather, & how we interact, it helps us to see more possibilities for fueling learner engagement.
Our goal is to consciously shape our spaces and patterns of interaction to create deeper conversations that go beyond Zoom fatigue, and with its rich embedding/customization features, Miro gives us a great shot of doing just that. Let's dive in, shall we?
Free-range: Learners can move anywhere on the board they want. Find a spot (either alone or with a breakout group) stake your claim, and begin doing…something (brainstorming, ideating, answering questions, etc.). This is far less chaotic than it might seem and gives a great sense of learner ownership of the space.
Guided: By far the most common way to move people around the board, arrows, or other markers that lead people from spot to spot along a suggested guided path— a well-lit nature trail through the wilderness of the workshop. I'm not opposed to guided routes, but find that it does tend to keep people, well, on the trail.
Teleport: My personal favorite method, which I learned from Isman, is to create hyperlinks between spots on the board— similar to warping from one area to another in a video game. I like this as it allows fast access to various regions, while at the same time giving a greater sense of freedom of movement.
Nested (Matroyska): Underutilized, but super-useful, Miro allows you to nest sub-concepts inside of other concepts so that by zooming in we can jump to that smaller topic and explore it. Some facilitators are having Prezi flashbacks I imagine at the note of this method of movement.
Not listed, but worth pointing out— as the facilitator you can also use the “bring everyone to me” function to gather learners to your screen view. This is great for moving from one section to the next but should be used sparingly (IMHO) as it removes learner control of their own agency.
In terms of how we sequence the moves over time, it is well worth taking a deeper dive into workshop structuring beyond what we want to cover in the taxonomy itself. A few of my favorites for a primer would be:
What do we make visible and when, what is public and what is private space in the virtual session helps to sequence the flow of information and connection.
Reflection survey (learner to facilitator): If I want to survey/poll a learner I can set it up so that an embedded Typeform/Mentimeter, etc. goes to me. This is also great for monitoring and summarizing when learners are in breakouts on the Miro board. For example, they have separated into groups to present to a partner. I can use an embedded form to gather that feedback so I can spot individual groups that need more help as well as being able to aggregate the results across breakout rooms for feedback and trend spotting, all without intruding on their groups.
Reflect then share: Too often we rush from activity to activity. Giving learners a piece to absorb and reflect on (potentially with recording some of their reflections either privately or collaboratively on the board), before getting them to discuss in a group is a powerful way to change up the pace. My personal favorite tool to embed? H5P files. They all embed very cleanly and add a ton of power to your possible interactions. Take a look at these demos.
Hidden group share: Let's say I want a few groups to prepare ideas where others could not see them easily. I could just teleport each group to a far-flung corner of the board (most people will not cheat and go look), or I could also embed a collaborative Etherpad for them to take notes on that others cannot see. Fun fact: using an iFrame Generator I can also embed multiple Miro boards inside a Miro board. Or if I am missing Christopher Nolan's Inception, you could even embed the same Miro board, inside that Miro board. Things get weird, but it still works. Another option if you want to totally get off Zoom is to even embed Jitsi rooms in a Miro board to allow actual video rooms to be part of the board. To get to another room the have to physically move to it on the board :)
Visible group share: The most popular way to share, any time I want individuals or groups to have their work be visible to all others as they create. This is great for creating collective class energy with the ""peekaboo"" effect by which people look and see what other groups are working on and get inspired by them.
The majority of these could be seen as a subset of visible collaborative/group work — basically, where are we getting information/content from, and how are we organizing it.
Frameworks: If you have not checked out the Miroverse (or at the very least the built-in Miro templates in the tool menu), emphatically do. Frameworks are a way of creating an organizing principle into which group ideas can be poured, with something like SWOT diagram being on the simple end and others like our story framework pictured in the template or a Business Model Canvas being a more complex structure. In all cases, the goal is to structure a conversation in a meaningful way, to give people permission to think beyond the basics by giving prompts to open the mind.
Moving/sorting board objects: Whether super organized using Miro’s built-in Kanban board feature or more akin to the movement of analog objects , there is something powerful about shaping conversations with objects on the board.
Voting: While voting can be done using dot voting and other means, I’d be remiss not to include the powerful voting features built into Miro that allow for ideas to rise to the top.
Bring to the board (external to internal): Oft overlooked, the ability to have learners go get things in the real world (and take pictures of them), or from other websites (music, videos, etc.), their desktop (pictures, slides, PDFs, estc.), and bring them onto the board for further discussion enables us to cast our reach beyond the confines of the Zoom window and the board, creating a richer sense of redefining the boundaries of the learning environment. Feeling fancy? Miro even has a Stickies Capture app that helps bring hand-written stickies onto the board.
Free vs. structured: Basically, are we just having open free-wheeling conversations, or are we having highly structured dialogues. Both have their place.
Simultaneous vs. Sequential: Are learners working on something all at the same time, or are they taking turns in sequence to build and share?
Static vs. Rotational: Do we learners either spend the time in a breakout group or plenary (static), or do they rotate from breakout to breakout seeing what others have done/created (rotational)? Leveraging rotational groups to turn learners into teachers is in my mind one of the most powerful tools for content ownership and deepening conversations.
Size & Duration: How big are the breakout groups (or overall session), and how long do we give for each activity? Do we time box with the built-in Miro board timer? Things often take longer virtually to get going, but we also do want to keep a sense of momentum.
Knowmium
Exploring Collaborative Conversation Architecture
Conversations matter. At Knowmium, we study the "how" of deeper talk— unpacking fossilized speech patterns and crafting new habits that build trust and collaboratively solve problems.
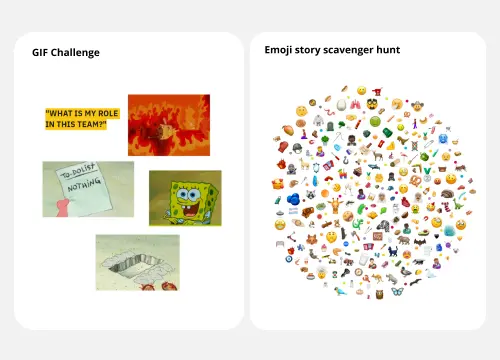
Workshop and Meeting Energizers
Begin every online session by engaging people right away with workshops and meeting energizers.
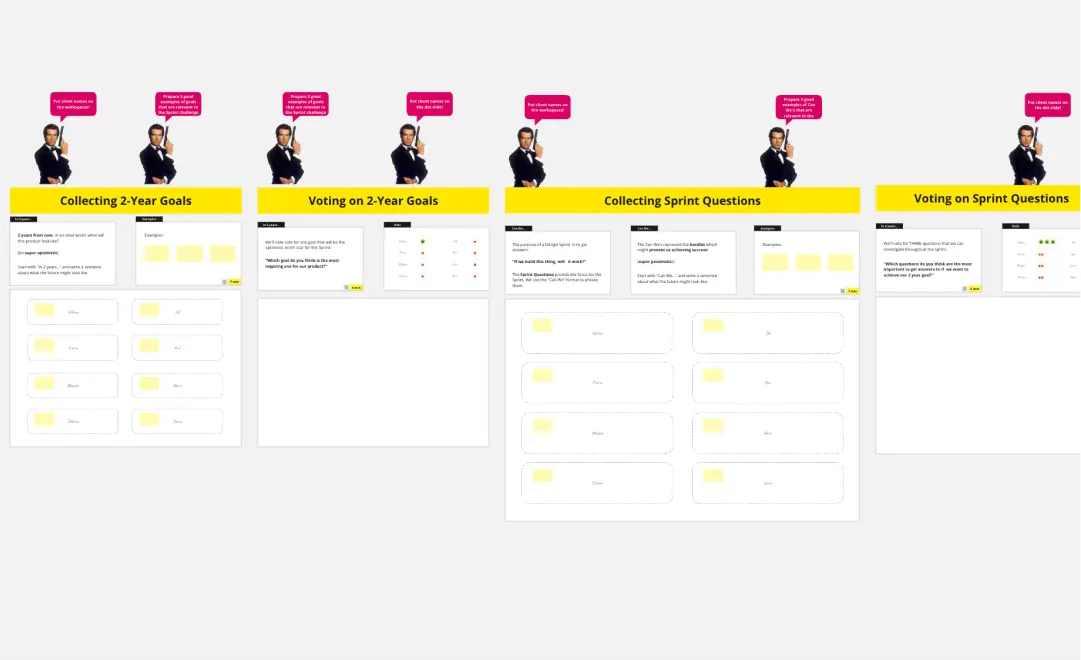
AJ&Smart's Remote Design Sprint
Solve big challenges, create new products or improve existing ones with this Design Sprint Template. Build better products with innovative and faster processes.
Workshop and Meeting Energizers
Begin every online session by engaging people right away with workshops and meeting energizers.
AJ&Smart's Remote Design Sprint
Solve big challenges, create new products or improve existing ones with this Design Sprint Template. Build better products with innovative and faster processes.