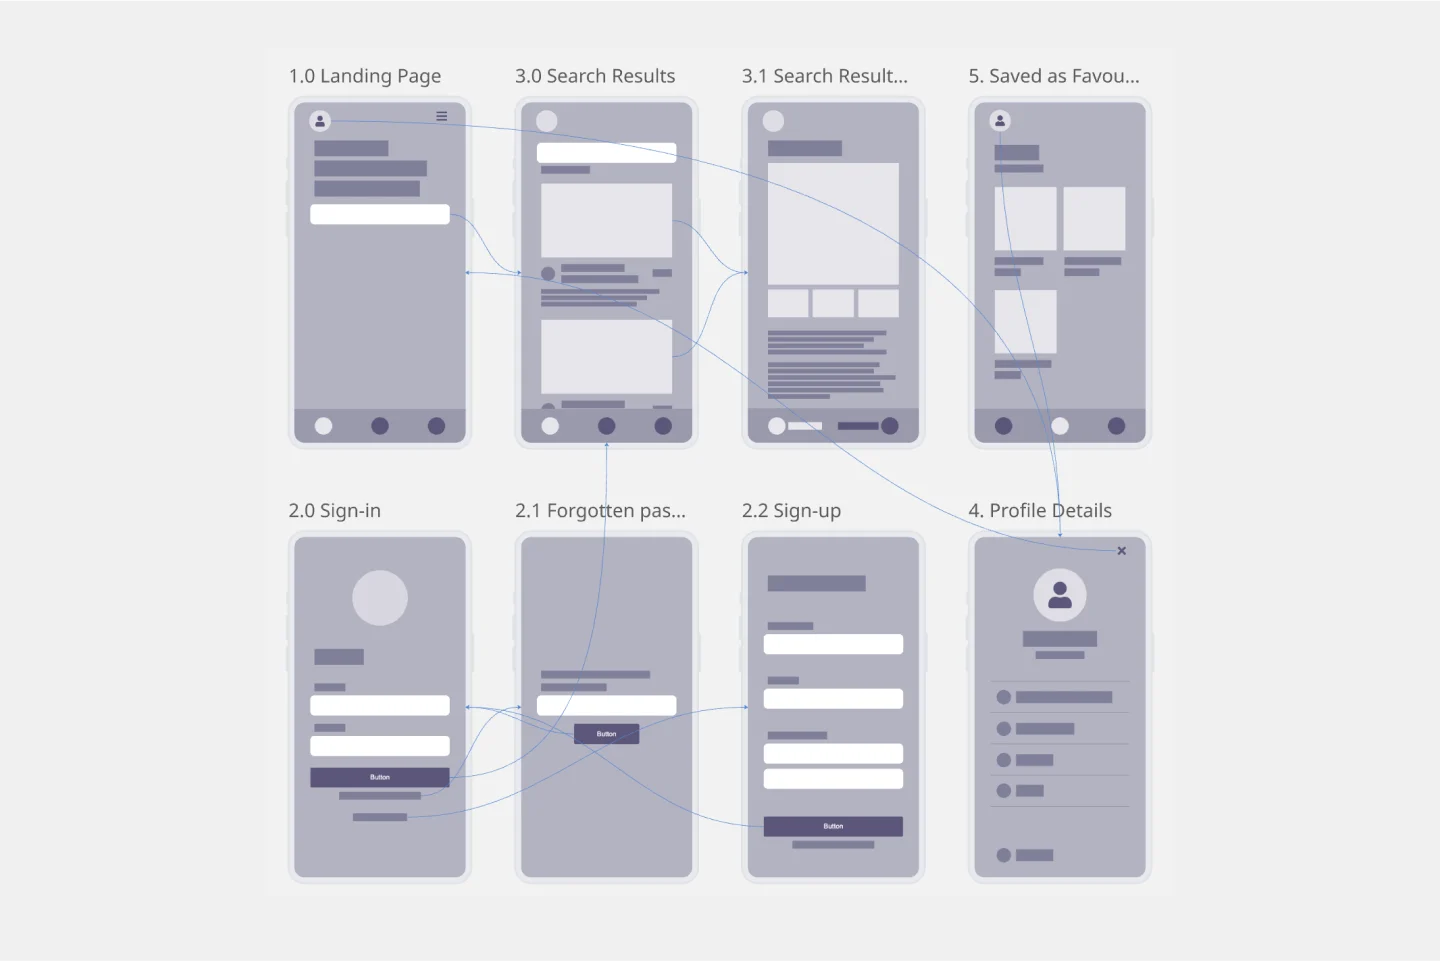
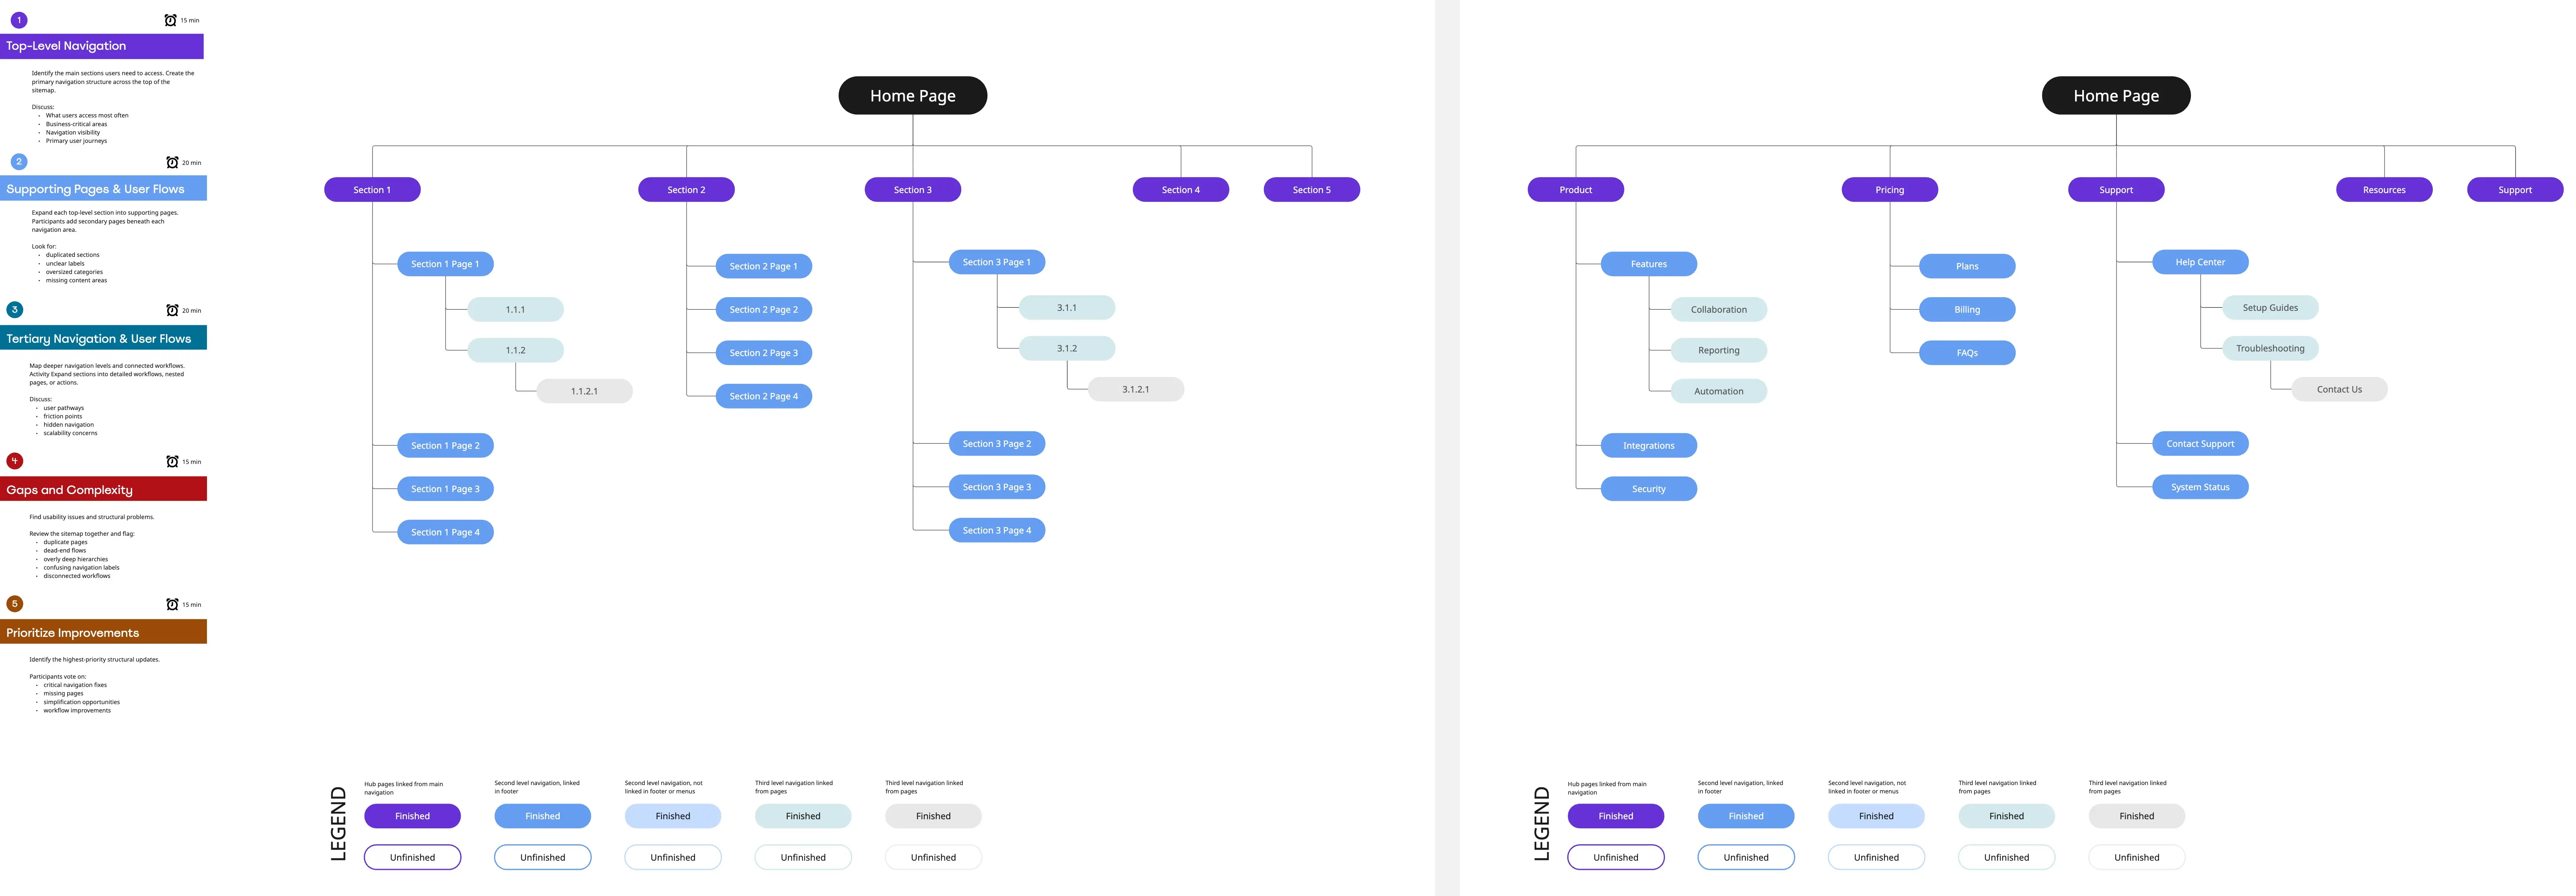
Turn a product idea into a simple, testable screen prototype in just 30 minutes.
About This Template
How quickly can your team turn a product idea into a screen that users can understand?
The One-Screen Prototype Sprint helps product teams explore different screen layouts, compare design approaches, and create a low-fidelity prototype before investing in detailed UI design or development.
I designed this Miro workshop for startup founders, product managers, UI/UX designers, and developers who want to turn ideas into visual concepts quickly. Using editable wireframes, sticky notes, and collaborative feedback, teams can test ideas, identify usability concerns, and agree on a design direction.
Duration: 30 minutes
Format: Individual or collaborative, virtual or in person
Best For: Product discovery, UI/UX design, feature planning, and early-stage prototyping
How to Use This Template
Choose one product feature or user task to prototype. Use the provided Miro frames, wireframing components, and sticky notes to complete the exercise.
Step 1: Define the User Task (5 minutes)
Miro Tools: Sticky Notes and Text
Write the primary user task on a yellow sticky note. Add a green sticky note defining what successful completion looks like.
Keep the focus on one clear user goal.
Step 2: Create Two Screen Concepts (10 minutes)
Miro Tools: Wireframing Library, Shapes, and UI Components
Use the two blank screens to create different layout concepts for the same task.
Experiment with the placement of headings, buttons, navigation, and content. Focus on structure and usability rather than visual styling.
Step 3: Review and Select (5 minutes)
Miro Tools: Sticky Notes, Comments, and optional Voting
Compare both screen concepts.
Add green sticky notes for strengths and pink sticky notes for concerns. Discuss the differences and select the concept that best supports the user's task.
Step 4: Refine Your Prototype (10 minutes)
Miro Tools: Duplicate, Wireframing Library, and Comments
Duplicate the selected concept into the final prototype frame.
Apply the team's feedback and clarify the primary interaction. Ask someone unfamiliar with the design to identify where they would click first.
AI Tip: Ask AI to review your prototype for visual hierarchy, unclear actions, and usability concerns. Use its suggestions to guide further improvements.
What You'll Achieve
A completed, editable low-fidelity screen prototype that communicates a product idea and captures your team's design decisions.
Use the prototype to gather early user feedback, align stakeholders, and guide the next stage of product design.
Frequently Asked Questions
1. What is a low-fidelity prototype?
A low-fidelity prototype is a simple visual representation of a product interface. It focuses on layout, content, and functionality rather than detailed styling.
2. Do I need UI/UX design experience?
No. Miro's wireframing components make it easy to create basic screen layouts without advanced design skills.
3. Why create two screen concepts?
Exploring two approaches encourages teams to compare different solutions before selecting one direction.
4. Can I prototype mobile and desktop screens?
Yes. Miro supports wireframing for different screen sizes. Select the format that matches your product.
5. Do I need to make my prototype interactive?
No. A static, editable wireframe is sufficient for this workshop. You can add interactions later using supported Miro features or dedicated prototyping software.
6. Can I complete this workshop individually?
Yes. Create both concepts independently and invite colleagues to review them afterward.
7. Can AI help generate prototype ideas?
Yes. AI can suggest screen layouts, content hierarchy, and usability improvements. Use those suggestions as starting points for your Miro wireframes.
8. How do I choose which prototype is better?
Evaluate how clearly each concept communicates the user task, directs attention to the primary action, and supports successful task completion.
9. What should I do after completing the workshop?
Share the refined prototype with potential users or stakeholders, collect feedback, and identify changes before moving into detailed design.
Final Tip
Keep your prototype simple and focused on one user task. The goal is to explore ideas, learn from feedback, and find a promising direction before investing time in detailed design.