0likes
12uses
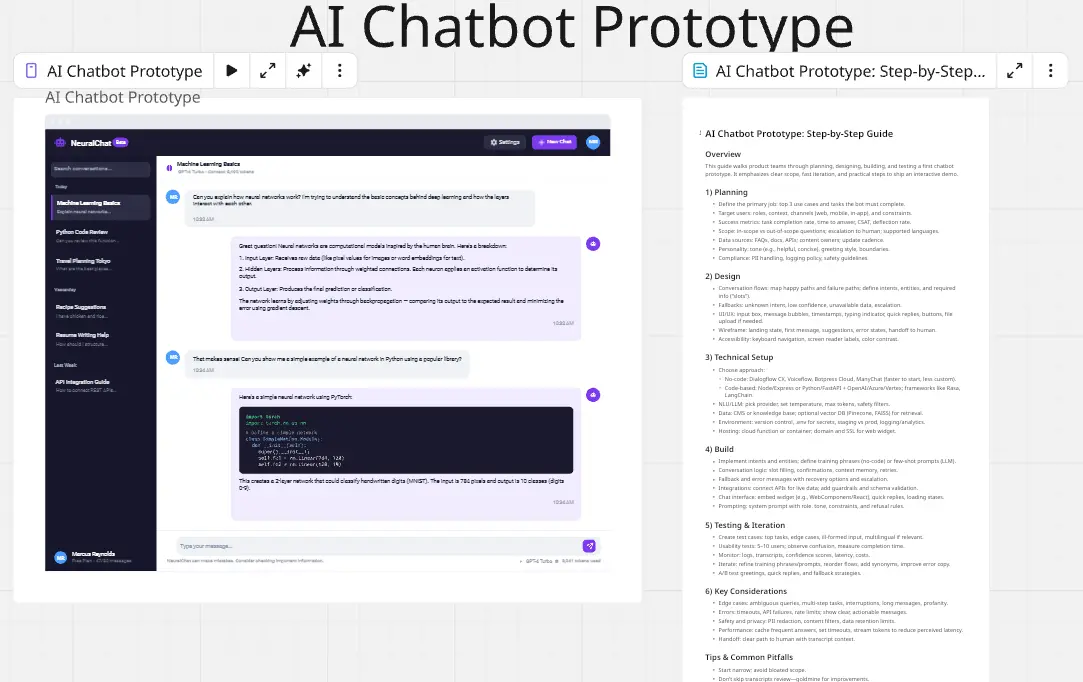
Identify AI chatbot risks, map safeguards, and improve customer trust in just 35 minutes.
Can your AI chatbot handle confusing questions, incorrect information, privacy concerns, and situations requiring human assistance?
The AI Chatbot Risk & Trust Spider Diagram Workshop helps product teams visualize potential chatbot failures and identify practical safeguards before they impact customers.
Using Miro's editable shapes, connection lines, and sticky notes, participants create a six-branch spider diagram to explore chatbot risks, connect them to solutions, and prioritize important scenarios for testing.
I designed this workshop for AI product managers, UX designers, customer-support leaders, QA testers, AI engineers, and startup teams building AI-powered customer experiences.
Duration: 35 minutes Format: Individual or collaborative, virtual or in person Best For: AI product design, chatbot evaluation, AI risk assessment, customer experience, and product development
Choose an existing or planned AI chatbot and one customer-support scenario. Use the central circle and six connected branches to build your spider diagram.
Miro Tools: Circle Shape and Text
Write the chatbot's primary responsibility inside the central circle.
Identify what the chatbot should accomplish and which actions require human approval.
Miro Tools: Rounded Rectangles and Connection Lines
Create six branches extending from the central circle:
Understanding Intent
Policy Accuracy
Data Privacy
Human Handoff
User Control
Monitoring
Add one potential failure beneath each branch using a pink shape.
Miro Tools: Rounded Rectangles, Text, and Connection Lines
Add a green safeguard shape under each risk.
Describe how the chatbot could prevent the problem, communicate limitations, or recover when something goes wrong.
Connect each safeguard to its corresponding risk, creating a clear visual relationship.
Miro Tools: Circle Shapes, Sticky Notes, and Comments
Review the completed spider diagram.
Place colored dots beside the two risks that deserve the most attention.
For each selected risk, create a sticky note containing a realistic customer test question, the expected chatbot behavior, and an owner.
AI Tip: Ask AI to identify realistic failures across your six spider diagram branches and recommend safeguards. Use actual customer questions to validate the recommendations.
A completed, editable AI Chatbot Risk & Trust Spider Diagram containing six risk categories, potential failures, safeguards, and two prioritized test scenarios.
Use the diagram to communicate chatbot requirements, identify product improvements, guide QA testing, and support responsible AI development.
1. What is a spider diagram?
A spider diagram is a visual brainstorming tool that organizes related ideas around one central topic using connected branches.
2. Why use a spider diagram for AI chatbot evaluation?
It helps teams explore different risk categories in one visual workspace and understand how potential failures connect to safeguards.
3. Do I need AI engineering experience?
No. The workshop focuses on chatbot behavior, customer experience, and identifying potential problems.
4. Can I use this template for an existing chatbot?
Yes. Evaluate an existing chatbot using real, anonymized customer interactions or use the template to plan a new chatbot.
5. Why are there six branches?
The six branches cover common chatbot concerns involving understanding, accuracy, privacy, human assistance, user control, and monitoring.
6. Can I add more branches?
Yes. The diagram uses editable Miro shapes and connectors, making it easy to expand or reorganize categories.
7. What is the difference between a risk and a safeguard?
A risk describes something that could go wrong. A safeguard describes how the product might prevent the problem or reduce its impact.
8. How do I decide which risks to prioritize?
Evaluate potential customer harm, likelihood, and the effectiveness of existing controls. Select the risks most deserving of testing or improvement.
9. Can AI help complete the spider diagram?
Yes. AI can suggest failure scenarios, safeguards, and test questions. Validate its suggestions against actual product behavior and approved business policies.
10. Does this require special Miro features?
No. The workshop uses native Miro shapes, connection lines, sticky notes, text, and frames. No external plugins are required.
11. Can I complete this workshop individually?
Yes. Create the spider diagram independently and invite colleagues to review the identified risks and safeguards afterward.
12. What should I do after completing the workshop?
Turn prioritized risks into test scenarios, assign owners, validate the safeguards, and track improvements to the chatbot experience.
Start with one realistic chatbot scenario and keep each branch focused on one failure and one safeguard. A clear spider diagram gives teams a practical way to uncover AI risks, discuss solutions, and prioritize improvements before customers encounter problems.

Deanne Watt
Product Strategy @ MiNDPOPGroup.com
My approach to product is to get to the heart of what drives a company. I am passionate about the entire end-to-end process and making it more efficient, collaborative as well as aligning teams and improving communication. We have built about 200 Miro boards so far that cover ideation, strategy, design, engineering, and even marketing promotion.
Spider Diagram Template
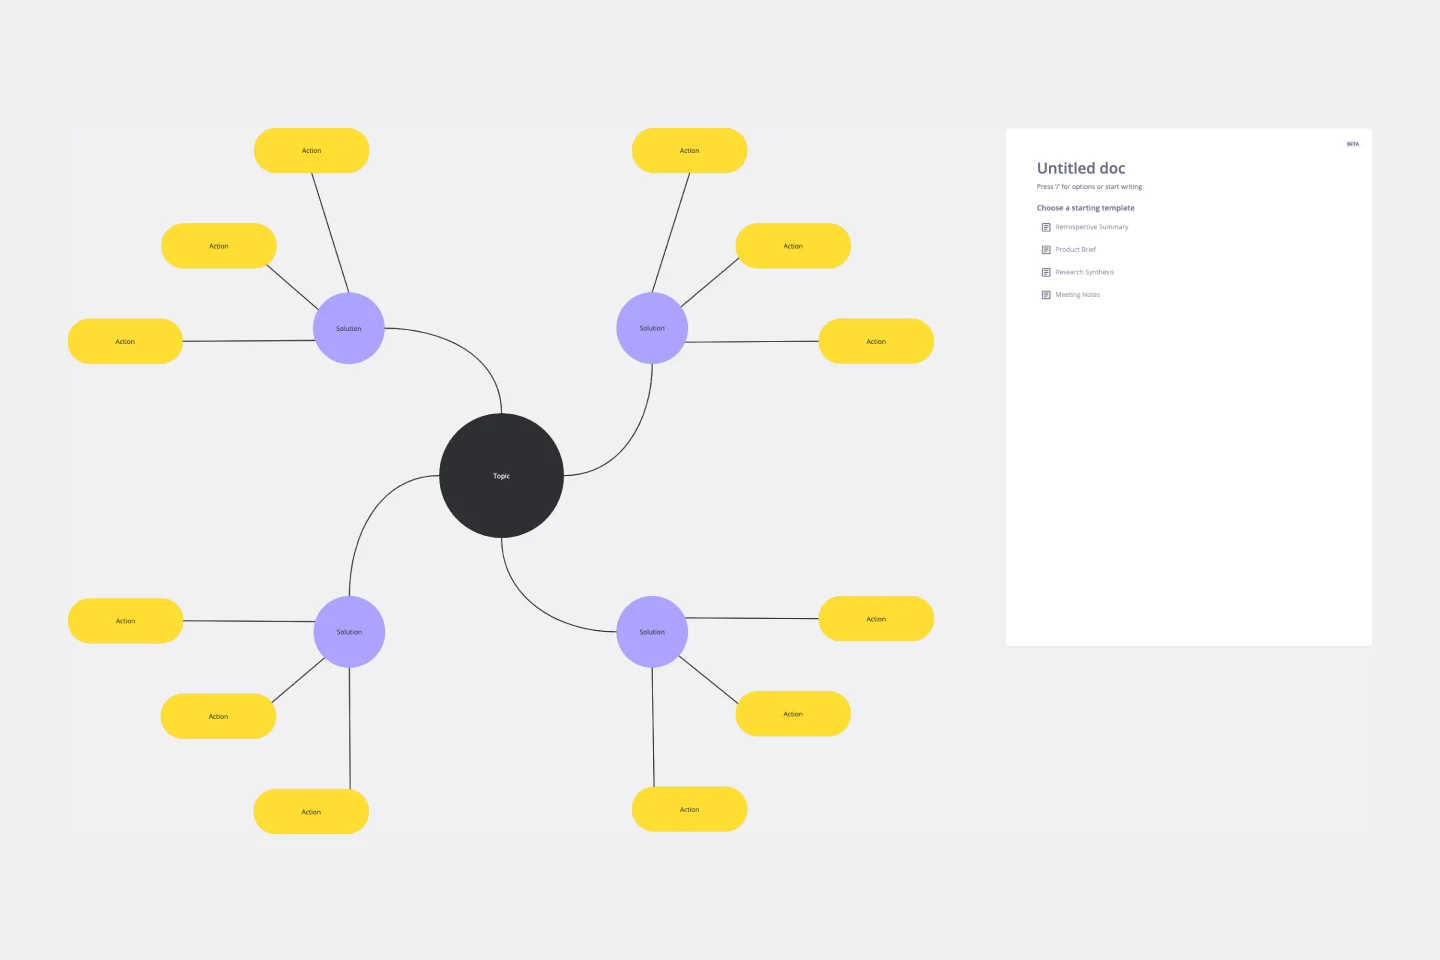
Perfect for brainstorming sessions, project planning, or simply organizing thoughts, the Spider Diagram Template allows you to create 'legs' branching out from a central idea, representing related topics or subtopics.
Spider Diagram Template
Perfect for brainstorming sessions, project planning, or simply organizing thoughts, the Spider Diagram Template allows you to create 'legs' branching out from a central idea, representing related topics or subtopics.