Imagine that you’re in the grocery store. You’re working your way through your shopping list, and you grab some avocados in the produce department, a gallon of milk in the dairy department, and some pretzels from the chip aisle.
As you get further down your list, you realize you also need bananas. Back to the produce area you go. Oh wait, you also need eggs. You trek across the store again to the dairy section.
Before you know it, you’ve gone back and forth several times. Wouldn’t it have been easier (not to mention more efficient) if you’d grouped your shopping list based on where the items are located in the store?
Well, that’s exactly what an affinity diagram is used for.
In this article, we’ll take you through the ins and outs of affinity diagrams. We’ll show you when to use affinity mapping, how to prepare for it, and how to create your own. But first, let’s clarify what an affinity diagram is.
What is an affinity diagram?
An affinity diagram (sometimes known as an affinity map or affinity chart) is a visual tool that helps you organize information from a brainstorming session. You’ll sort ideas into different groups or categories based on their relationships to one another.
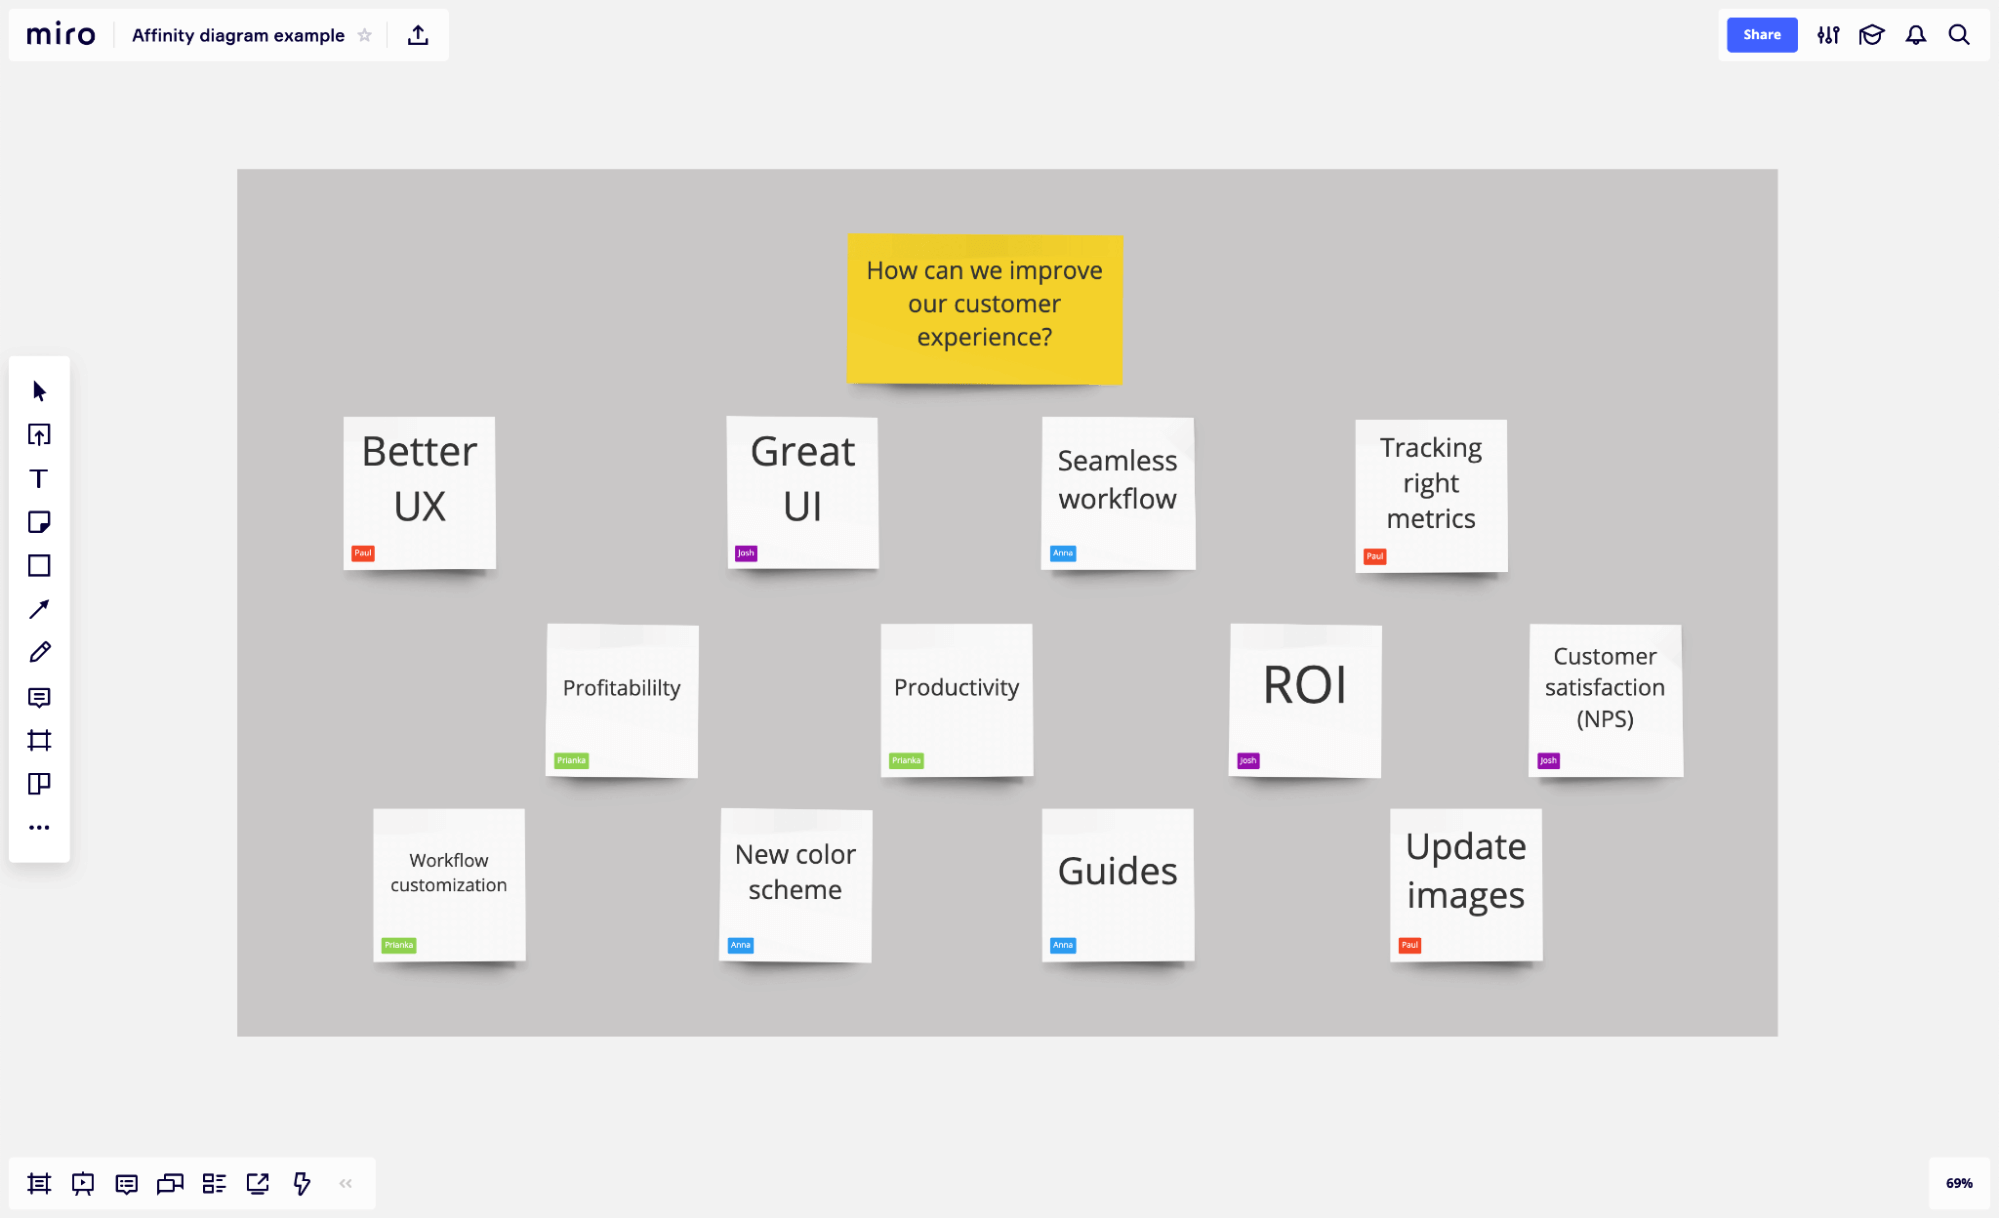
For example, let’s say your core concept is to improve customer experience. All ideas relating to improving the customer experience will fall under this heading in the diagram. You’ll cluster similar ideas together and create a visual representation of the steps you can take to improve your customer experience.
The diagram structure itself is pretty simple. It makes it easy to break down complex information, allowing everyone to understand the different elements of your key concept.
Although affinity diagrams are typically used as part of the brainstorming process, they can also be used in other areas. They help teams improve their processes, create new and innovative solutions, reach a group consensus, and mediate any professional conflict.
Create your own with affinity diagram template
What is an affinity diagram example?
The easiest way to understand an affinity diagram is to see one, so let’s add some clarity by looking at a brief and simple example.
Perhaps you’ve heard a lot of complaints about the way your team handles meetings. So, you sit down with your team members to get a grasp on their biggest complaints. Then, after the brainstorming session, you work together to group those grievances based on shared themes.
Here’s what you end up with:

Keep in mind that this is a very simple example, and many affinity diagrams go a step further to sort ideas based on hierarchy. Don’t worry — we’ll get to that a little later. But for now, this is the barebones structure you need to understand.
Who invented affinity diagrams?
Affinity mapping was invented in the 1960s by Japanese anthropologist Jiro Kawakita. Affinity diagrams are sometimes called the K-J method after Kawakita.
Affinity diagramming is one of the Seven Management and Planning Tools used in Japan and worldwide to help organizations make better decisions. These tools include:
- The Affinity Diagram
- The Tree Diagram
- The Interrelationship Diagram
- The Matrix Diagram
- Prioritization Matrix Templates
- The Process Decision Program Chart (PDPC)
- The Activity Network Diagram
While this is helpful context to have, this article focuses exclusively on the affinity diagram and how it can help your team.
When should you use affinity mapping?
Here’s the short answer: when your brainstorming session is over.
Affinity diagrams shouldn’t be used as a brainstorming tool but rather as a way to organize, consolidate, and act on the ideas from the brainstorming exercise.
An affinity map is an effective tool to use when:
- Your brainstorming session is over.
- You’re solving a complex problem.
- You have a large number of ideas or a lot of data to work with.
- You’re eager to think outside the box.
To put it simply, think of an affinity diagram as a tool that brings order to chaos. Rather than bouncing all over the grocery store, this tool helps make a large amount of information more manageable and digestible — and, as a result, way more actionable.
What should you do before you start an affinity diagram?
Ready to jump right in? Not so fast. There are a few things you should know beforehand so you can use this diagram as effectively as possible.
1. Invite a diverse group of team members
To get the best ideas during a brainstorming session, you need different mindsets, perspectives, and personalities.
Try inviting people from other departments and varying levels, as well as a few people who have no background knowledge of the problem at hand. This will help you avoid groupthink (when a group of people make bad decisions due to their urge to conform). You’ll maybe even get a few suggestions that wouldn’t have dawned on anyone else.
2. Assign a leading role
Every meeting needs a facilitator — and that includes a brainstorming session. A good facilitator will need:
- Listening skills to help participants express their ideas.
- Analytical skills to turn brainstorming insights into action items.
- Communication skills to steer the conversation when necessary.
You can be the facilitator, or you can ask one of your colleagues with these skills to lead the meeting.
3. Prepare your supplies and space
To brainstorm and eventually create your affinity diagram, you’ll need the right supplies. Find a quiet space where you and your team can collaborate without distractions.
Grab some sticky notes and pens if you’re meeting in person. They’ll allow you to take visual notes during the brainstorming session. Use the Miro affinity diagram template if you’re meeting remotely. You can also use our virtual sticky notes to create the effect of working in person.
4. Review your notes
Great news, you’ve finished your brainstorming session! But before you create your affinity diagram, you need to spend some time reviewing the information you’ve discussed. This will help you wrap your head around what happened during the session and how you can start to group ideas together in the affinity map.
If you’re concerned about the amount of time it’ll take to review your notes and add them into an affinity diagram, use Miro to help. Our intuitive online whiteboard makes it easy to upload and visualize your notes, review information, and share it with your team.
3 steps to create an affinity diagram
You have what you need, and you’re ready to pull your team together, roll up your sleeves, brainstorm, and then use an affinity diagram to bring some order to your brilliant ideas. Here’s how.
1. Run a brainstorming session
Remember, your affinity map is a tool you use after you’ve brainstormed ideas. To get started, jot down the problem you’re trying to solve or the question you’re trying to answer at the top of your whiteboard and then record individual ideas on sticky notes.
You aren’t categorizing them yet. The point is to just get as many ideas out of your brain and onto notes as you possibly can. That will give you plenty to work with when it’s time to create your affinity diagram.
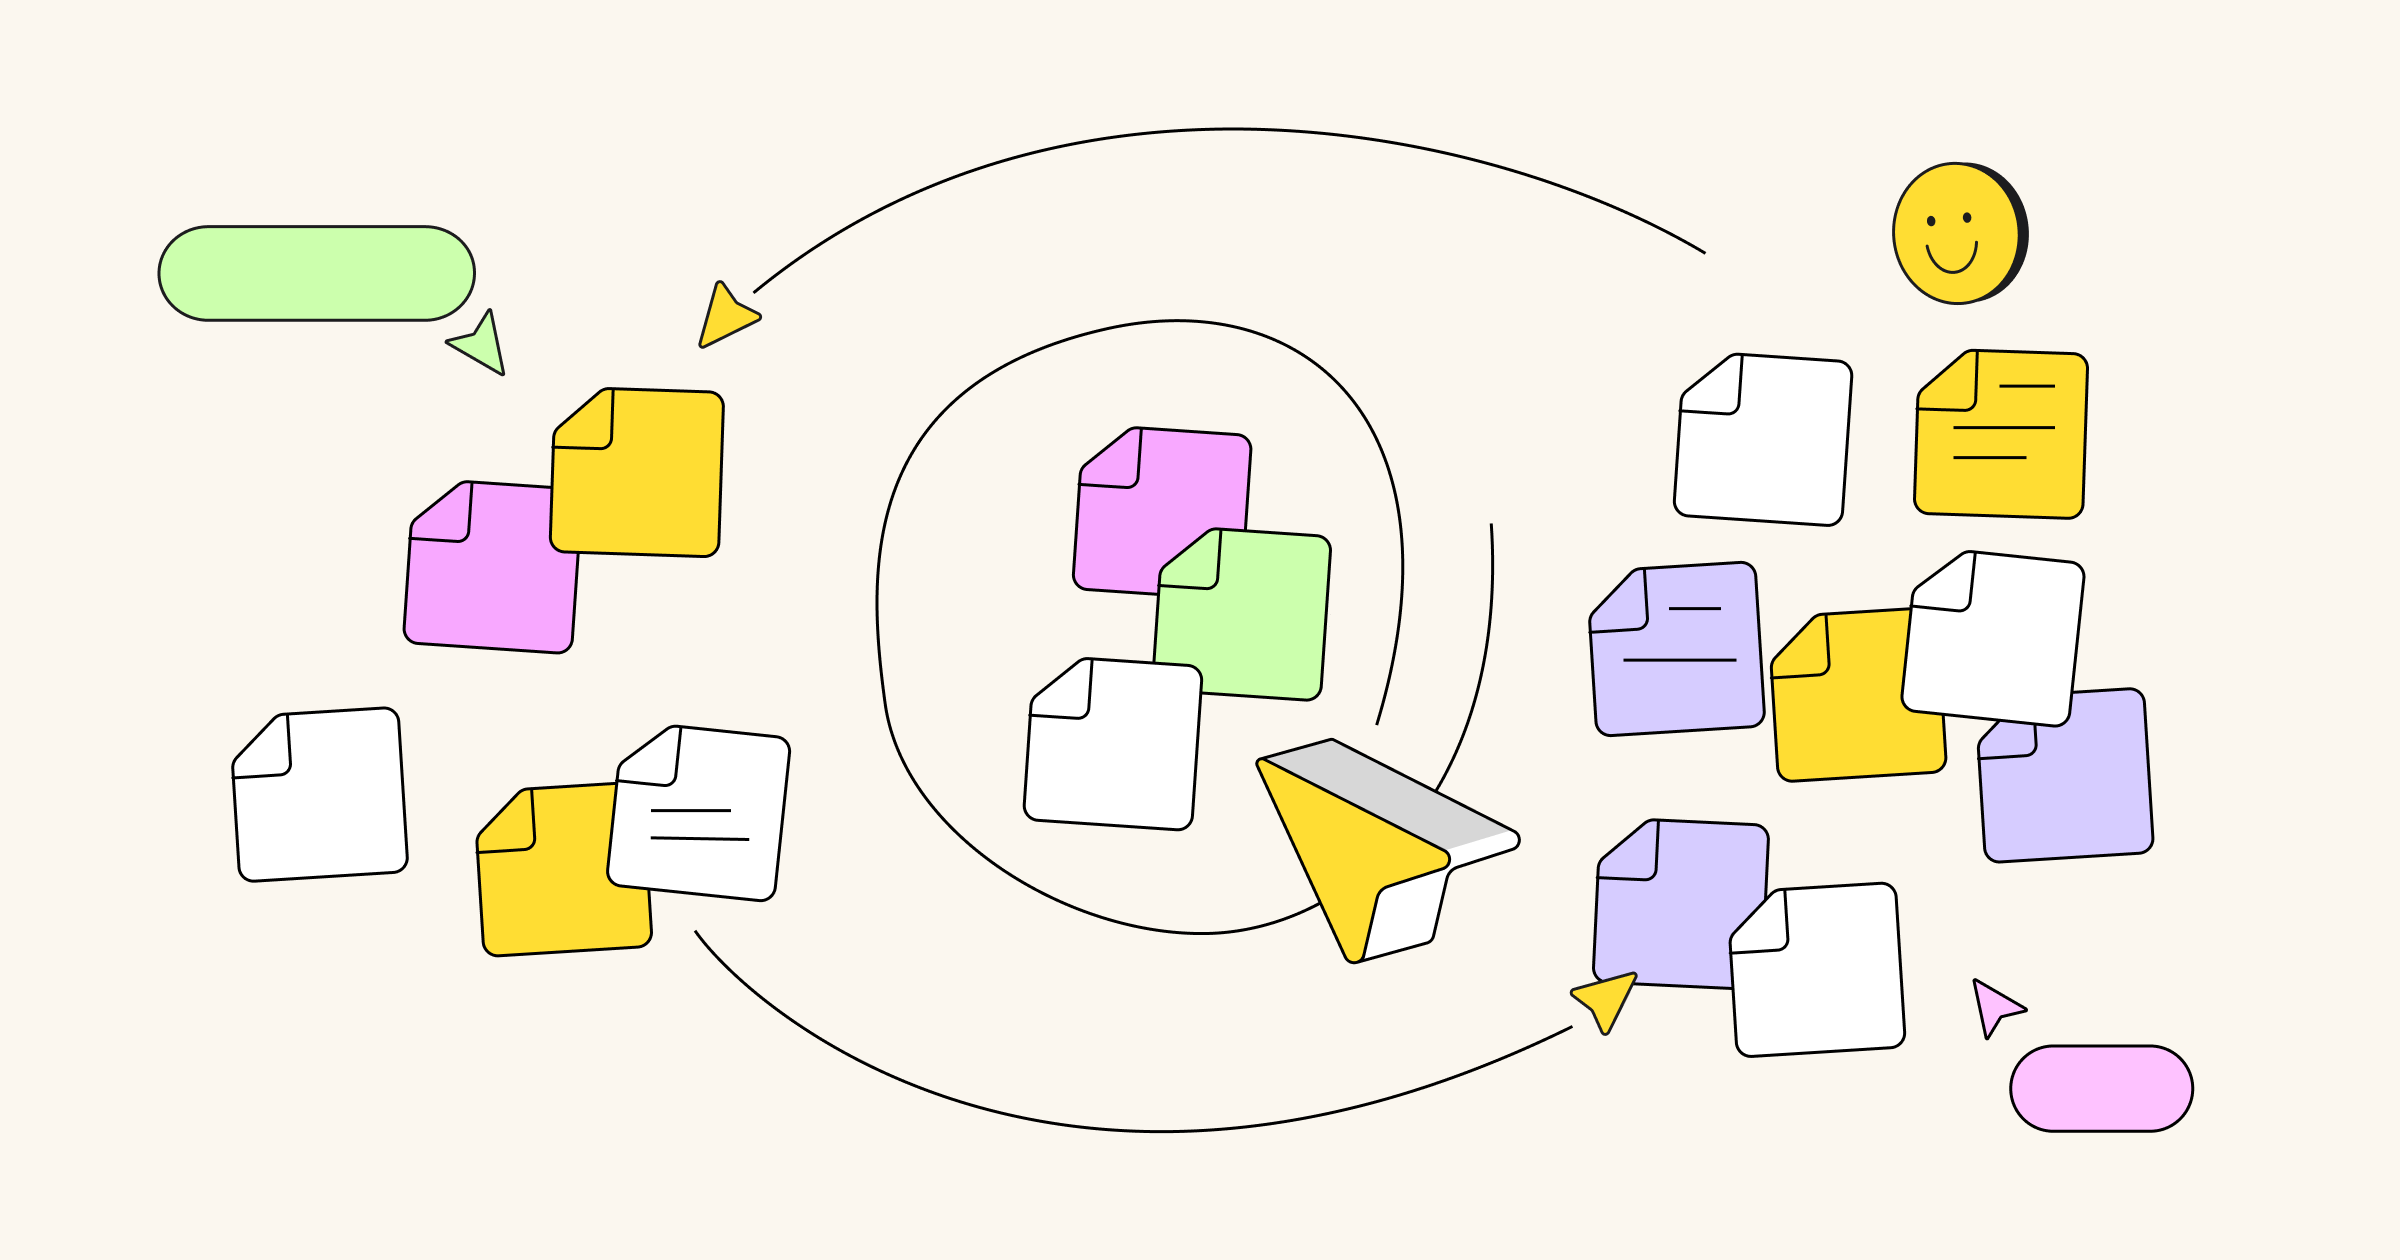
2. Categorize your ideas
Now that you have a jumbled mess of sticky notes to work with, it’s time to organize them into common themes. Start by taking one sticky note and turning it into the first top-level category.
Next, look at another sticky note and ask yourself if it belongs in the same group as the first. If not, create another group. Continue with that process, evaluating each sticky note to add it to an existing group or create an entirely new one.
When all is said and done, you should have anywhere from three to 10 related groups, which you can name based on their common theme. One important thing to keep in mind: your categories shouldn’t be predetermined before your brainstorming session. They should emerge organically as you sort through your ideas.
3. Act on your ideas
Information without action doesn’t do any good. Once you’ve created your affinity diagram, use it to create action items and timelines that push you to solve the problem at hand.
Once you’ve identified your groups, you can take things one step further with some additional filters and organization tactics, such as:
- HIERARCHY: If there’s a clear hierarchy between your stickies (there doesn’t have to be!) Miro’s affinity mapping template allows you to group stickies based on the level of idea.
- PRIORITIZATION: With a grasp of common themes, you and your team can prioritize the groups based on your goal. Miro’s voting feature makes this easy.
Also, information without action doesn’t do any good. So, once you’ve created your affinity diagram, use it to create action items and timelines that push you to actually solve the problem you discussed.
How to use the affinity diagram template in Miro
Using the affinity diagram template is easy with Miro. Our online whiteboard allows teams to jump straight into the affinity mapping process. Start by selecting our affinity diagram template and follow these steps:
Step 1: Start recording your ideas in the template and sort them into categories. Involve everyone in the team — you can share the template online if they work remotely.
Step 2: Examine your ideas and identify similarities. Discuss these with your group (either in person or via Miro’s video chat) and start to draw connections between concepts. Collaborators can also add sticky notes to share their perspectives.
Step 3: Group your related concepts in the template. Repeat this until you’ve organized all of your ideas in the template. And don’t worry if some ideas don’t fit in any of your categories. You can come back to them later.
Step 4: Review your affinity diagram to make sure everyone is happy with the outcome.
Use our free affinity diagram template today.
How to use an affinity diagram to organize UX research
Almost half of businesses are prioritizing customer experience above pricing and product over the next five years. Why? Because customers want a good experience with the companies they buy from.
86% of customers are willing to pay more for a good experience. 17% will walk away after just one bad experience. If you’re not able to offer a good user experience, you risk losing business.
Using an affinity diagram, you’ll get deeper insights into the user experience (UX). You’ll be able to organize your customer research and user interviews to identify areas of improvement and make a plan of action.
But how exactly should you use an affinity diagram to organize your UX research?
Truth be told, that’s up to you. There’s no right or wrong way to use an affinity diagram to organize your UX research. It depends on what information you have and how you want to group it.
To give you some inspiration. Here are some examples of UX affinity groups that could be analyzed:
- Answers to your specific research questions
- Summary of observations, UX data, and research study
- Suggestions for improving your product or service
- Ideas about your UX strategy
Remember that these are just suggestions. All of these topics will vary depending on your research and goals.
Common questions about affinity diagrams
Have a few more questions about affinity diagrams and how they can be your team’s secret sauce for implementing big ideas? We have answers to some commonly-asked questions.
How does an affinity diagram work?
An affinity diagram works by organizing and categorizing your brainstorming ideas into categories based on their similarities. It makes it easier for teams to visualize their next steps and create an informed action plan.
What does affinity mapping do?
An affinity mapping session is another way of saying that you’re creating an affinity diagram. It’s the process involved in bringing your diagram to life. It involves reviewing your brainstorming session, adding ideas to your affinity diagram (or affinity map, whichever you prefer), and grouping similar ideas together.
What should be included in affinity mapping?
It’s hard to say exactly what should be included in an affinity map. It varies depending on the brainstorming session you’ve had, how many ideas you want to include, and what you want your outcome to be. Most affinity diagrams will be split into a hierarchy that features a top-level concept. All other ideas are grouped within this hierarchy.
How do you facilitate affinity mapping?
A good place to start is by using Miro’s affinity diagram template. Our template is ready for you to use immediately, allowing you to facilitate the affinity diagram process as quickly as possible. You can invite colleagues to your board, share information, and collaborate throughout the entire process. You can even customize our existing template to create an affinity map that’s perfect for your team.
What are the best practices for creating affinity diagrams?
Here are a few important things to keep in mind to make the most of the affinity diagramming process:
- Avoid predetermined categories. You and your team should brainstorm freely and only come up with categories once all ideas are out on the table, so to speak.
- Start with a clear objective. For example, a question you’re trying to answer or a problem you’re trying to solve.
- Designate a leader or facilitator. You need someone who can keep the conversation focused. It’ll help you avoid wasting time on unnecessary topics and tangents.
Turn ideas into action with an affinity diagram
Sure, bouncing around the grocery store with a disorganized shopping list eventually gets the job done. But is it the best way to be productive?
If you’d grouped your list into common themes, you could’ve saved time, reduced stress and frustration, and had a more successful shopping trip (because you’ll avoid getting all the way home only to realize you forgot bread).
That’s what an affinity diagram does for you and your team. It brings order to all of your brilliant ideas, so they’re not only easier to understand — but easier to act on.