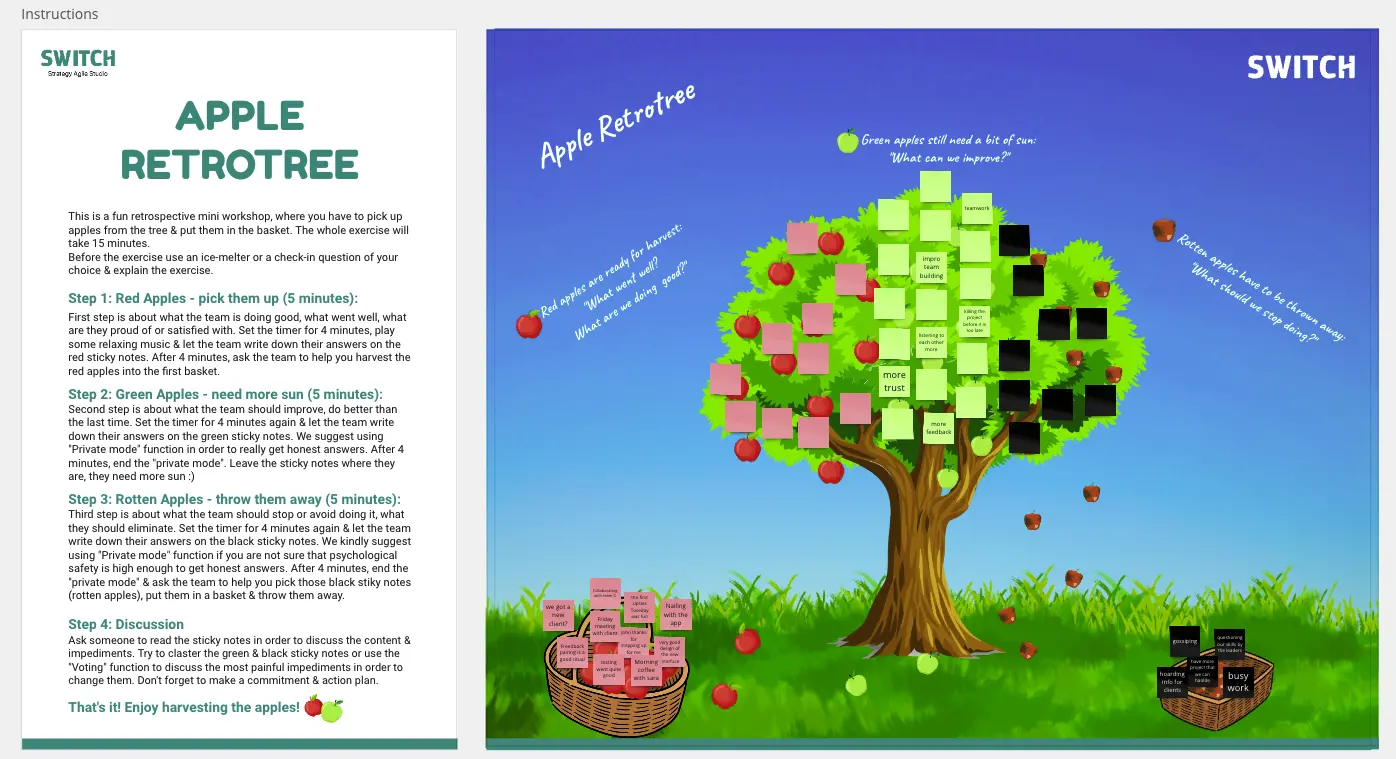
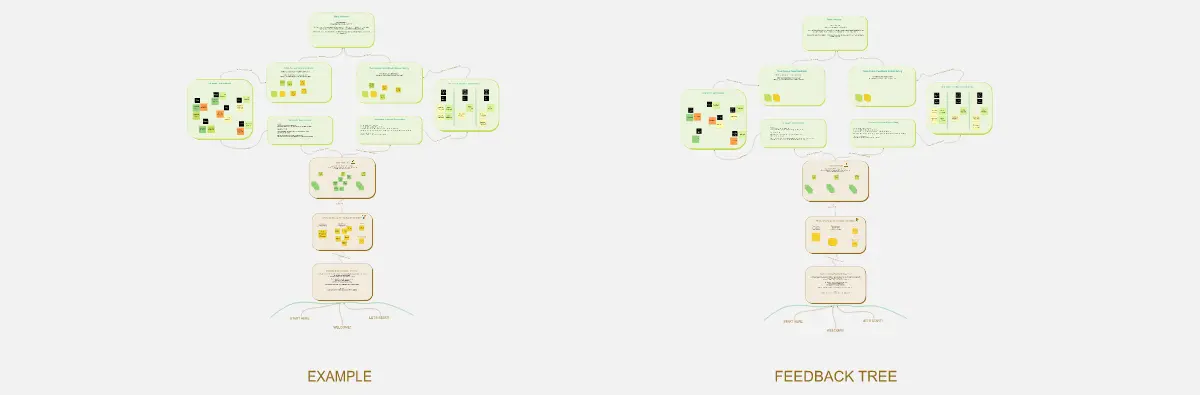
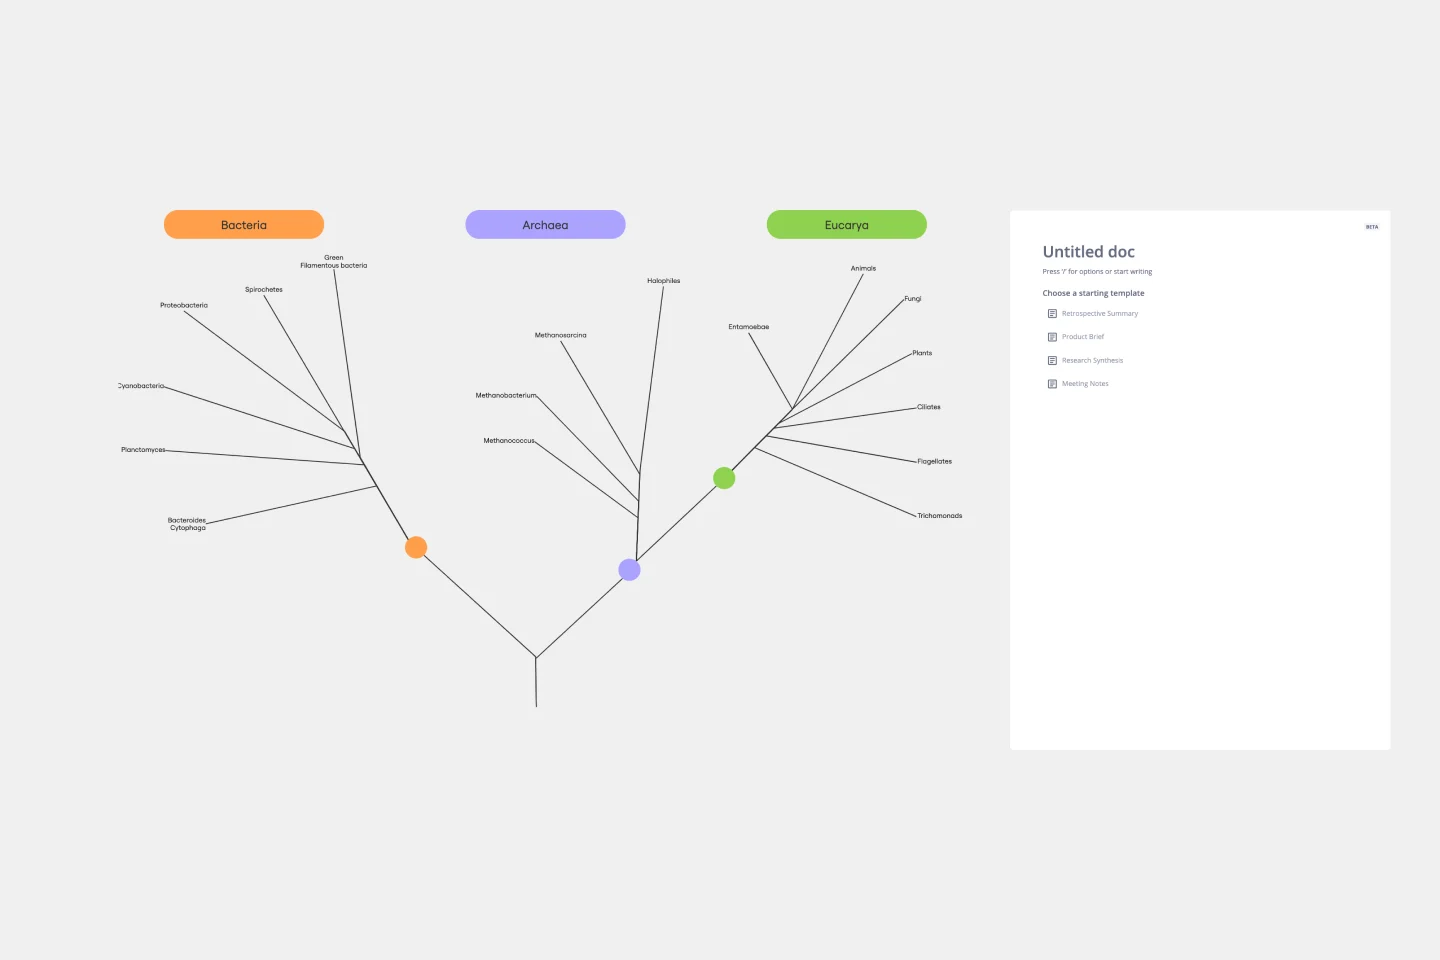
About the Decision Tree Templates Collection
Decision tree templates are a powerful tool for visualizing decision-making processes. They help teams map out various options and outcomes, making complex decisions more manageable. Miro's decision tree templates are designed to be intuitive and user-friendly, perfect for beginners and experienced professionals alike. These templates can be customized to fit any team's specific needs, ensuring that everyone is on the same page.
The "Logic Audit": 3 Ways to Build a High-Precision Decision Tree
A decision tree is only as good as the logic driving it. To prevent "Biased Branching" and ensure your Miro board provides an objective answer, apply these three expert filters:
1. The "Mutually Exclusive" Rule
The Audit: At any given node, is there an overlap between the options? (e.g., "Cost is <$500" vs. "Cost is low").
The Fix: Ensure every branch is MECE (Mutually Exclusive and Collectively Exhaustive). If a situation could potentially fit into two branches, your tree will lead to "Decision Paralysis." Use specific, quantitative boundaries for every branch to ensure a clean, logical flow.
2. Factoring in "Expected Value" (EV)
The Audit: Are you treating every outcome as if it has a 100% chance of happening?
The Fix: For professional decision-making, add probabilities to your branches. If "Option A" has a 70% chance of success and "Option B" has a 30% chance, note those on your Miro connectors. This transforms your tree from a simple path into a Risk Assessment Tool, allowing you to calculate the "Expected Value" of different strategic bets.
Expert Tip: Use Miro’s sticky note colors to represent the financial impact: Green for high-profit outcomes and Red for high-risk losses.
3. The "Leaf" Validity Check
The Audit: Does your tree end in a "dead end" or a clear action?
The Fix: Every final "leaf" on your decision tree must lead to a specific Next Step or a Terminal Value. If your tree ends in a vague statement like "Market Research Needed," it’s not a decision tree, it’s an incomplete process map. Ensure the ends of your branches provide a definitive "Go/No-Go" result.
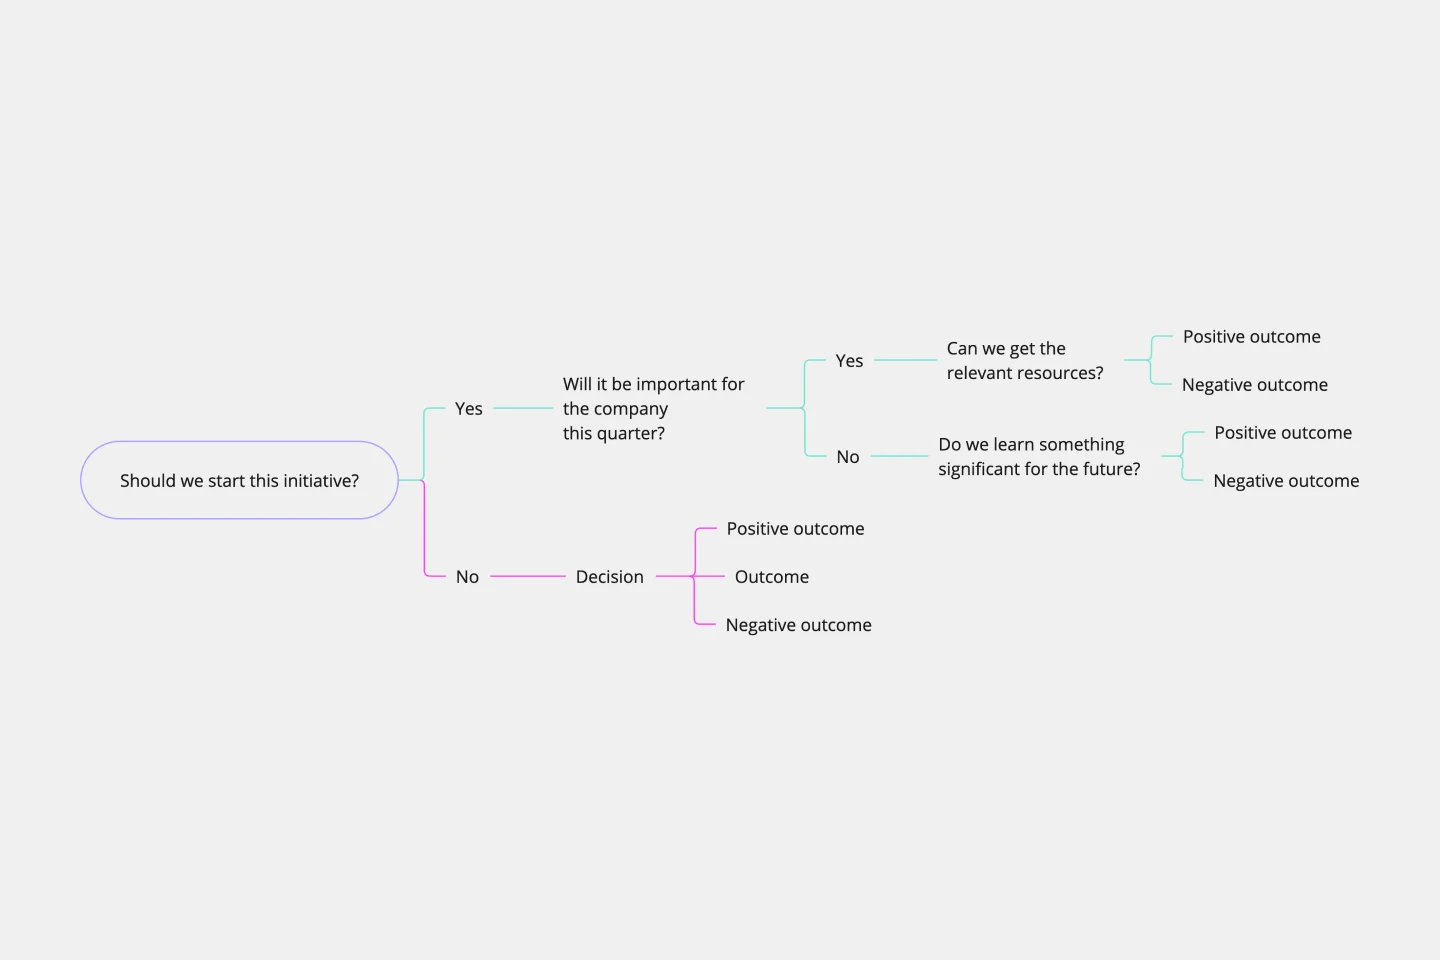
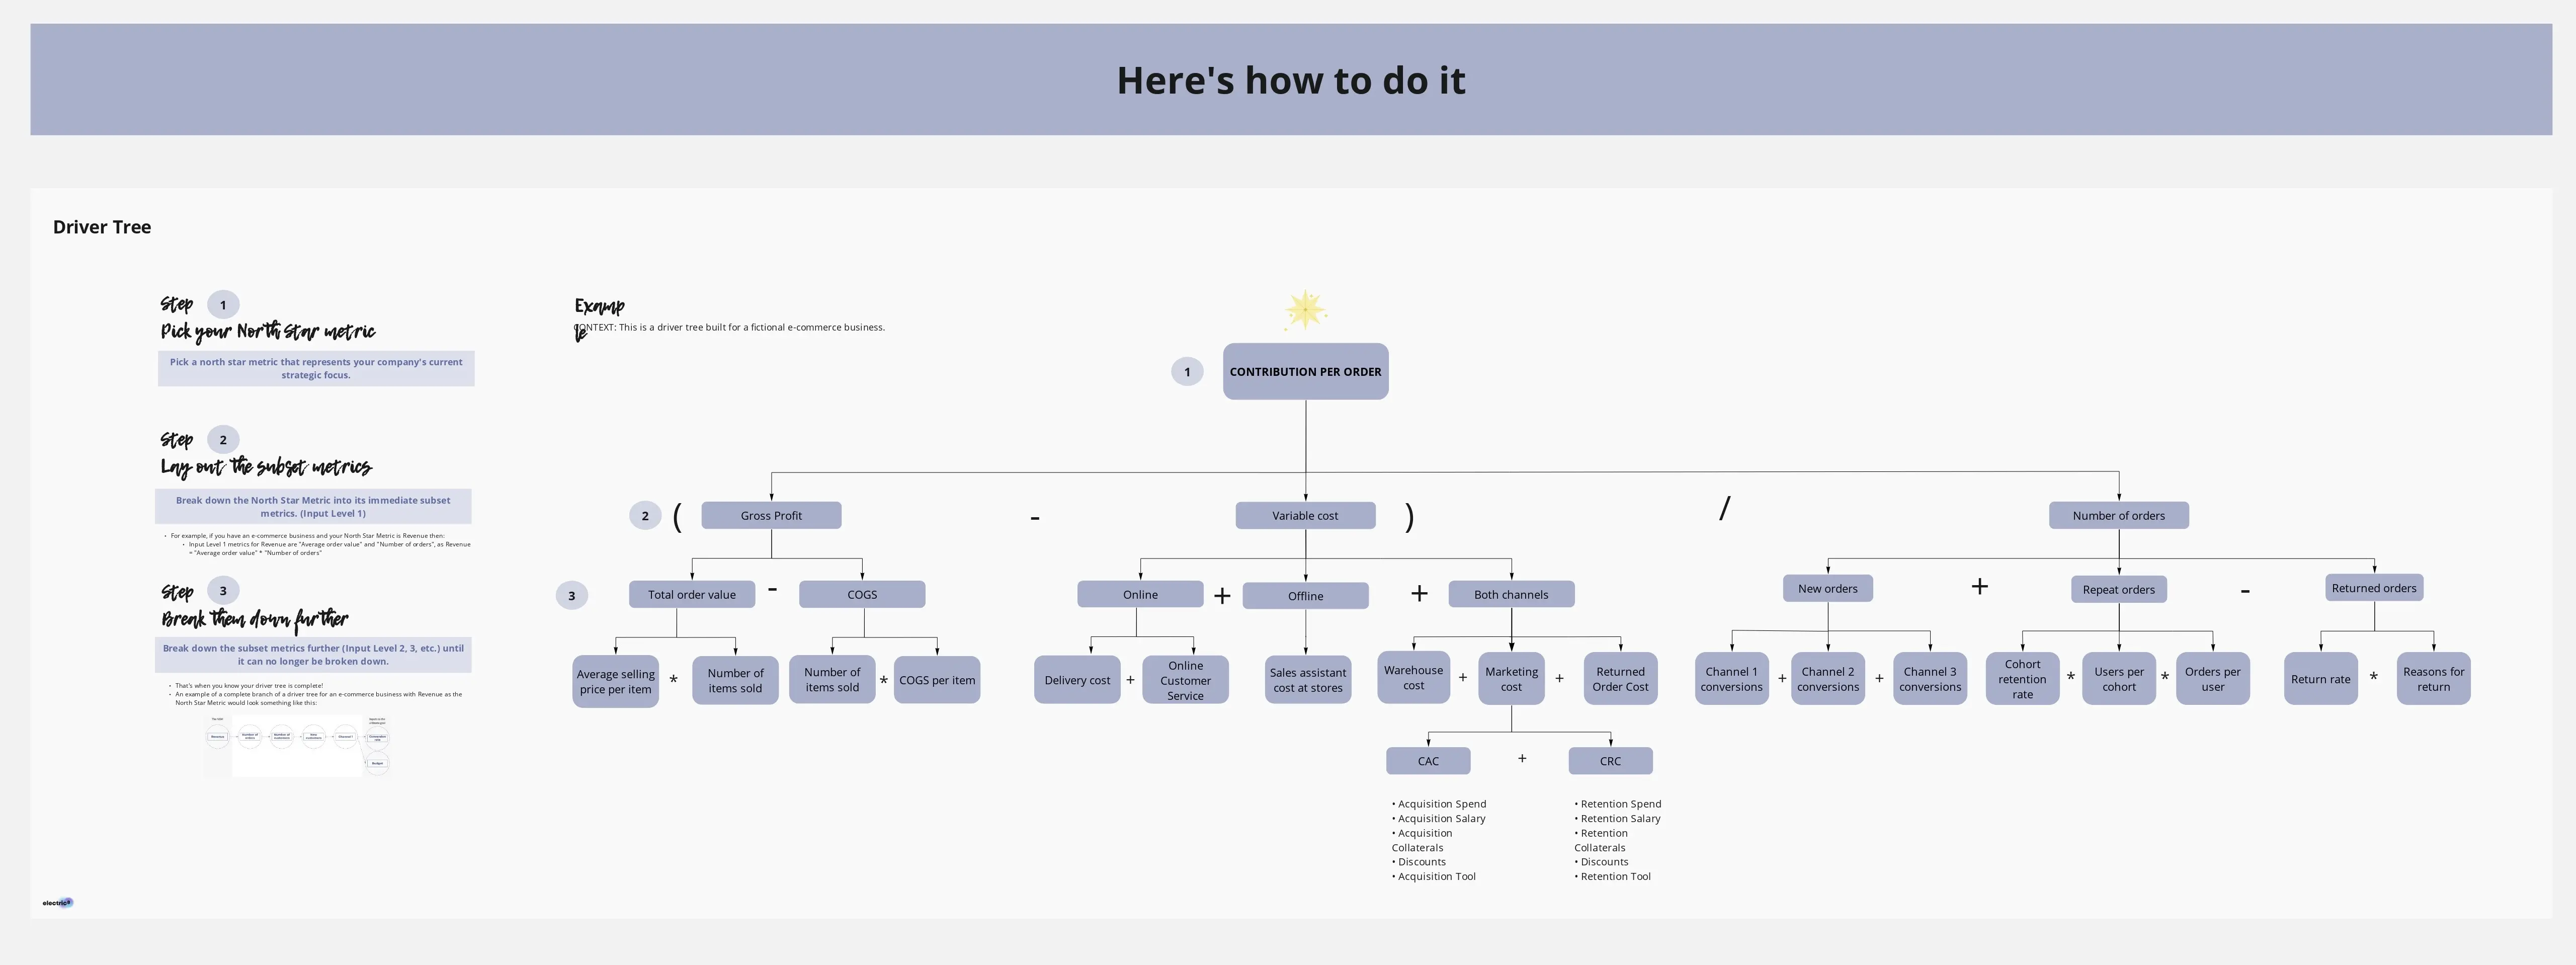
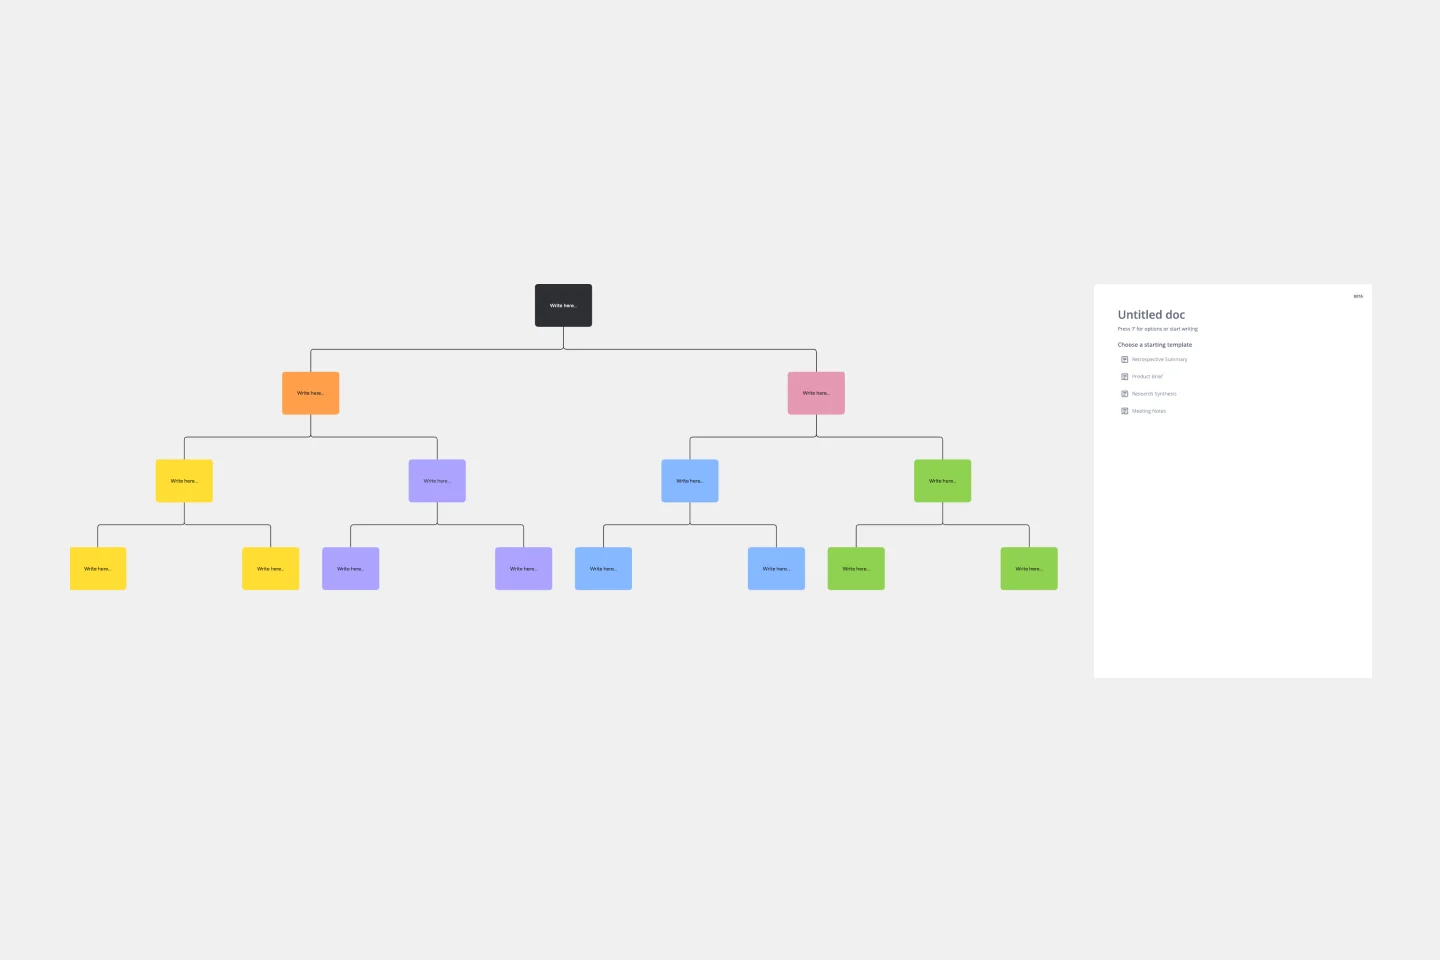
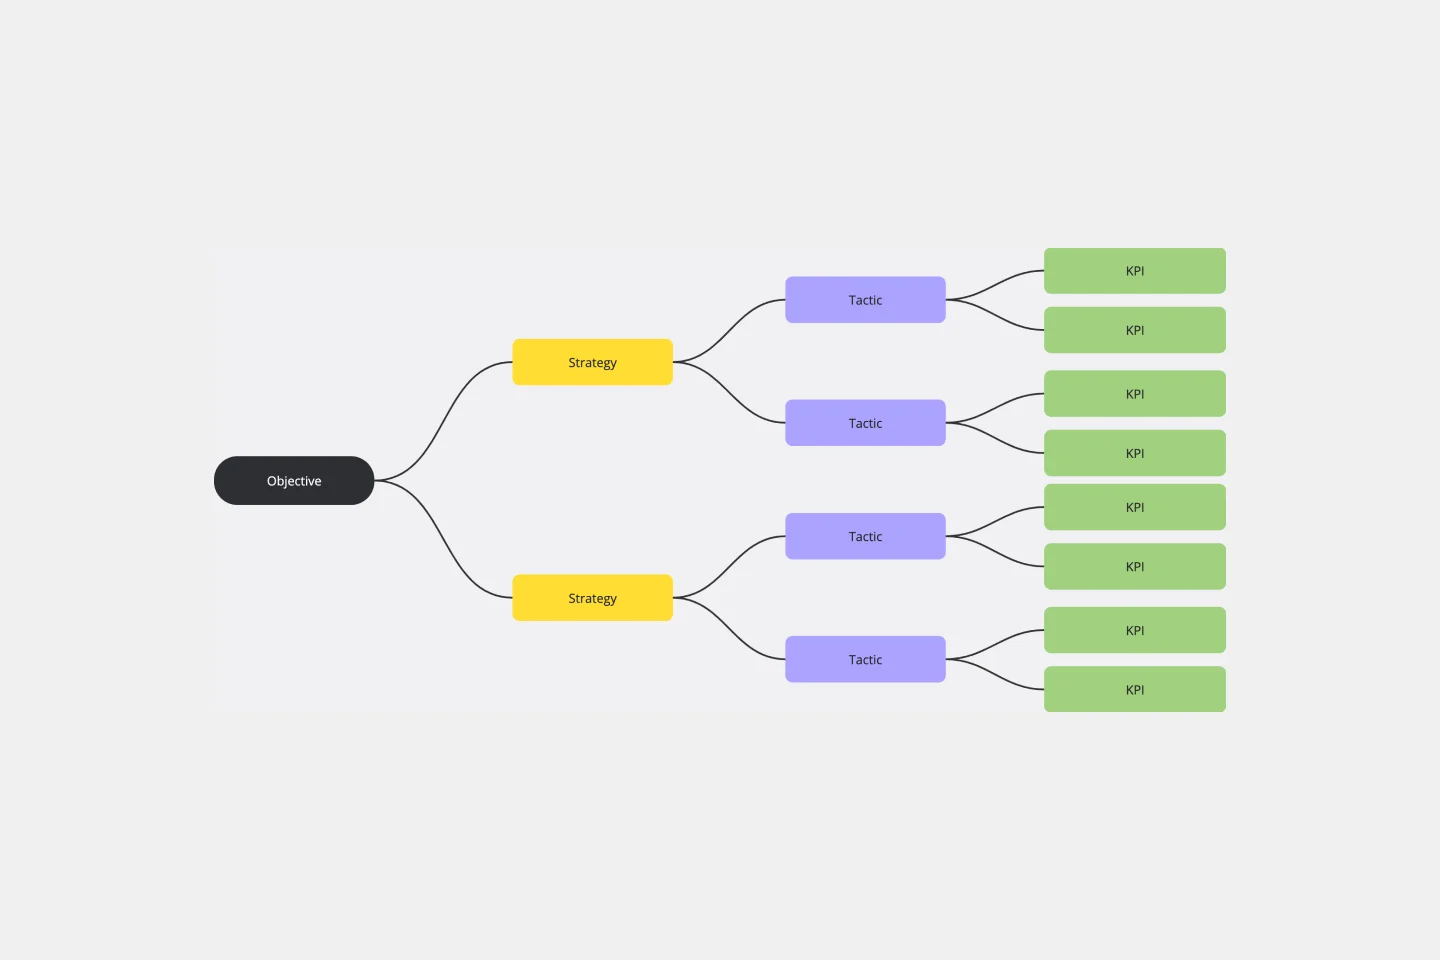
Key Components of a Decision Tree
To build a professional logic model in Miro, you must use these four standard components:
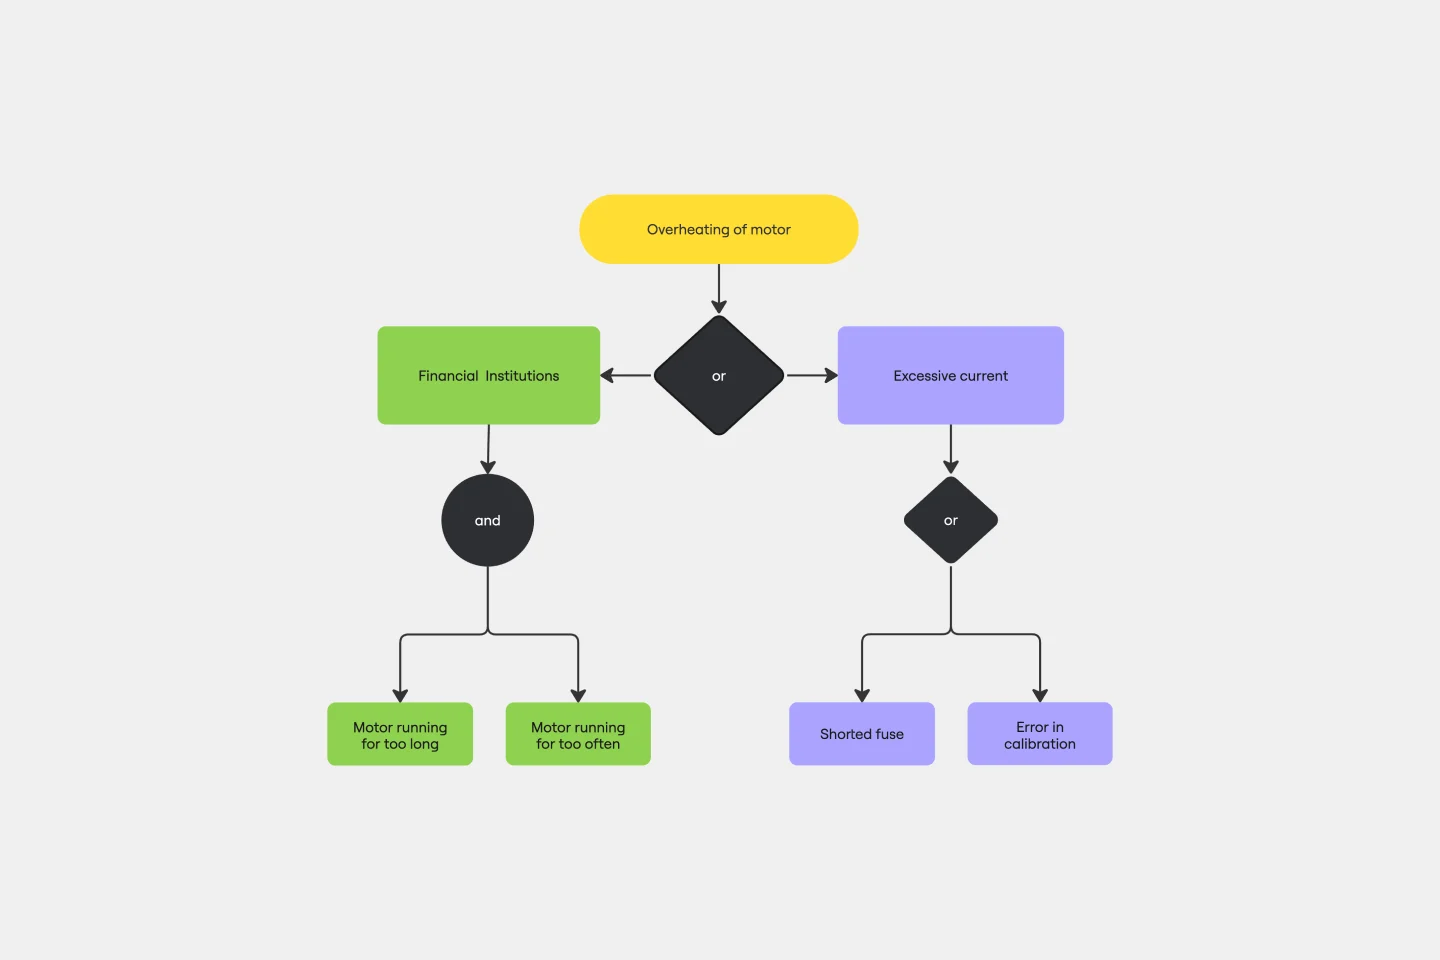
Decision Nodes (Squares): These represent a specific choice you must make (e.g., "Increase Budget" or "Maintain Budget").
Chance Nodes (Circles): These represent uncertain outcomes outside of your control, such as market shifts or competitor actions.
Branches (Lines): These connect your nodes. Each branch should be labeled with its specific requirement, cost, or probability.
End Nodes (Triangles): Also called "Leaf Nodes," these signify the final outcome or the "terminal value" of a specific path.
Common Types of Decision Tree Templates
Selecting the right decision tree depends on your data type and who needs to understand the output. Here are the three most common frameworks:
1. Classification Trees (The "Yes/No" Logic)
Best For: Categorizing items into specific groups based on a series of features.
The Logic: Each branch represents a binary choice (e.g., Is the lead's budget over $10k? Yes/No).
The Audience:Customer Support, Sales Teams, and HR. It’s perfect for creating "Troubleshooting Guides" or "Qualification Workflows" where employees need to reach a standardized conclusion quickly.
2. Regression Trees (The "Value" Predictor)
Best For: Predicting a continuous numerical value rather than a simple category.
The Logic: Instead of a "Yes/No" result, the final "leaves" provide a predicted number (e.g., Estimated Price, Expected Revenue, or Time to Completion).
The Audience:Data Analysts, Real Estate Strategists, and Supply Chain Managers. These teams use regression trees to forecast costs or demand based on changing variables like seasonality or location.
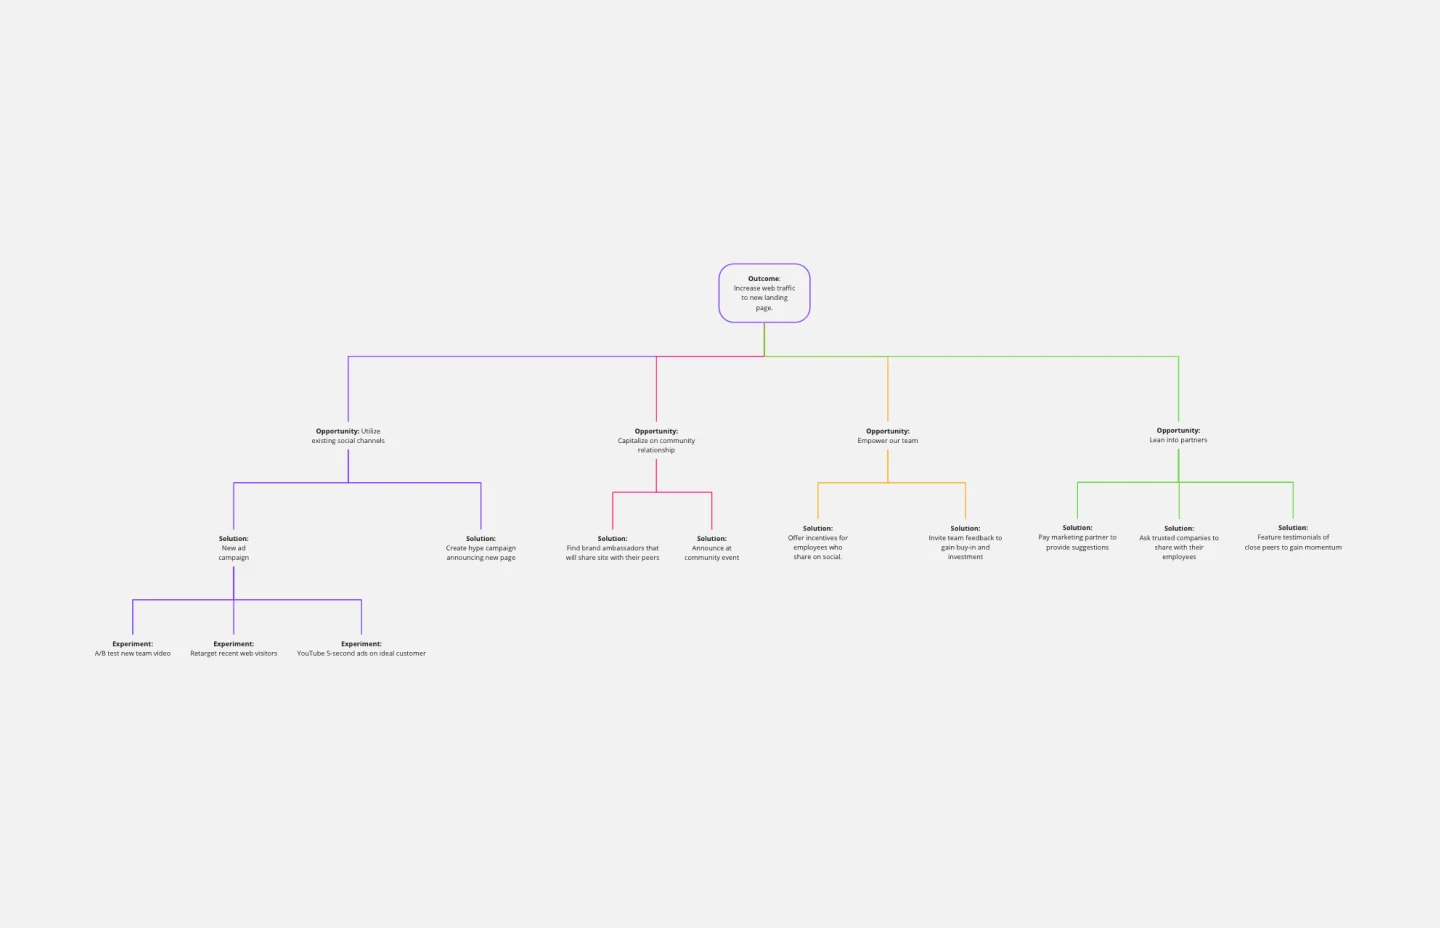
3. Influence Diagrams (The Strategic Overview)
Best For: Visualizing the relationship between decisions, uncertainties, and goals.
The Logic: Unlike a standard tree, this uses specific shapes—rectangles for decisions, ovals for uncertainties, and diamonds for the final value (utility).
The Audience:C-Suite Executives, Project Boards, and Risk Officers. It provides a high-level summary of a complex situation without the visual clutter of every possible minor branch.
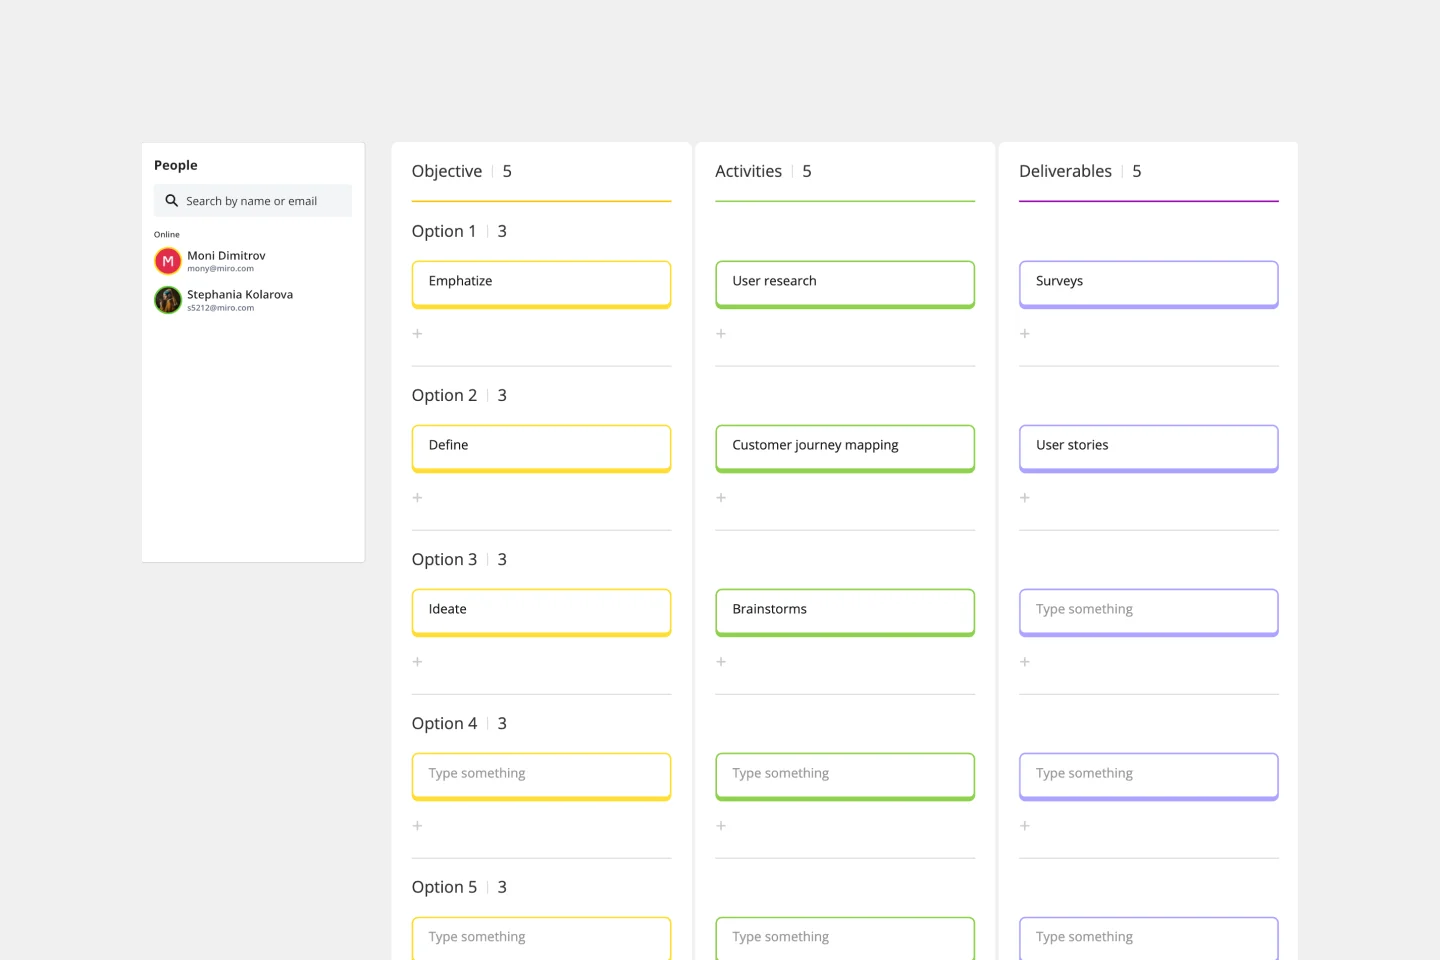
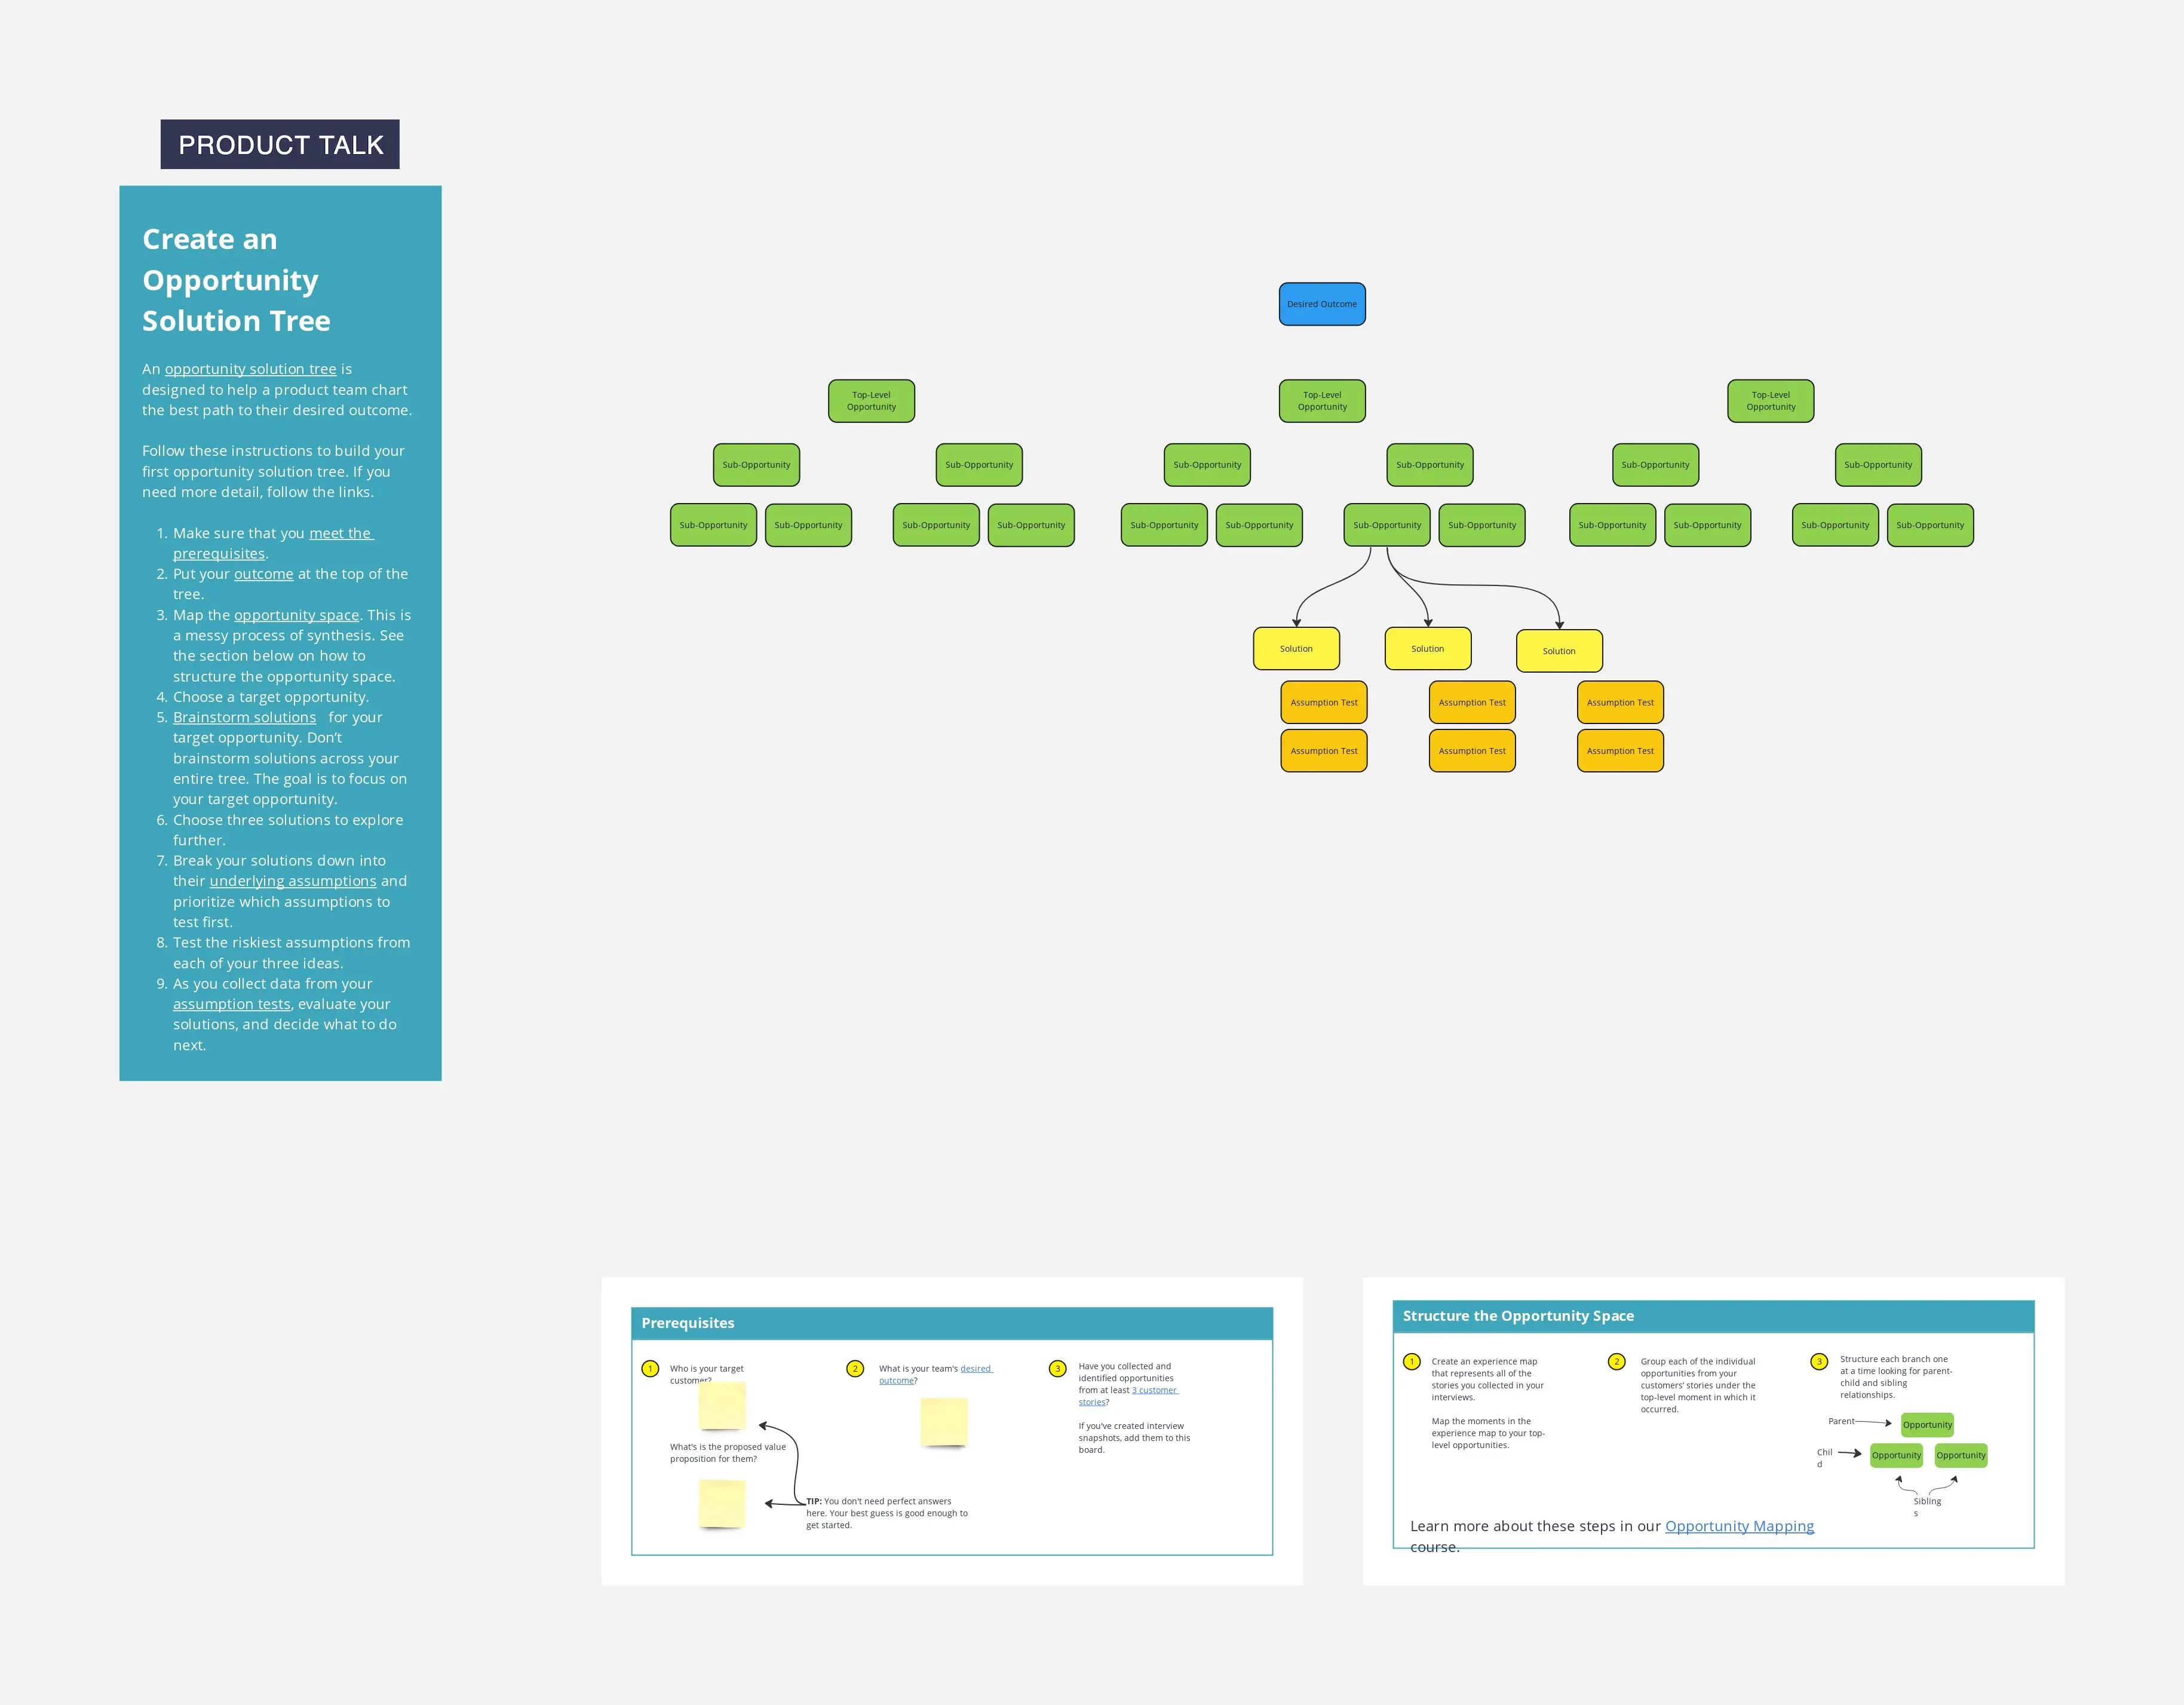
How to use the decision tree templates in Miro
Select a template: Start by choosing a decision tree template from Miro's extensive library. You can find templates that suit various needs and complexities.
Customize the template: Tailor the template to your specific decision-making process. Add or remove branches, change labels, and adjust the layout to fit your team's requirements.
Input your data: Fill in the decision tree with the relevant information, including the decision points, options, and potential outcomes.
Collaborate with your team: Invite team members to join the board. They can add their input, suggest changes, and discuss the decision-making process in real time.
Analyze and decide: Review the completed decision tree with your team. Analyze the different paths and outcomes to make an informed decision.
Document and share: Once a decision is made, document the process and share the final decision tree with all stakeholders to ensure everyone is informed and aligned.
Using Miro's decision tree templates helps teams thrive by providing a structured and visual approach to decision-making. This not only enhances clarity and collaboration but also ensures that decisions are made efficiently and effectively.