How to make a mind map

How to make a mind map in 5 steps
In this guide, we will share five simple steps on how you can make a mind map that meets your needs, including key considerations when selecting a mind mapping tool. Additionally, we will demonstrate how to create a mind map from scratch, using our Miro AI in the video below.
Let’s get started.
1. Define your central idea
Learning how to make a mind map starts with having a central idea we want to expand on. Here are a few tips to help you identify your central idea:
Identify the purpose
Think about why you’re creating the mind map in the first place. Are you brainstorming ways to improve your website? Are you coming up with ways to increase sales? Having a central topic will help you make sure that any ideas you add to your mind map are always relevant.
Keep it clear and concise
Keep your central idea clear, concise, and easy to understand for everyone working on the mind map. This means using a few words of simple language to convey what the main topic is. For example, if you want to come up with ideas to improve your website, your main topic might be ‘website improvement.’
Use a focus question
Although the main topic is short and sweet, you can add a focus question to provide additional context to your mind map. For instance, going back to the website improvement idea, your focus question could be, “How can we attract more traffic to our website?”
Though it’s a little longer, it still communicates a clear focus to tie all your ideas back to.
2. Branch out from your central idea
With your central concept in place, you can now branch out and add ideas that relate to it. Let’s use website improvements as an example again. Some of the related ideas you might come up with for this mind map include ‘search engine optimization,’ and ‘social media campaigns.’
From there, you can continue branching out and adding more related ideas. For instance, under ‘search engine optimization,’ you could branch out and add ‘create new content’ and ‘optimize existing content.’
Tip: Want to run a brainstorming session where every participant gets a chance to share their idea? Use our free Brainwriting Template to set your team up for success.
3. Customize your mind map
After adding all your ideas, take a second to customize the layout. It’s not only a chance to add structure to your thoughts but also to emphasize your brand’s unique style — which might come in especially handy if you’re presenting your mind map externally. Here are some examples of how to make a mind map pop:
Use colors
Colors are a simple but effective way to categorize your ideas. For example, all marketing ideas are green, while sales ideas are blue. At a glance, your team can see which ideas relate to which department.
Add images
Images can provide additional context to some ideas on your mind map. For instance, if you have an idea about how a product should look, you can use an image of a similar product to help your team visualize the concept.
Group similar ideas
Keeping similar themes close together in your mind map is a good idea. That way, when planning your next steps, it’ll be easier to identify similar themes and topics.
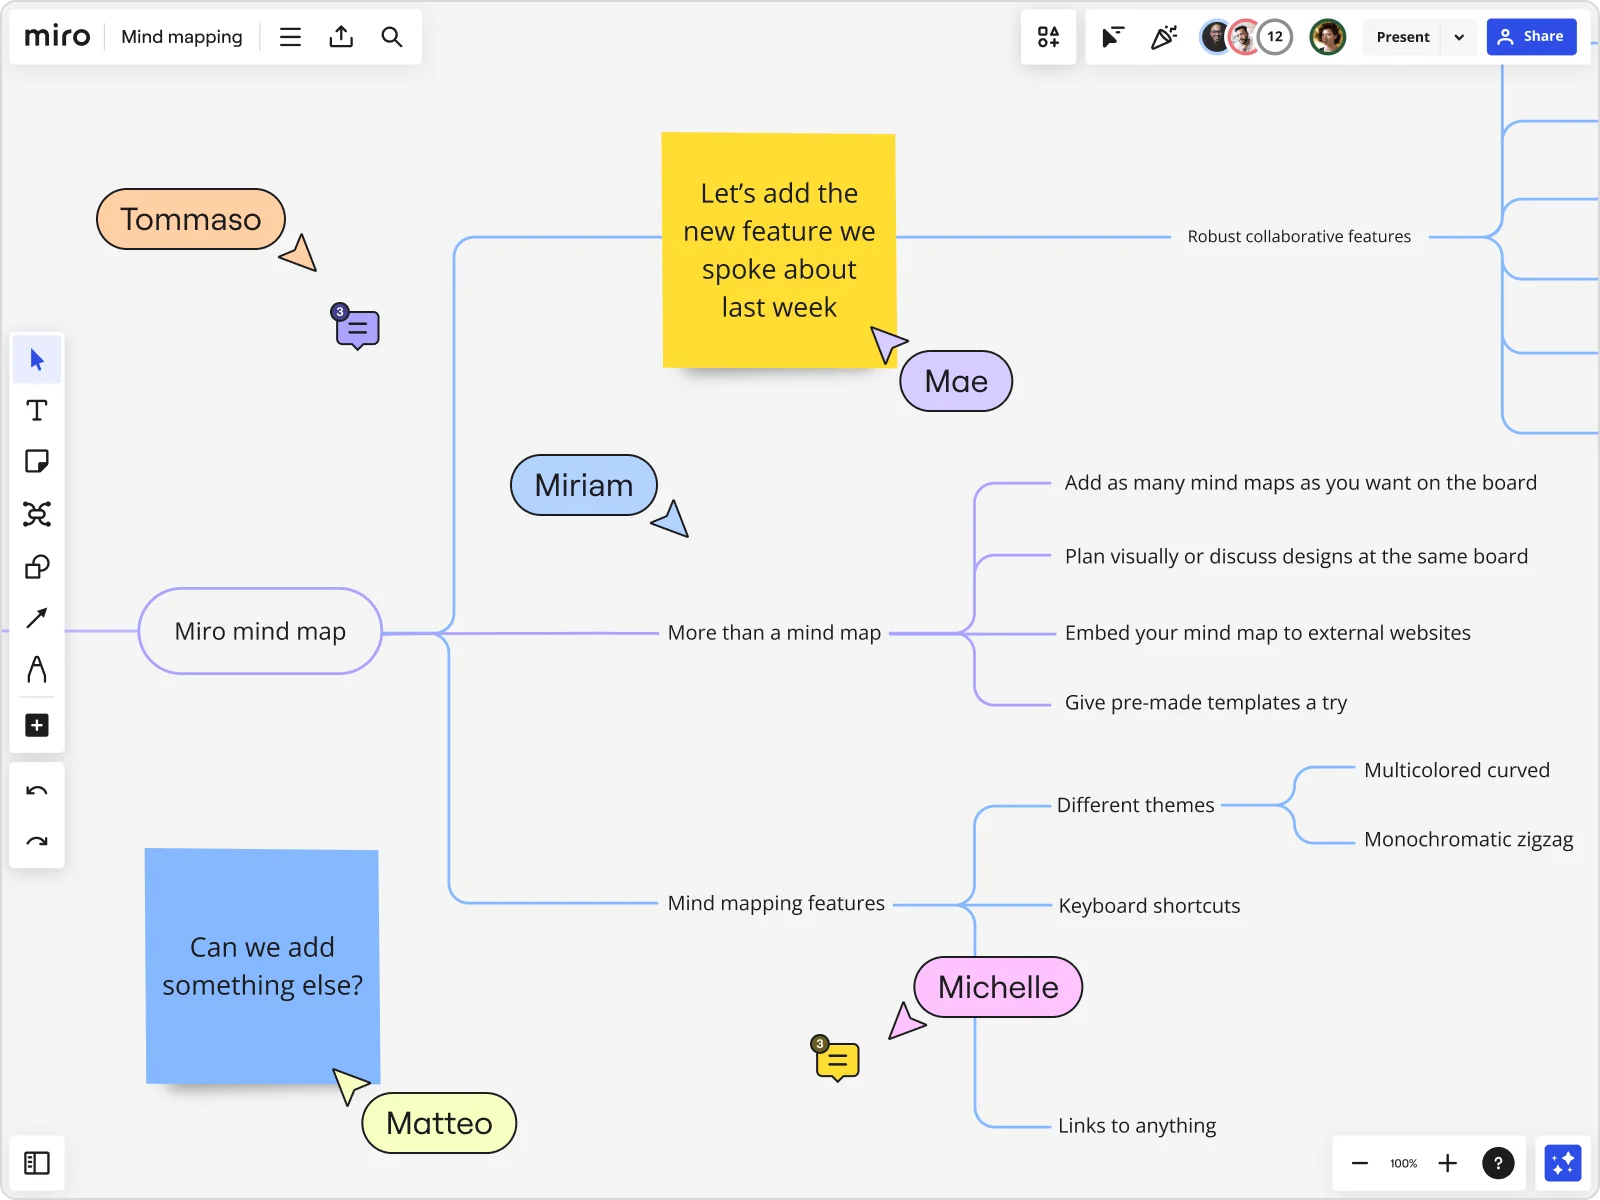
In Miro, for example, you can easily drag your ideas around, rearrange branches, and add sticky notes to label your groups — all in a matter of seconds.
4. Get feedback on your mind map
Depending on the goal of your mind map, you might want to get some feedback on it. Share your mind map with teammates, clients, or anyone else who can share any relevant input that’ll bring you closer to your goals.
Using a tool like Miro makes it especially easy to share your mind map — whether you want to invite others to leave comments on your board, share a link, or export your mind map.
Pro tip: Want to present your mind map without having to schedule another meeting? Use TalkTrack to record interactive audio and video walkthroughs that your team can watch and comment on in their own time.
5. Create a plan of action
Once you’ve finalized your mind map, use it as the foundation for your next steps. Try one of Miro's action plan templates to identify what you need to do to bring your new idea to life — whether that’s by creating and delegating tasks, or creating a roadmap.
For instance, if your mind map generates ideas for new product features, you might create a product development roadmap. If you’re hoping to improve an internal process, you might create a process map instead. It all depends on why you made the mind map and what you wanted to achieve.
Create a mind map in Miro
Now that you know how to make a mind map, it’s time to create your own.
Miro makes it fun and easy (and free!) to get started. Our Mind Map Templates are not only fully customizable but also comes with automated diagramming tools — allowing you to quickly expand on ideas and connect them.
Want to create one from scratch? Drag and drop shapes, lines, images, sticky notes, and more. With plenty of customization options, powerful collaboration features, and an infinite canvas to work on, the sky’s the limit. Sign up for Miro to get started.