

Working as part of a distributed team at a large organization is rife with challenges. In this webinar, you’ll hear from three key members of the Mailchimp team – a project manager, UX researcher, and service designer – on how to boost efficiency, creativity, and alignment using Miro’s collaborative visual workspace.
Alli is a writer, astronomy enthusiast, and avid Lord of the Rings fan. She uses her product and teaching experience to help teams reach their potential through inspiring, actionable content.
Create process alignment & shared understanding
People in a large organization often have different goals, processes, and communication styles. Complex projects can lack clarity around roles and responsibilities. This inevitably leads to misunderstandings and frustration. So, how do you get teams to agree on a process and move towards a common goal?
Jes Harber, Senior Project Manager at Mailchimp, shares that people are people, and miscommunication is bound to happen. There’s no need to panic – you just need to find a clear path forward.
Step 1: Understand your core team’s workflow
The best way to create alignment is by talking openly about what processes and norms you want for your team. Get your thoughts down on a Miro board, explore the ideas together, and vote on best practices to implement going forward.
Learn more about Miro

Figure out how product managers, account managers, design managers, and project managers fit into your workflow. What are their roles and responsibilities? What does your team need from them, and vice versa? Write the answers down in Miro, remind each other of them as you work together, and trust each other to make it happen.
Here are a few tips:
- Map out your workflow as it is today, not as you’d like it to be. This will give you a good idea of where you are so you can decide where you’re going.
- Make sure everyone agrees on where they’re responsible.
- Make your board easily referenceable and update it often.
Step 2: Build empathy between you and stakeholders in both directions
Who are your stakeholders and dependent teams? What are their department goals and core values? Understanding what each team is trying to accomplish can create alignment and set expectations on how each team will support the other.
Empathy is key. Clearly map out goals, roles, and responsibilities in Miro as a starting point for productive conversations.
Your Miro board can now serve as a single source of truth for your core team’s workflow. However, you can’t just make a document and expect processes to change automatically – the human mind needs a bit of a push.
Here are some tips to make it stick:
- Have a kickoff. Make it fun and get buy-in!
- Stay flexible. Check in with your team, get suggestions, and adapt accordingly.
- Keep requirements concise.
- Trust the people around you. Transparency is key.
“As human beings, our behaviors are what drive change, and tools like Miro help us really create that impact.”
Jes Harber, Senior Project Manager at Mailchimp
Collaboratively turn research insights into a user-focused backlog
It’s hard enough getting distributed, cross-functional teams in the same room (virtual or otherwise). Once you do, how do you make the most of that time? How do you turn the insights from user research into actionable next steps?
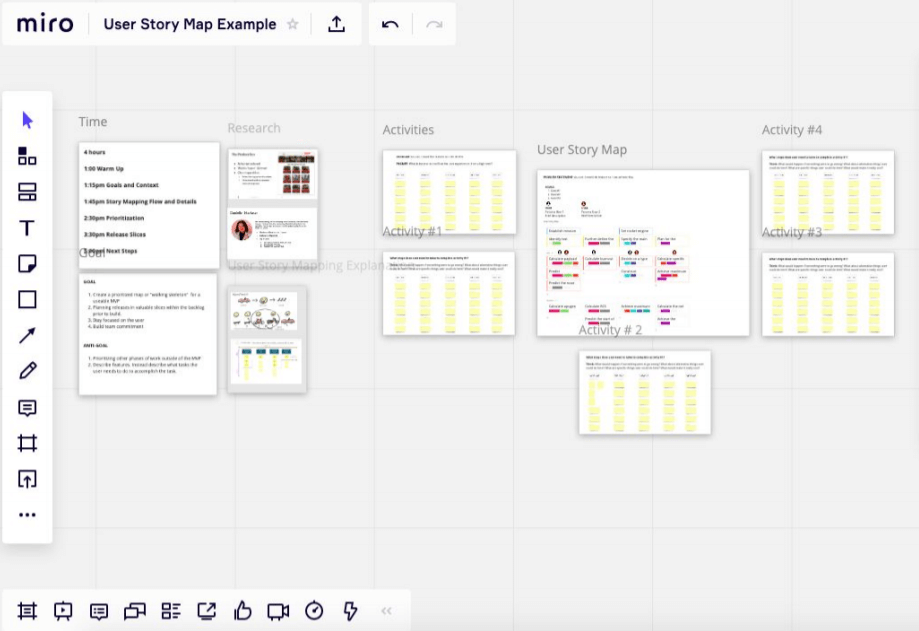
Khalida Allen, UX Researcher at Mailchimp, shares her tips on using Patton’s method to map user stories in Miro and stay outcome-focused with remote teams.
Step 1: Empathize with target customers and prep the board
First, prep the board and provide all the known research up front. Share user personas and outline the problem statement and goals right off the bat. That way, participants don’t have to go searching for background information — all the context they need will be right on the board.
Then, choose participants carefully. Treat the session like a dinner party — keep the guest list small (around six participants) to ensure you keep your guests engaged.
Finally, set everything up using the Miro user story map template. For those new to user story mapping, Khalida recommends watching Miro’s tutorial.
Here are a few tips:
- Add frames for each activity to your Miro board in advance.
- Try to keep your working space as simple as possible so that everything can be easily found and understood.
Step 2: Start with a warm-up!
Ease participants into the workshop with an icebreaker that can also serve as an introduction to what will be covered in the workshop. This can help you and your participants get comfortable using Miro.
Warm-ups serve as both an icebreaker and an example of what to expect in the actual workshop, with an added bonus of allowing participants and the facilitator to get used to the tool.
Khalida Allen, UX Researcher at Mailchimp
Step 3: Map activities and generate tasks
Map out the high-level activities in your user story map. Have prompts available within the frame to get your participants thinking (e.g. what is the end-to-end flow your user experiences from a high level?). Have your team share, cluster, and map these activities.
Once your team agrees on the activities, move on to tasks. What steps does the user take to complete each activity? What would the user do if something went wrong? What would make it a really cool experience? Have your team share their thoughts, then cluster related answers.
Here are some tips:
- Share your screen! Make it feel like a collaborative workshop.
- Monitor facial expressions throughout the workshop and air out concerns before moving on.
Step 4: Fill in the user story map and prioritize
Add all the activities and tasks into the user story map. Prioritize them as a team by upvoting your favorites with emojis, then rearrange them as needed based on how critical they are to the user.
Some tips:
- Keep this user story map as a solid artifact that you can share with external and internal stakeholders.
Step 5: Make your research actionable with the Jira integration
Enlist the help of engineers and product managers to turn your ideas into tasks using Miro’s Jira integration, and keep track of progress after the session.
Lead remote brainstorms that are inclusive, efficient, and actionable
“Brainstorming” likely conjures up the image of people gathered around a table, vigorously sketching on sticky notes, then coming together as a team to uncover brilliant new ideas. How can you recreate this in a virtual setting?
For Holly Tiwari, Staff Service Designer at Mailchimp, Miro was a game changer. Here are her tips on how to lead distributed brainstorms that end up being even more efficient and inclusive than in-person sessions.
Step 1: Prep for the session
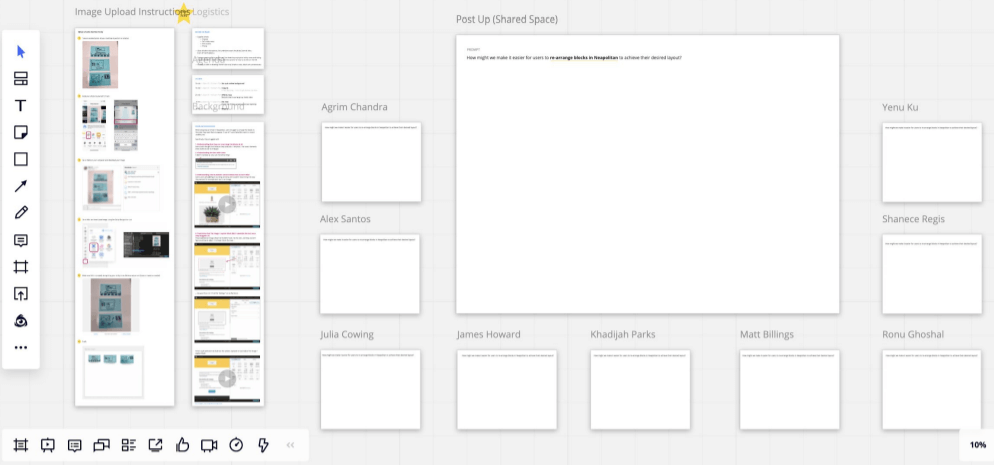
Prepare your Miro board in advance with prompts, sticky notes, and dedicated frames for each brainstorming activity. Before the session starts, assign breakout groups in Zoom so participants will be able to break off into small groups and bring their findings back using the think-pair-share method.
Doing more work upfront means your participants will have to do less, making the most of everyone’s time!
Tips to try:
- Choose a co-facilitator who knows your goals for the session and can run the timer, start conversations, and give you helpful feedback for next time.
- Set expectations in the calendar invite and emphasize that it’s a fully remote session
- Remind people to gather any materials they need in advance.
- Create a general template for brainstorms that you can customize later.
Step 2: Use Miro’s features to keep things running smoothly
Jump-start your session by going around the virtual room and have each participant introduce themselves. Review the agenda and remind everyone to close out distractions, so they can relax and be fully present. Review the problem you are trying to solve from the user’s perspective so everyone is focused on the same goal.
Tips to try:
- Play some upbeat instrumental music to avoid awkward silences.
- Use the timer!
- Ask participants to keep their camera on and keep a note of who’s in the room.
- Select the best ideas using the Miro voting app. It works like traditional dot voting, but the votes are anonymous and hidden to avoid bias.
- If participants are sketching on paper, ask them to take photos and upload images as stickies to the board using Stickies Capture.
I find that sketching is still easier to do physically versus digitally. I’ll have people sketch on physical sticky notes with a Sharpie then quickly get these images into Miro using Stickies Capture
Holly Tiwari, Staff Service Designer at Mailchimp
Step 3: Review and learn after the session
Now it’s time to synthesize all of your creativity into actionable next steps. This part is easy if you used the voting feature. Cluster the ideas with the most votes and decide how your team will move forward to make them a reality.
Debrief with your team right after the session to find out what went well and what could be improved. Each time you’ll find new ways to make sessions more fun and efficient.
Follow up with participants after the session via Slack or email to thank them for participating and review what you accomplished. Share the results and next steps with stakeholders or anyone who couldn’t attend the session, then go forth and conquer with all these great ideas!
Learn more tips for online brainstorming our comprehensive guide>>