
An educator has one primary goal: to help their students comprehend the concepts that are taught. It’s a tough job, particularly when students have different learning styles and levels of understanding.
That’s where concept maps come in handy. These visual learning tools show the relationships between different ideas so that students can work through them and better grasp how they’re connected.
Studies show that concept mapping in education helps facilitate meaningful learning in a variety of settings — whether it’s used with elementary students or even in higher education.
Curious whether or not concept mapping is worth testing out with your own students? Not sure where to get started and want some examples to guide you? We have what you need in this guide.
Kat is a Wisconsin-based writer who covers topics related to careers, self-development, and freelancing.
How can concept maps help teachers?
As a teacher, you know that what benefits your students benefits you. Their success is your success. So, let’s cover a few of the most notable advantages of concept mapping in education:
- They help students get a better grasp on course material, particularly if they’re visual learners.
- They help teachers understand how their students process information, as they get to watch them actually work through complex subjects.
- They help students dig deeper into topics to grasp relationships between ideas instead of only understanding them at a surface level.
- They boost student retention, as writing things down helps improve our memory.
A concept map isn’t busywork or an extra task for your students. It’s a resource that can help them enhance their learning and make even the most complicated subjects feel far more digestible and manageable.
Making and using concept maps in education
Now that you understand the benefits of using concept maps with your students, the natural next question is: How do you create and use them?
Don’t worry – we’ll share some examples of concept maps for teachers in the next section. But, before we get to that, let’s cover the steps and tips to help you roll out this learning tool with as few groans and eye rolls as possible.
1. Choose your medium
In general, there are two different ways that you and your students can create concept maps:
- Pen and paper
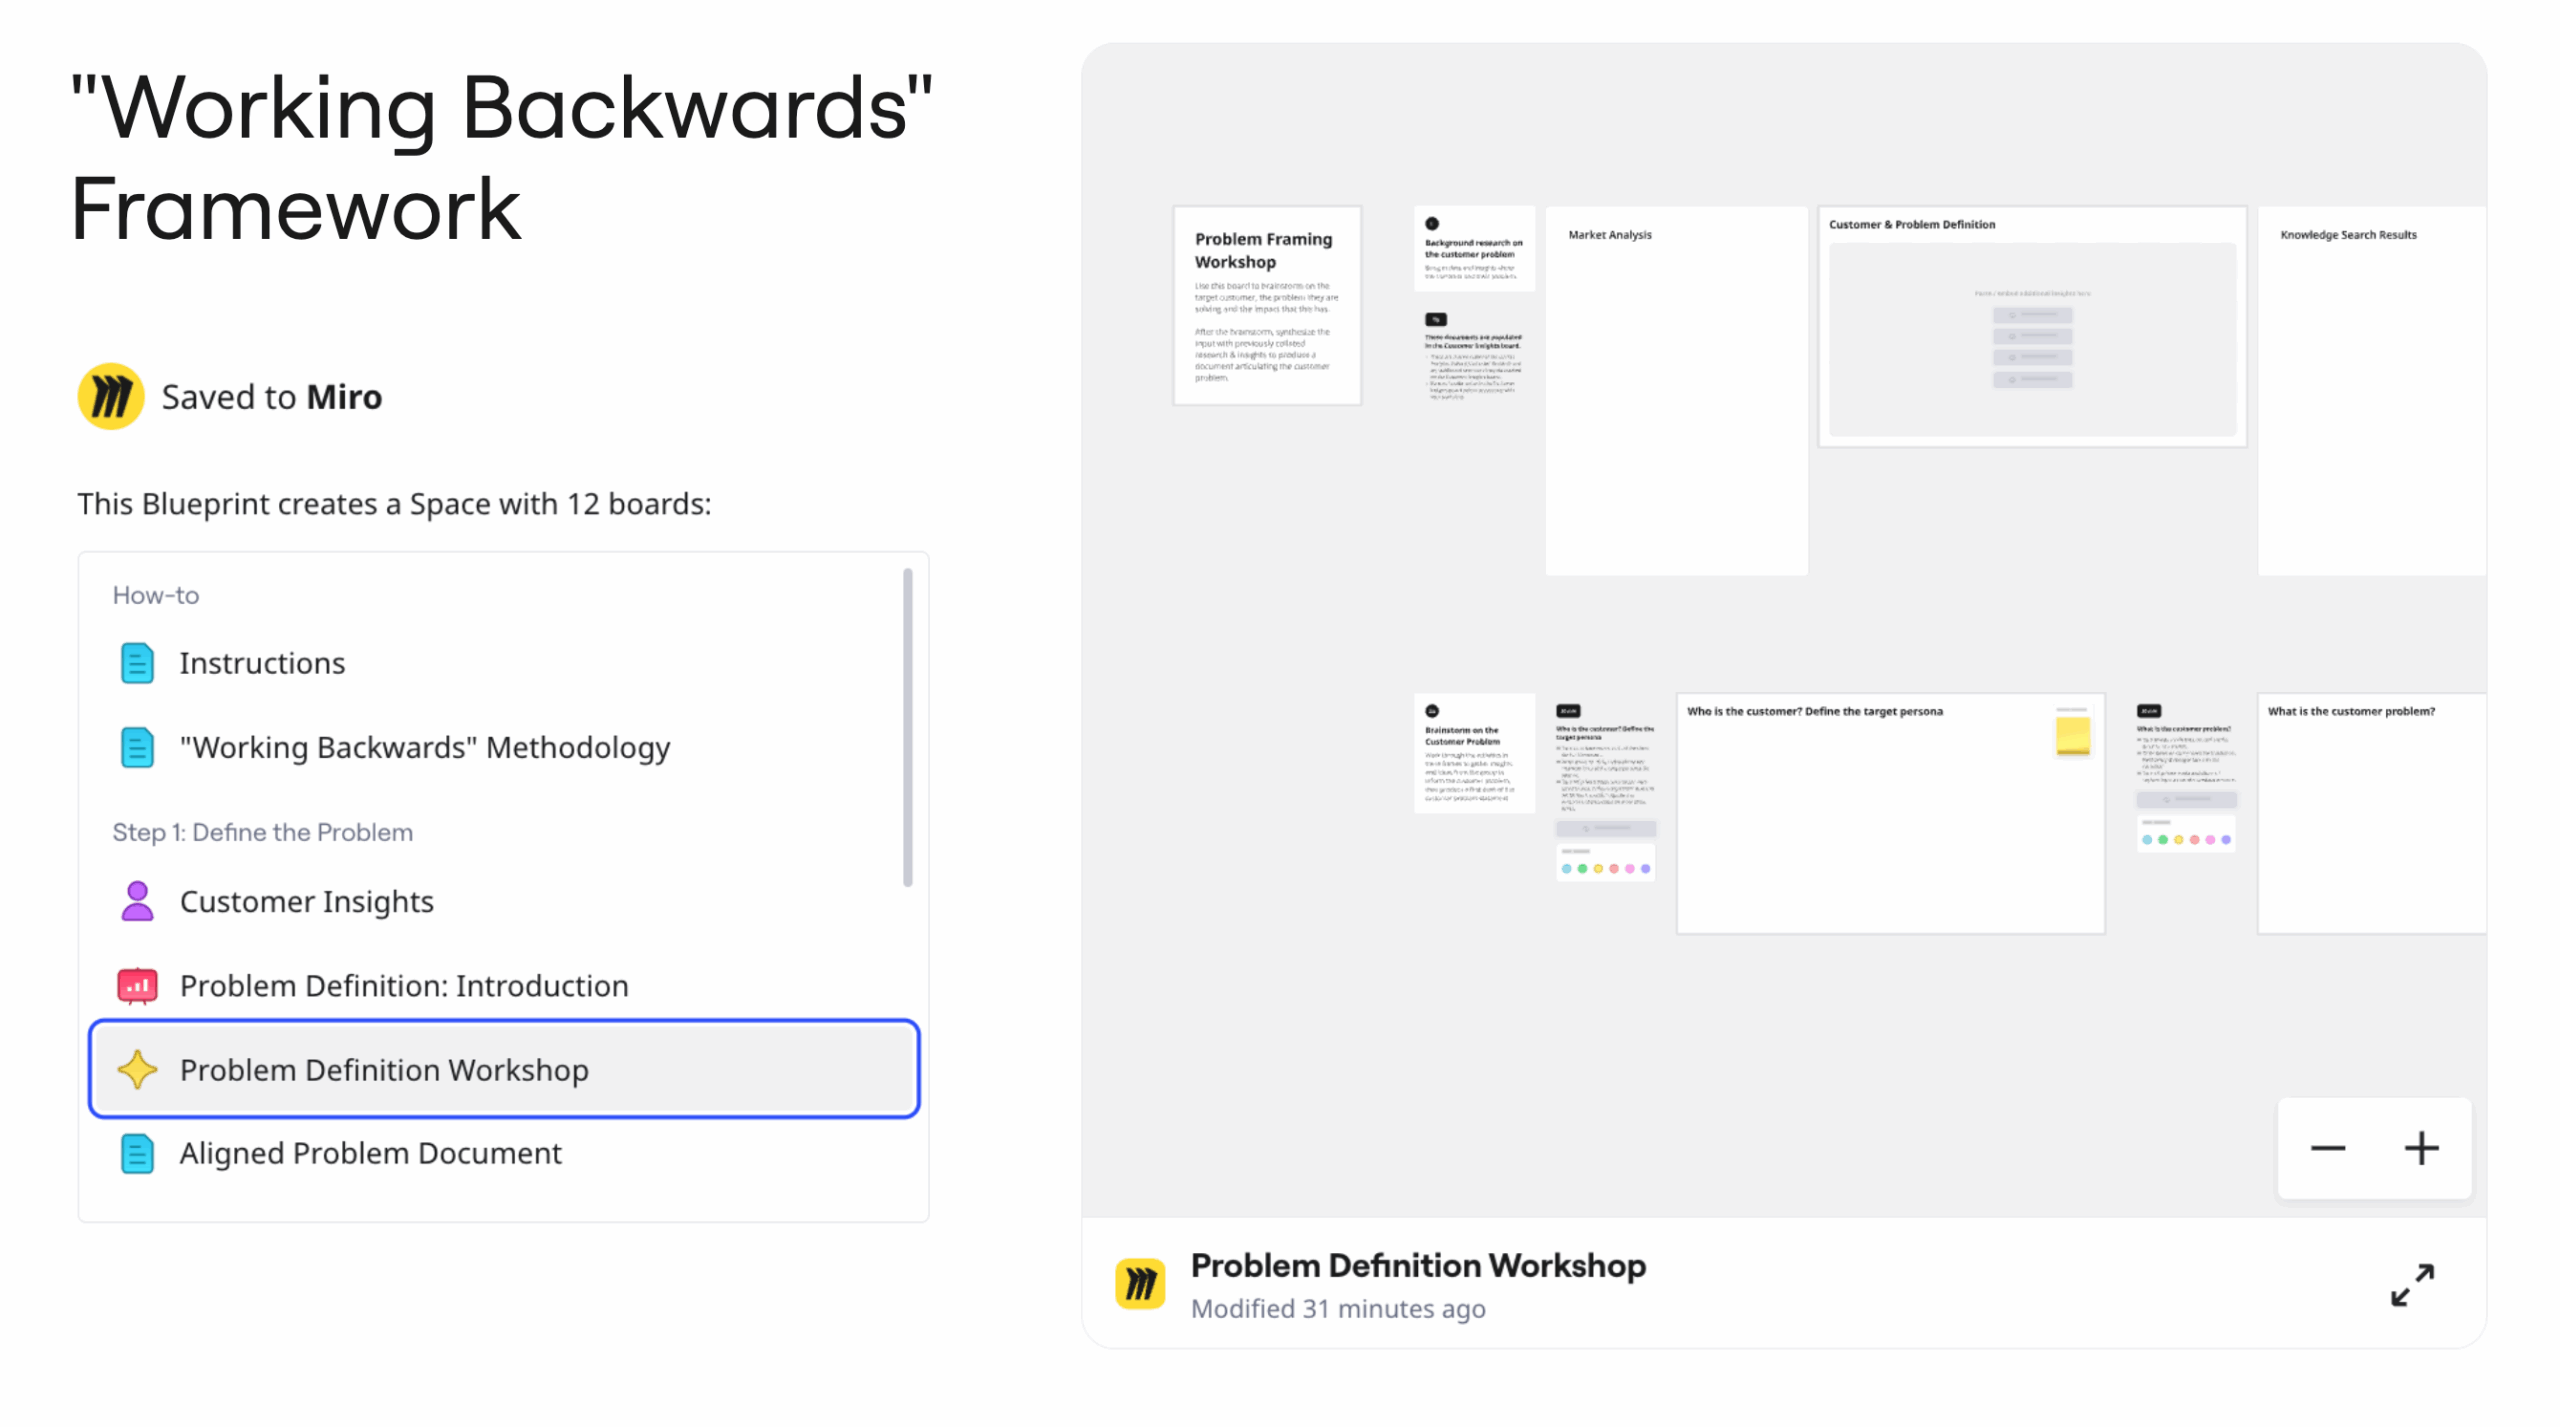
- Miro’s online whiteboard
If you’re all together in the same room, then you’ll be able to work through a concept map together using a physical whiteboard or large piece of paper.
However, as remote learning environments have become more prevalent, you might need to opt for a digital or online tool to collaborate on your concept map. A free online concept map maker like Miro makes this process easy (and fun, to boot).
Get started with the Concept Map Template.
2. Familiarize students with the basics
Much like any other learning initiative, you’ll want to start by laying the groundwork for your students. That begins with familiarizing them with the basic components of a concept map, including:
- Focus question: Most concept maps center on a specific question or topic. For a super simple example, “What are dogs?” could be a focus question for your concept map.
- Concepts: These are the various ideas related to your focus question. They’re usually represented by circles, ovals, or boxes and are called “nodes.” Sticking with our “what are dogs?” example, different concepts you might come up with could include:
– German shepherds, rottweilers, poodles, chihuahuas, etc.
– Pets, companions, search and rescuers, service animals, etc.
– Furry, four-legged, mammals, etc. - Relationships: These are represented by arrows on your concept map. They connect your different concepts and are often called “cross-links.” They’ll typically include a connecting word or verb that clarifies the relationship, but they don’t have to.
3. Create an example together
Now that you have that foundation in place, it can be helpful to work through a concept map together with your students to get the ball rolling and show them how the tool works.
It can feel like a bit of an academic exercise at first, so moving through a straightforward example (our “what are dogs?” question is perfect for this) as a group will help them see that it isn’t nearly as intimidating as they might think it is.
Keep in mind that concept maps aren’t only part of the learning process – they’re a learning process in and of themselves. Encourage your students to keep trying and get creative. This is a tool that should benefit their learning rather than something that should serve as an extra point of frustration.
3 creative examples of concept maps for teachers
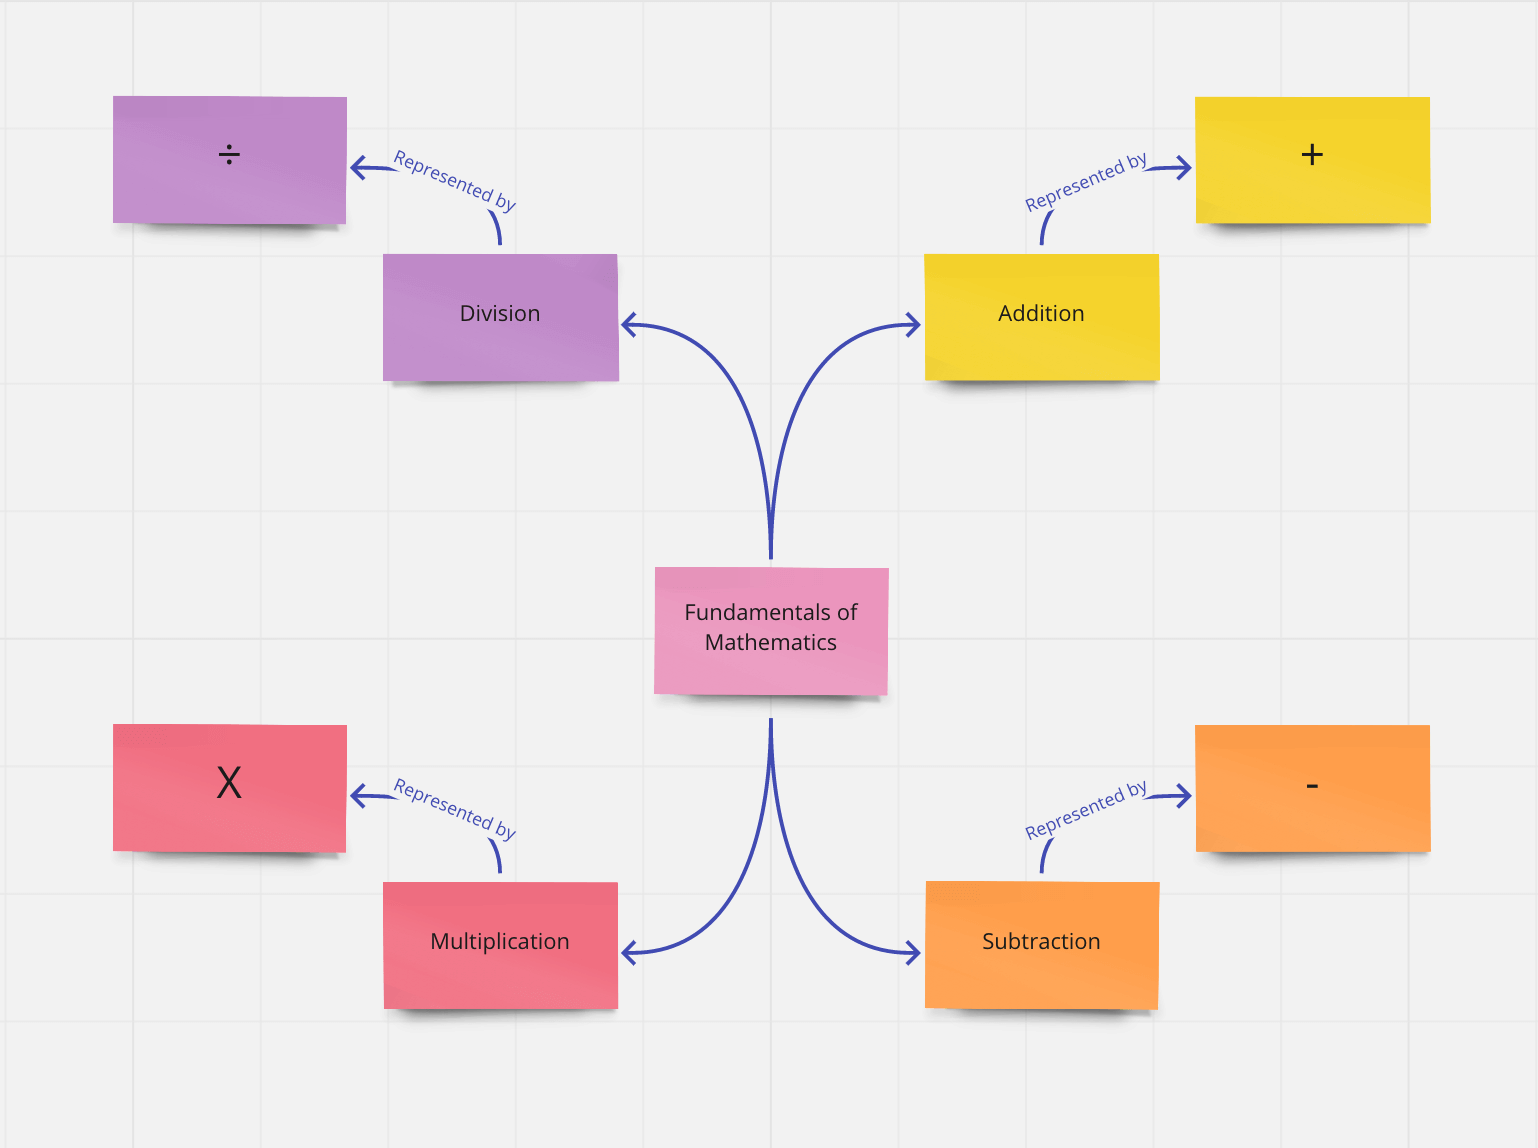
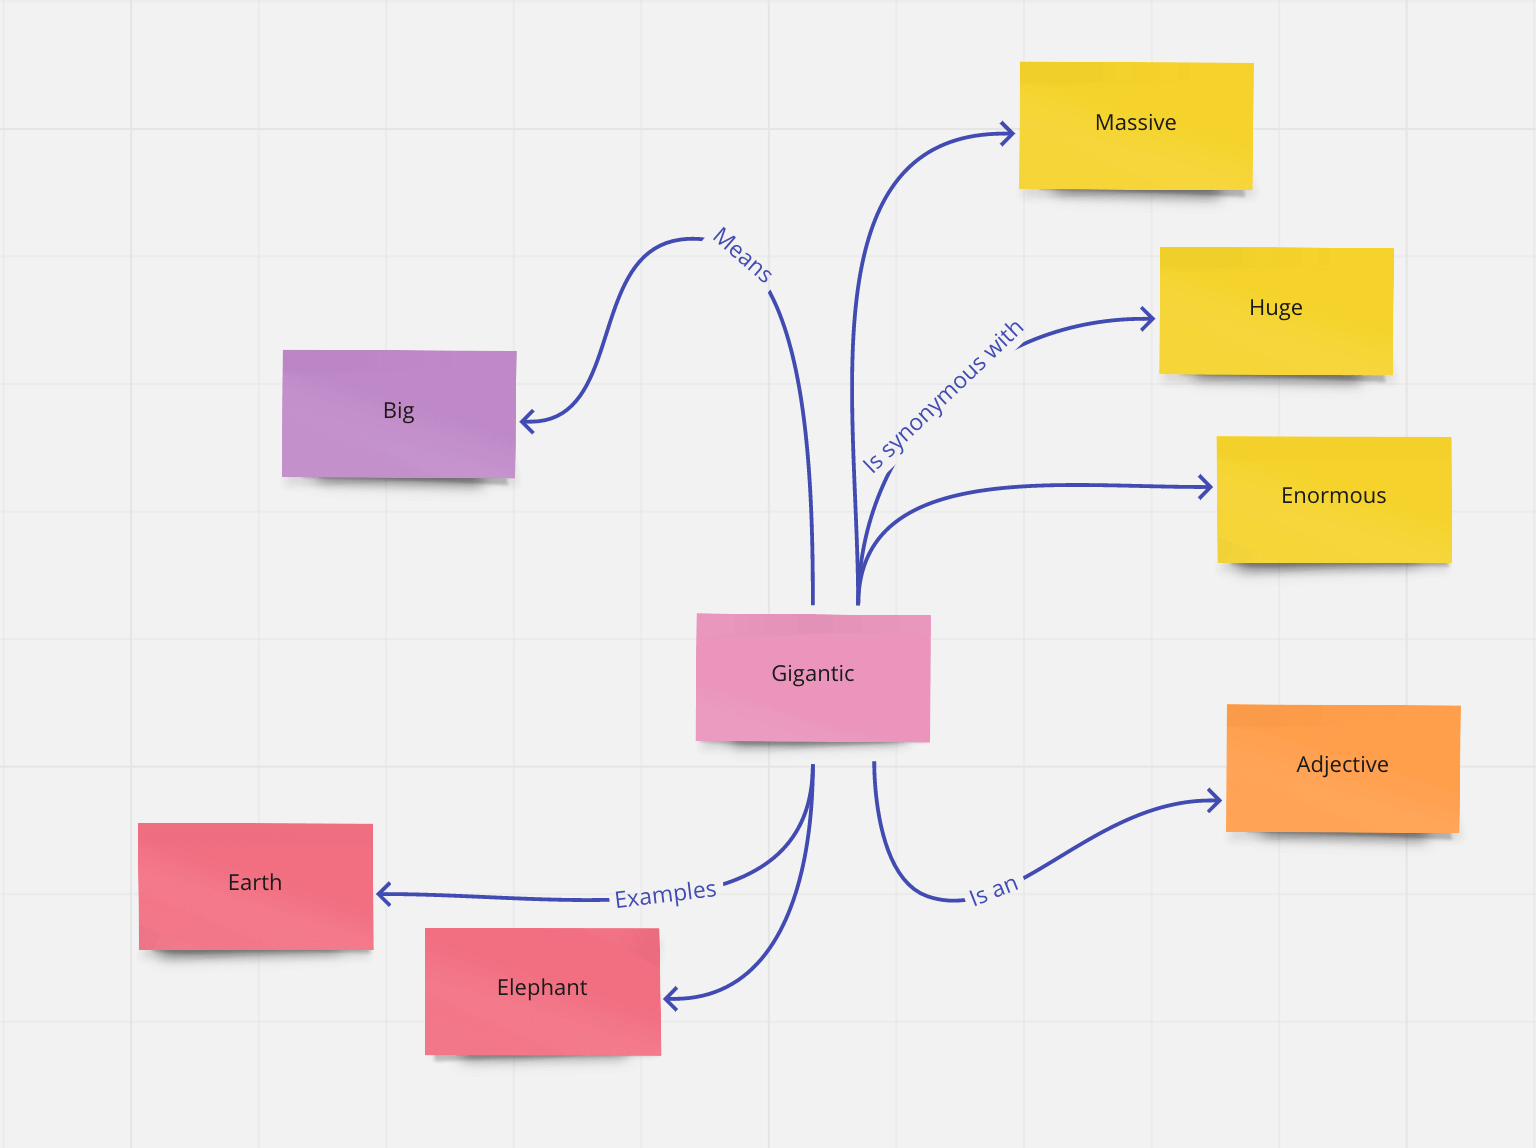
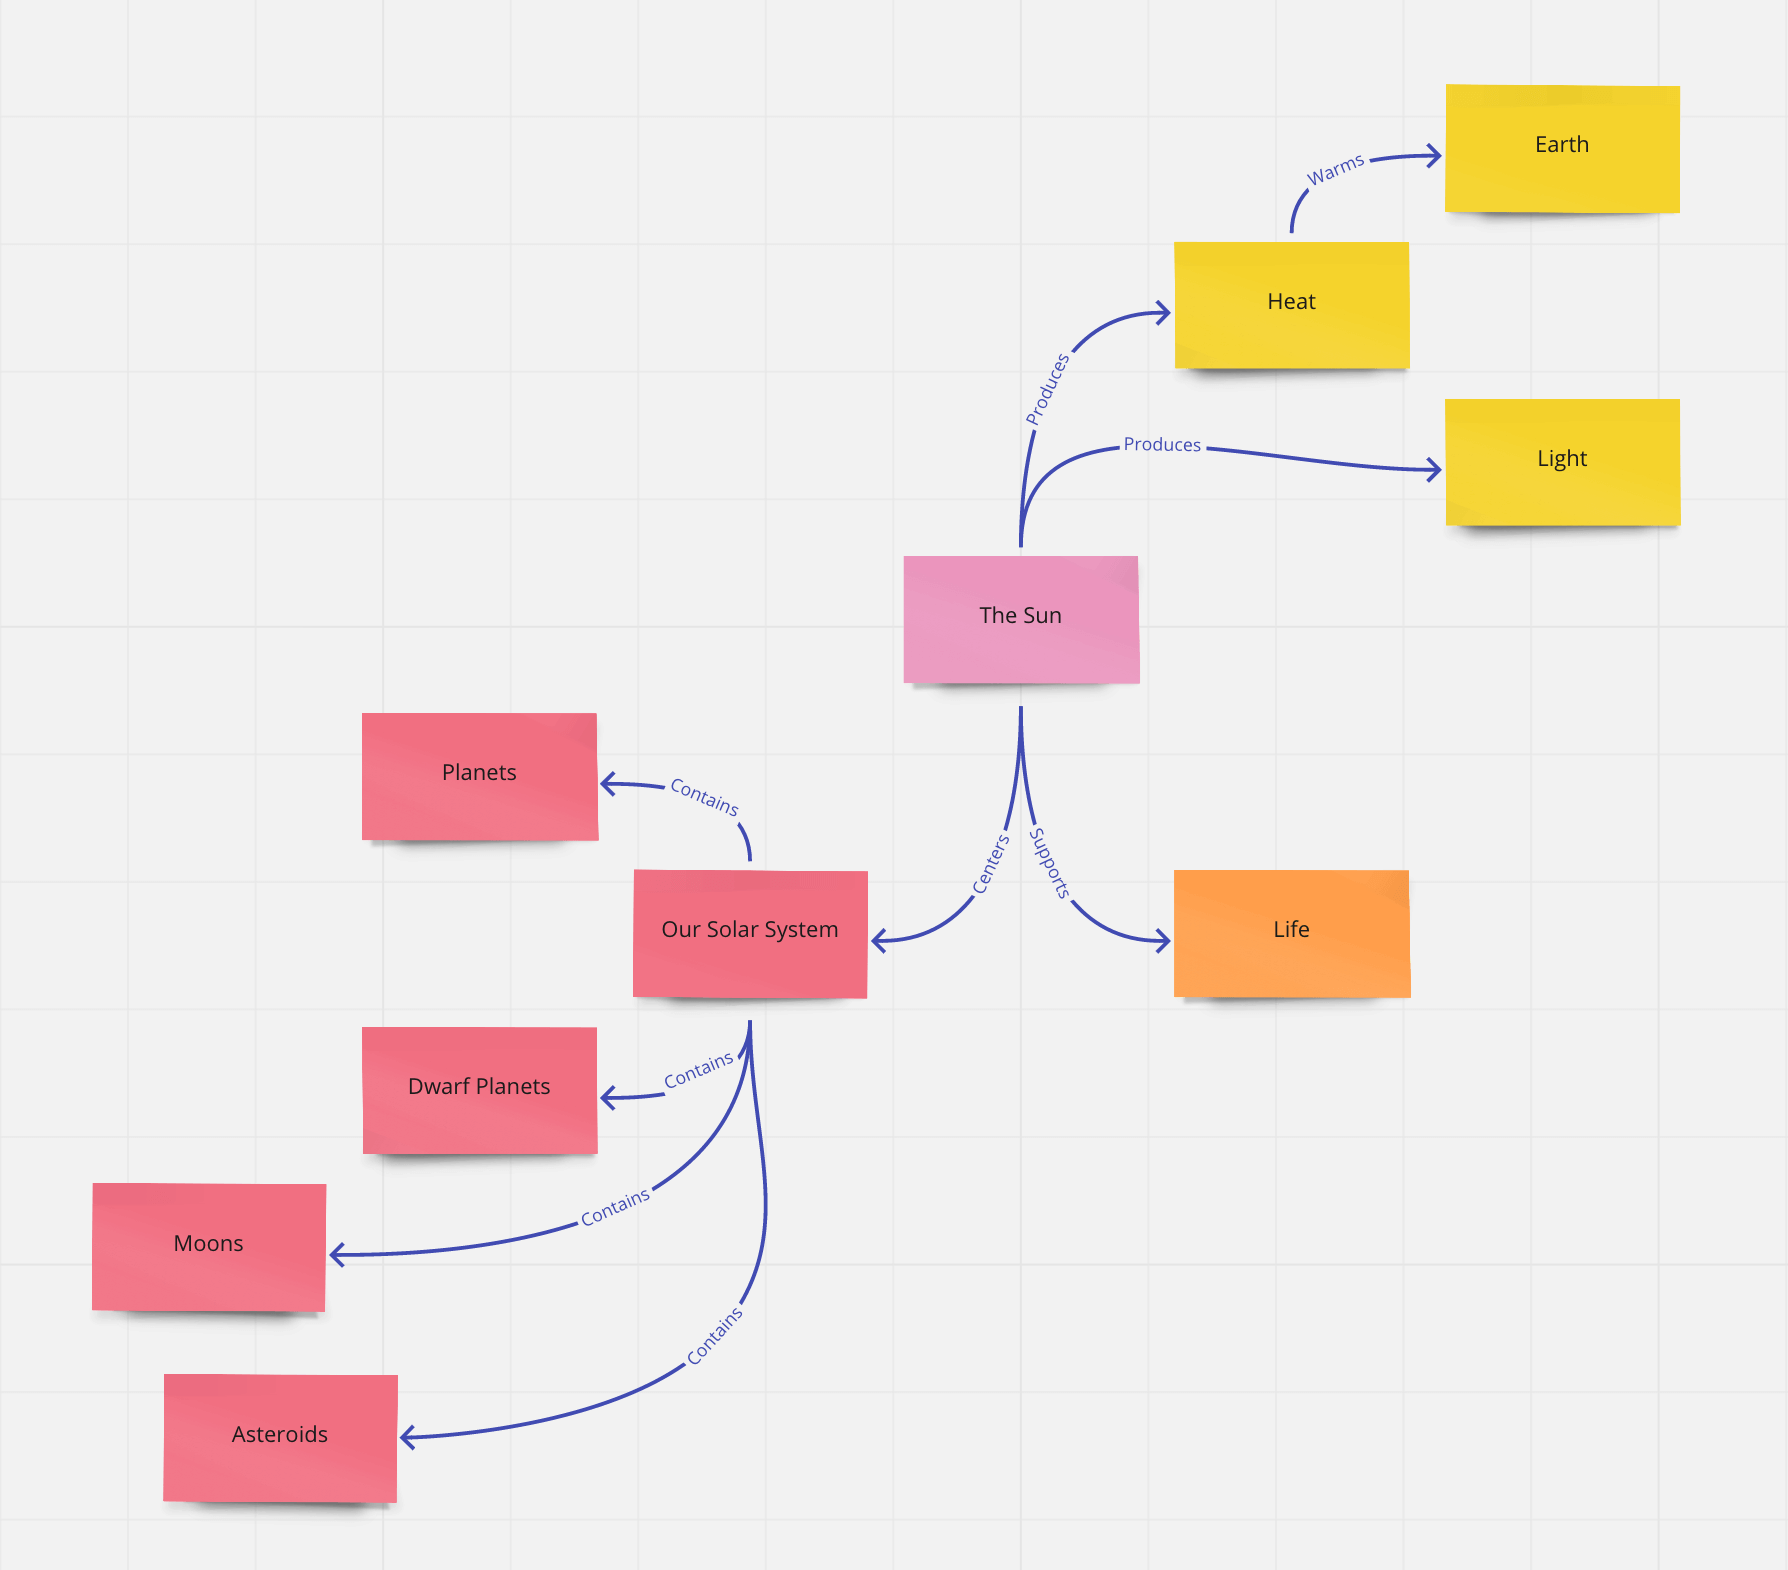
Need a little creative inspiration to get you started on the right path? We’ve pulled together three simple examples of concept maps in different categories: math, science, and vocabulary.
These are only brief examples, and the concept maps that you and your students create will likely become much larger and more complex. But, these will hopefully help clarify how to build these out from a focus subject or question.
Harness your students’ brainpower with concept mapping
As a teacher, you want your students to not only grasp the concepts you’re teaching but also get excited about them.
Fortunately, a concept map can help take even the most complex and hairy topics and break them down in a manageable, engaging, and visual way.
Ready to help your students experience the power of concept mapping? Miro makes it easy. Try our free concept map template to collaborate on concept maps with your students – whether you’re learning in-person or online.