Teachers, you have enough on your plate. So today we at Miro ask ourselves: how can we help you help your students learn?
Miro’s digital whiteboard offers a multitude of learning and collaboration possibilities, and that’s why we’re thrilled to share this step-by-step guide showing you how to make the most of Miro and have fun while doing so! Our goal is to make life easier for you and your students, one click at a time.
Jennifer Clark, our Customer Education Manager at Miro, recently facilitated a webinar on how to create and present content and devise enriching learning experiences in Miro, which we’ll recap for you today.
We’ll start with digital whiteboard basics, show you ways to utilize Miro before, during, and after class, and share lots of helpful tips and easy-to-use features. We’ve got plenty of images to accompany the information (you’re welcome, visual learners) so you’ll be feeling confident and equipped to create meaningful, screen-enhanced learning moments.
Miro basics for online and blended learning
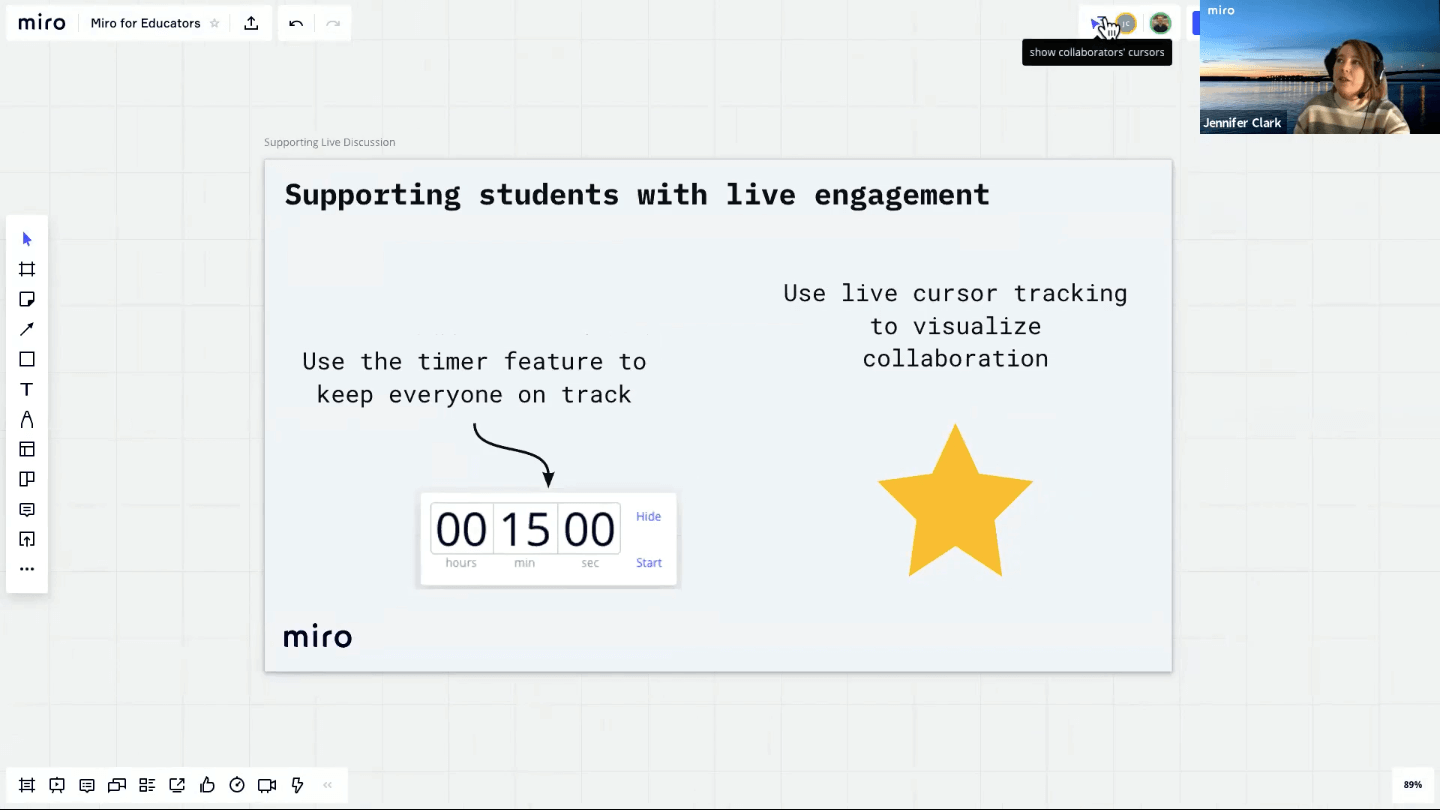
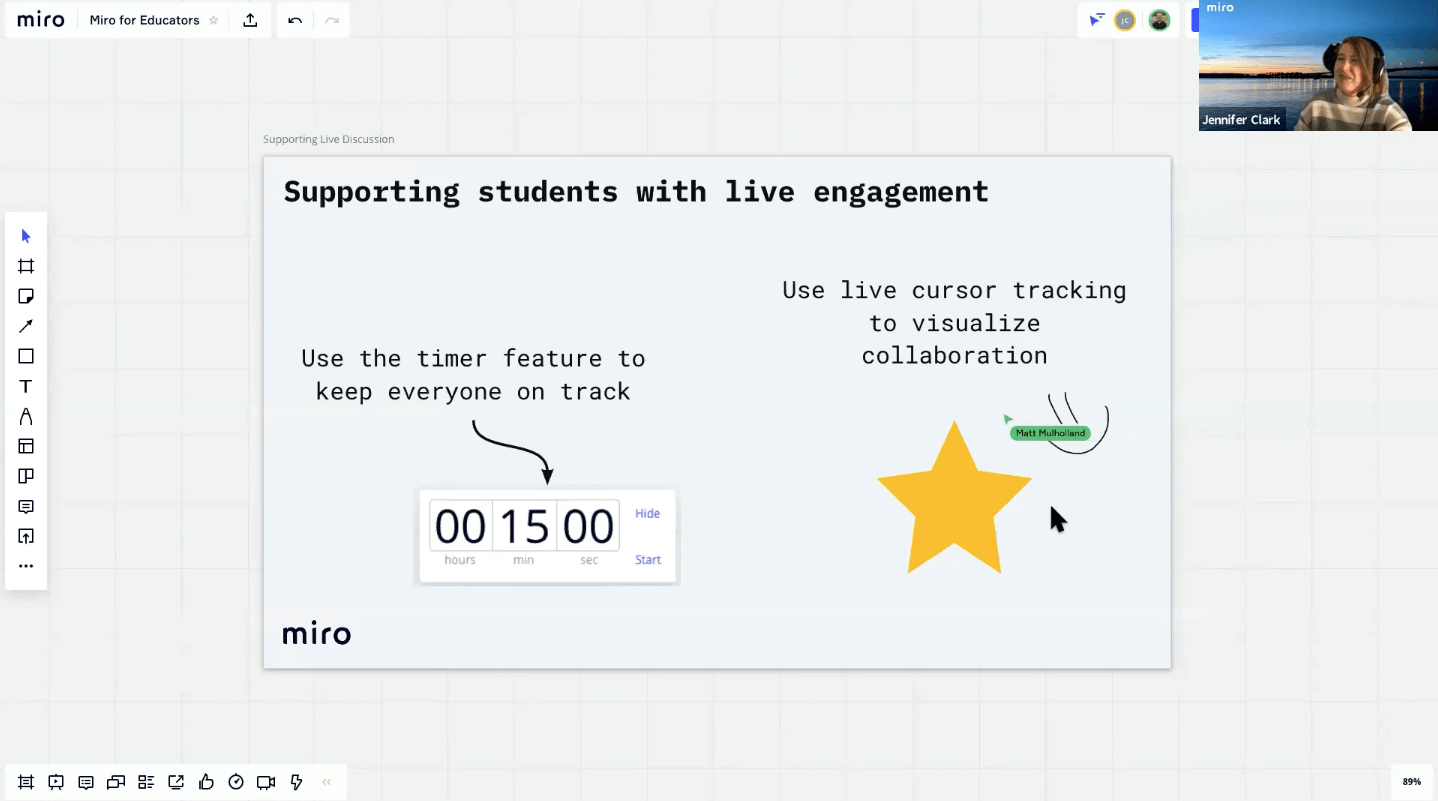
Miro is an infinite, freeform whiteboard that enables you to create content anywhere you want on the board. It features live cursor tracking, mimicking the effect of working side by side even if everyone is apart.
Miro is available to use on any device and its intuitive interface makes it very easy to learn and manipulate. Before class begins, you should play around with the tool and simply practice building boards and saving them as templates. The more you do it, the more you’ll discover and the easier it gets!
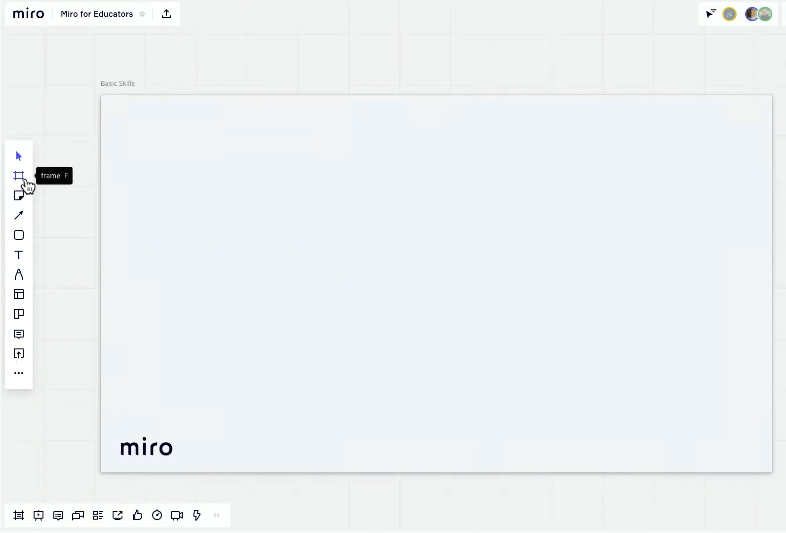
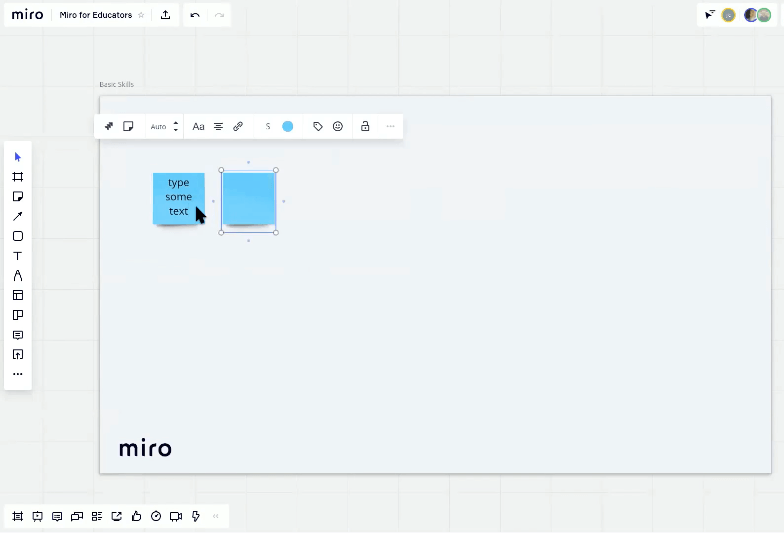
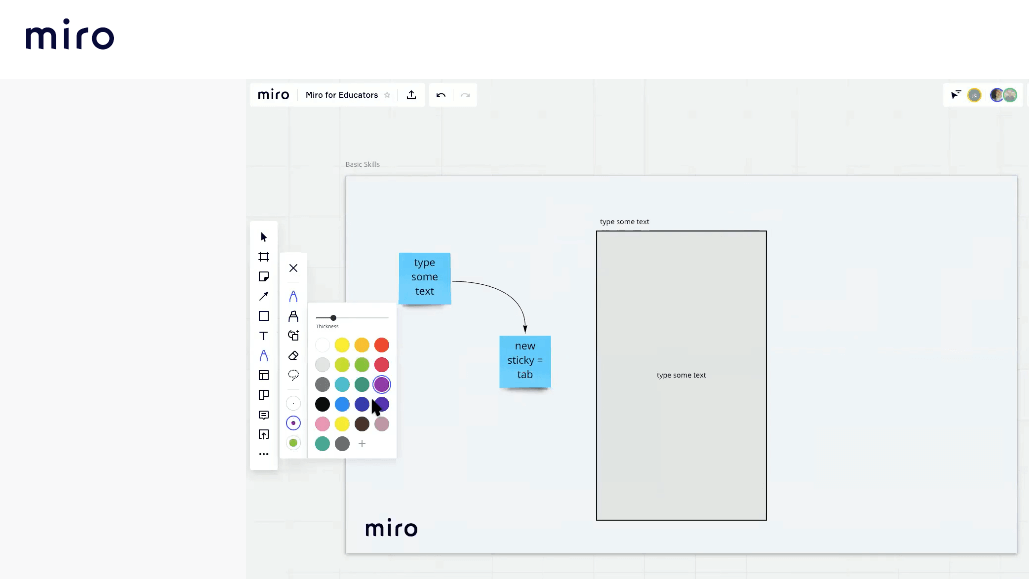
You’ll find there is a basic toolbar consisting of frames, text boxes, a pen, shapes, sticky notes, and more. All of these tools help you quickly add simple content to the whiteboard.
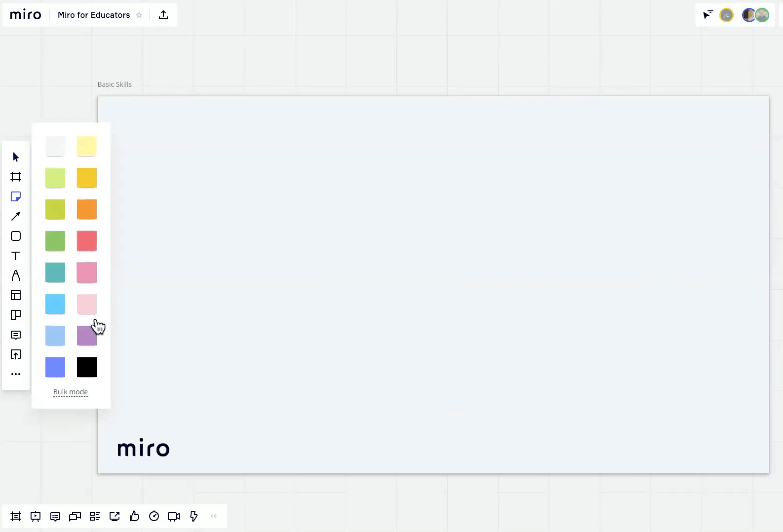
If you’ve never built a board before, start with a frame (click on the cross-hatched square in the tool object menu bar on the left), create a sticky note in your favorite color (click on the square icon also in the menu bar), and drag it onto the board. Then click on the sticky and type some text.
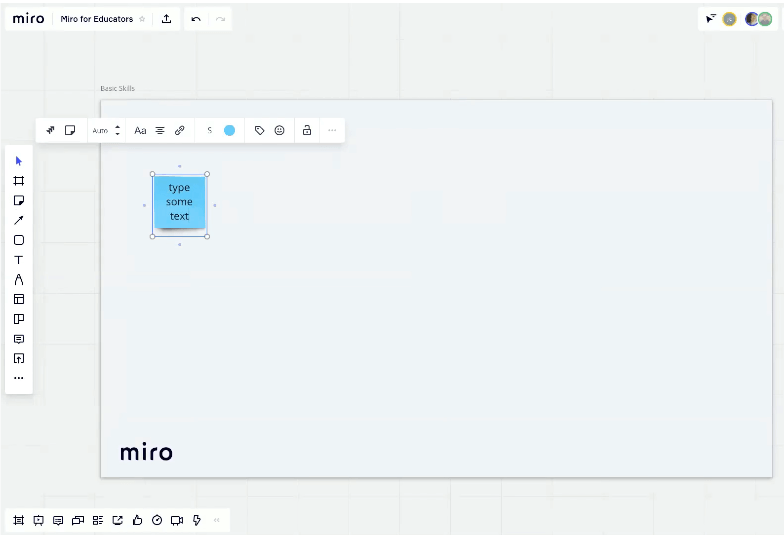
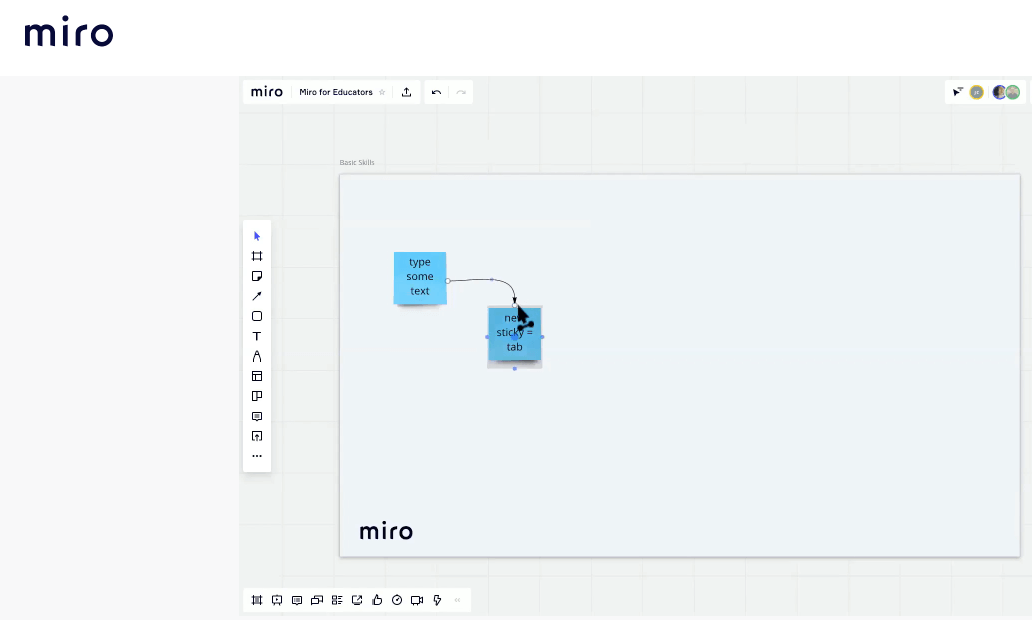
If you click on the sticky note and hit “tab,” you’ve got a new sticky note to write on. Easy peasy!
To link ideas in some way, you can use the connection line tool also found in the menu bar on the left. Or simply click on the sticky note, find the blue dot, click on it to create an arrow, and drag it toward the other sticky note to connect the objects. You can move the object around and the arrow will remain.

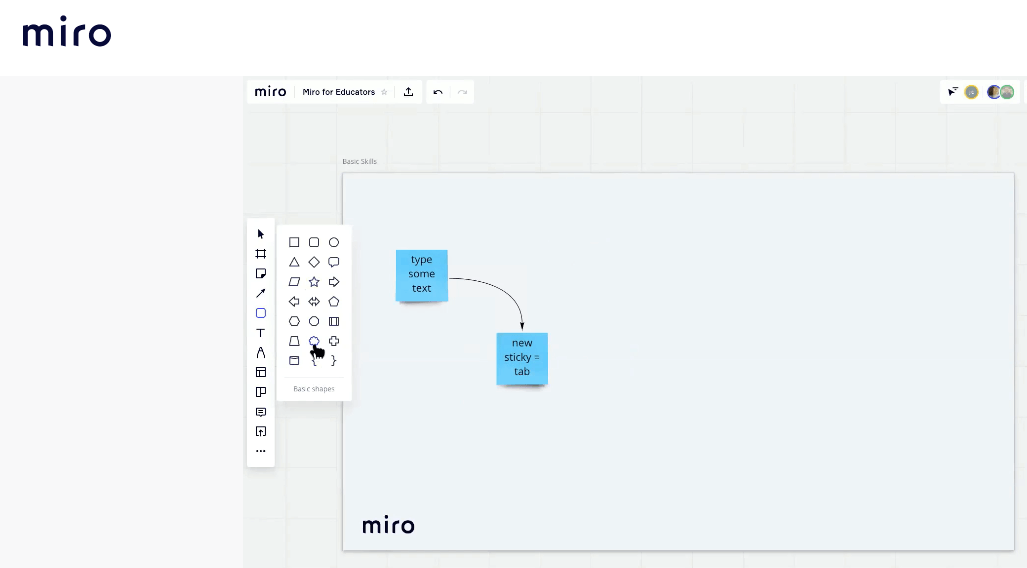
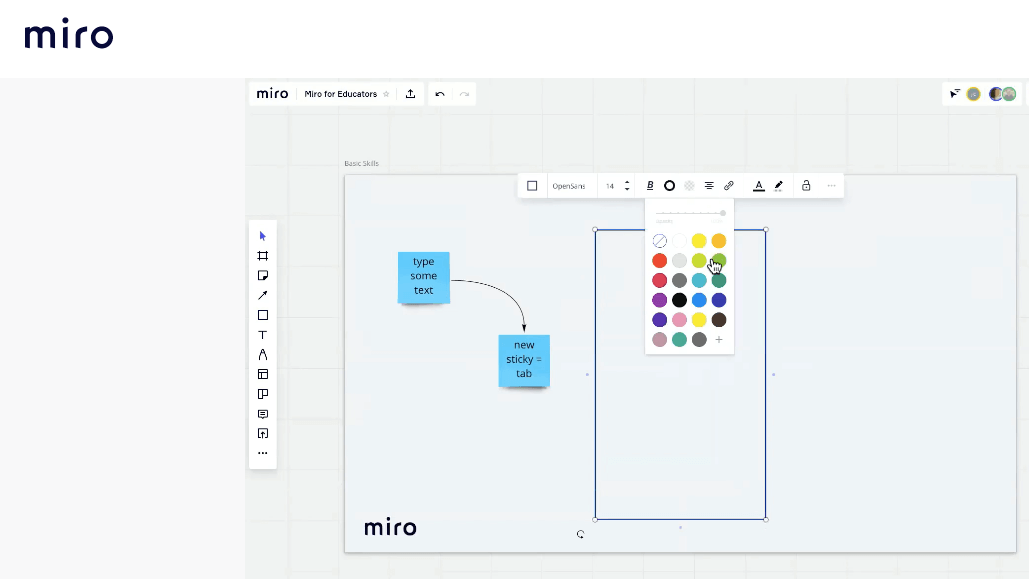
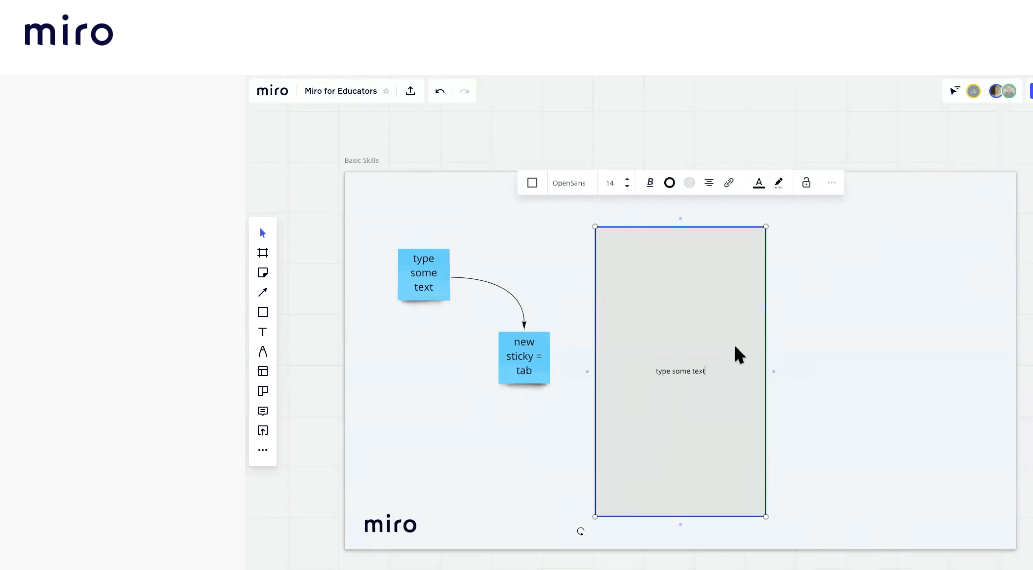
The shape tool in the object menu on the left-hand side of the board enables you to generate a new contained space for separate content. You might choose a rectangle and fill it in with color, then click on it to type text.
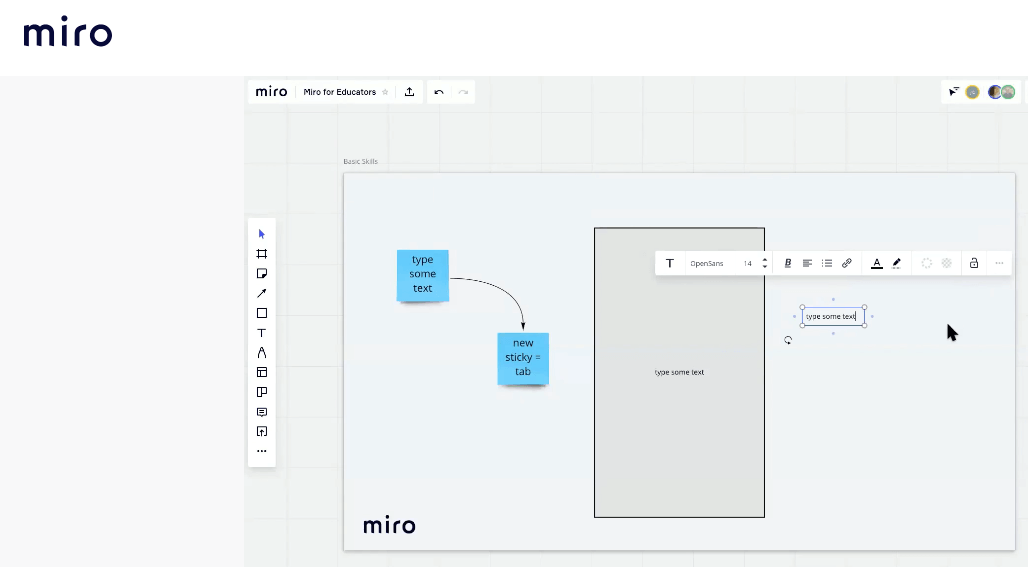
Add text boxes to leave text anywhere on the board. Click on the capital T in the object menu, which creates a cursor that can be placed wherever you want, either on frame or off the frame.
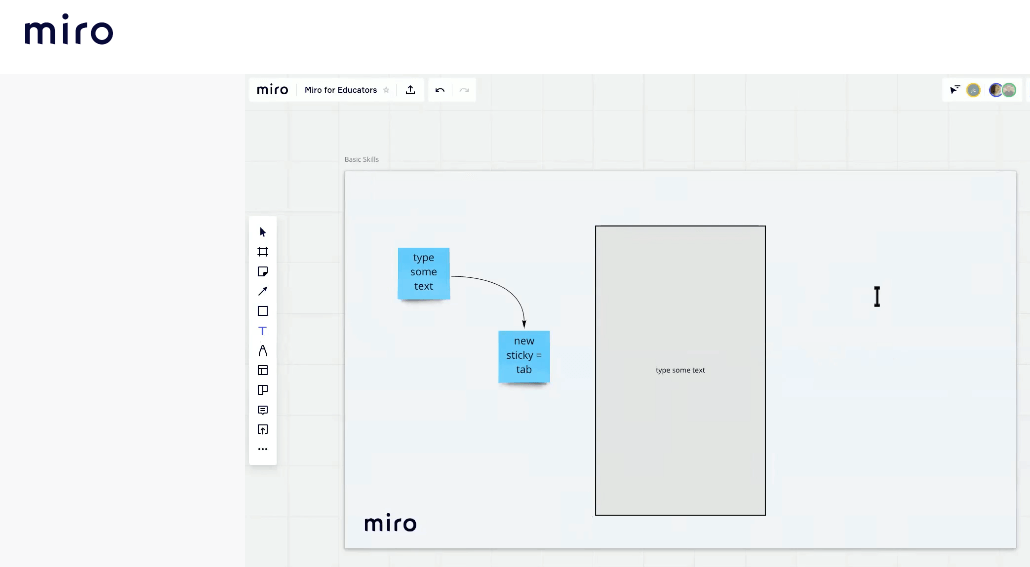
Drop the cursor where you want the text. Then click to add text.
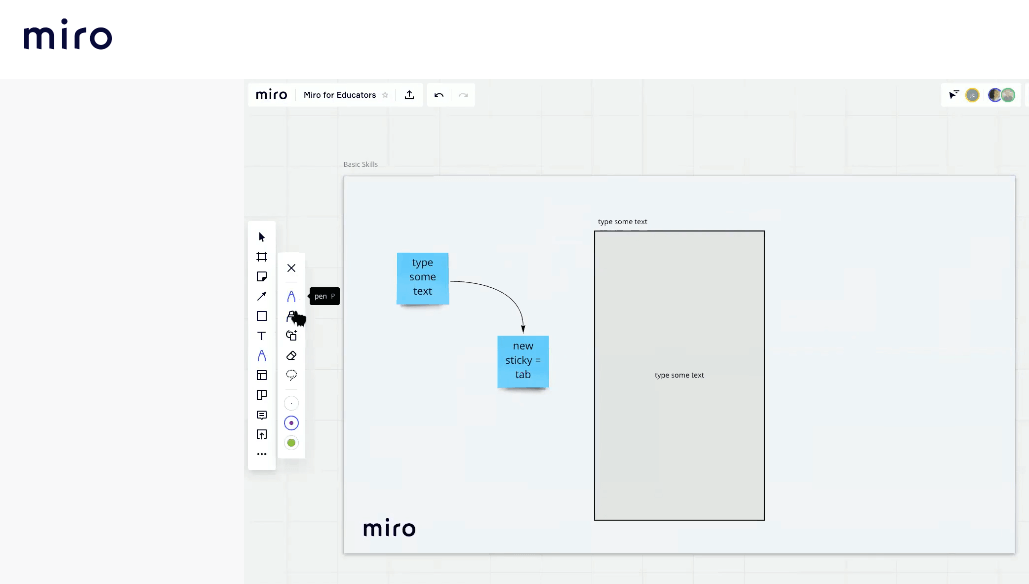
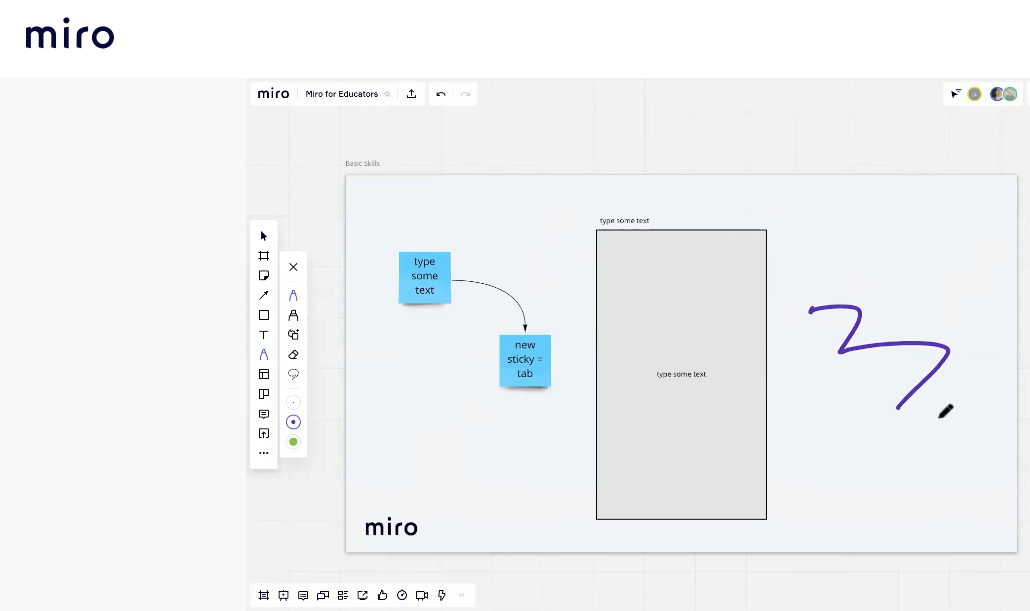
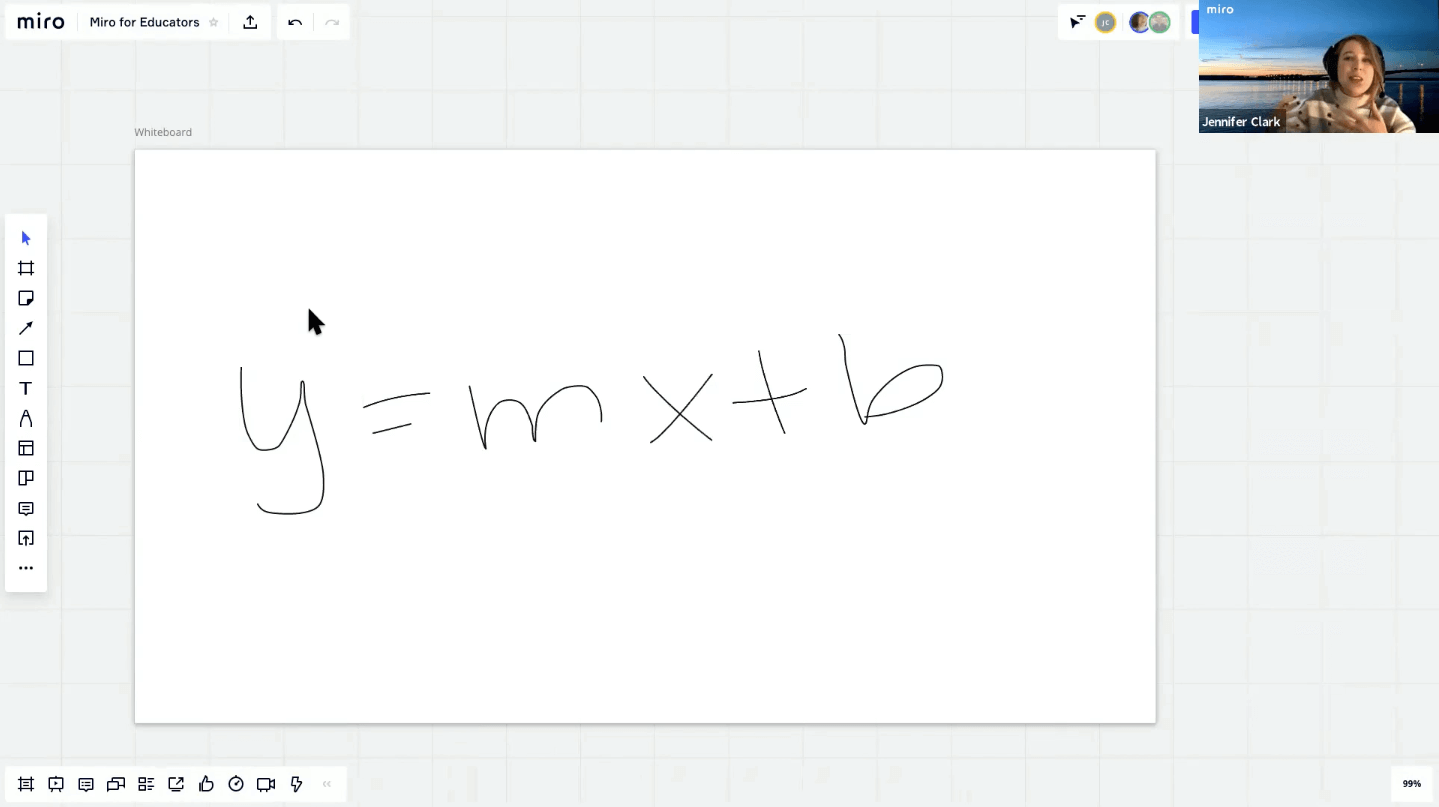
If you prefer to write or draw, there’s also a pen tool. Select a pen or highlighter and then select a size and color to draw directly on the board.
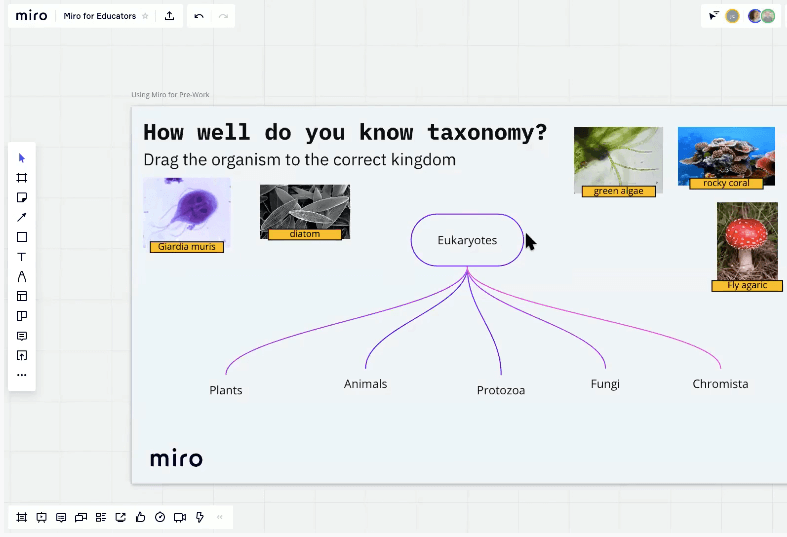
Before class begins, it’s good to get comfortable in Miro and get used to applying the basics. As you practice, you’ll soon see you can create any kind of content that you want, like the pre-work assignment example below.
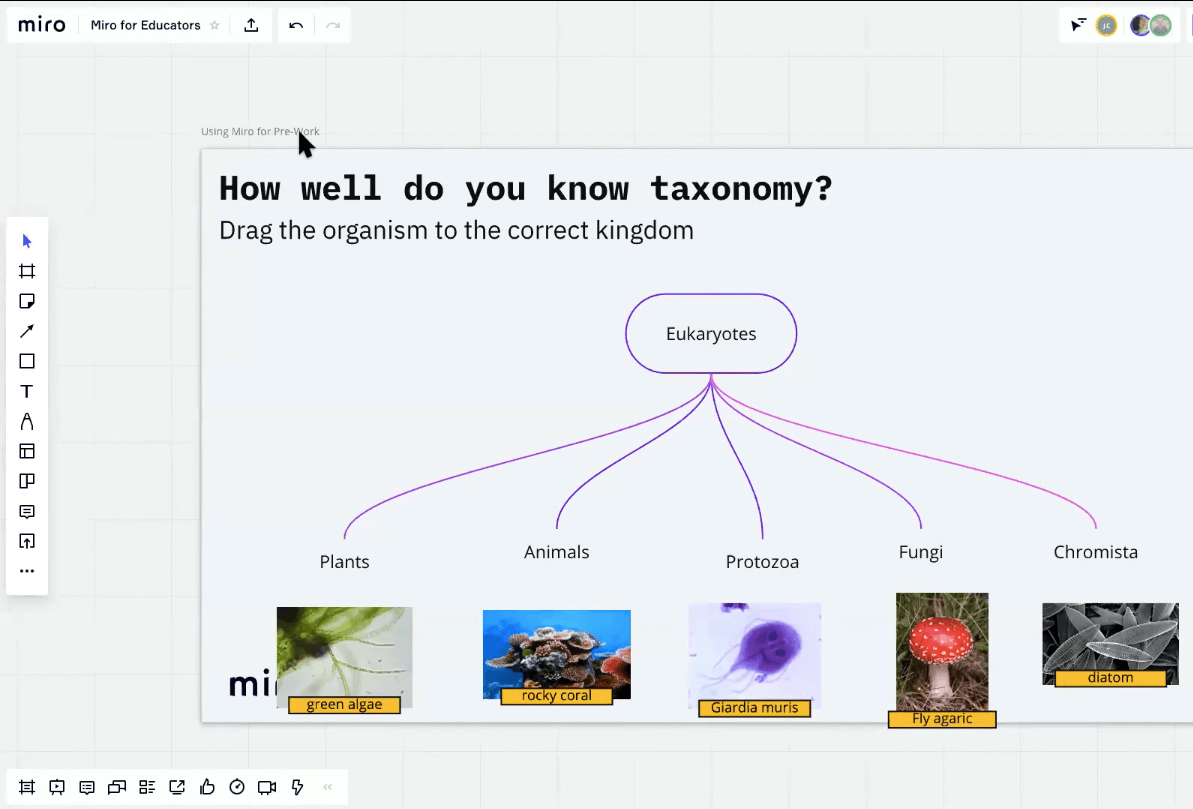
Put Miro basics into action with pre-work exercises
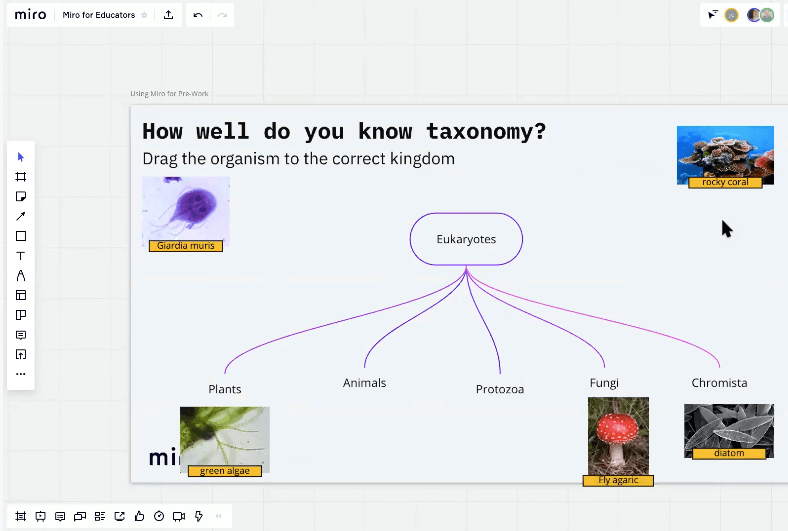
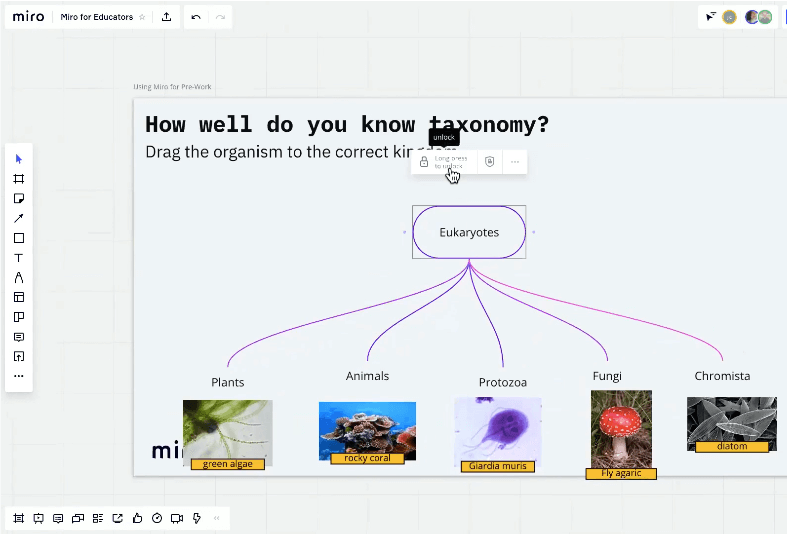
This pre-work assignment was created using images, different shapes, text boxes, and a mind map tool (some of the basics from the object menu on the left-hand side of the board). As you can see, students are asked to drag the images to the correct places.
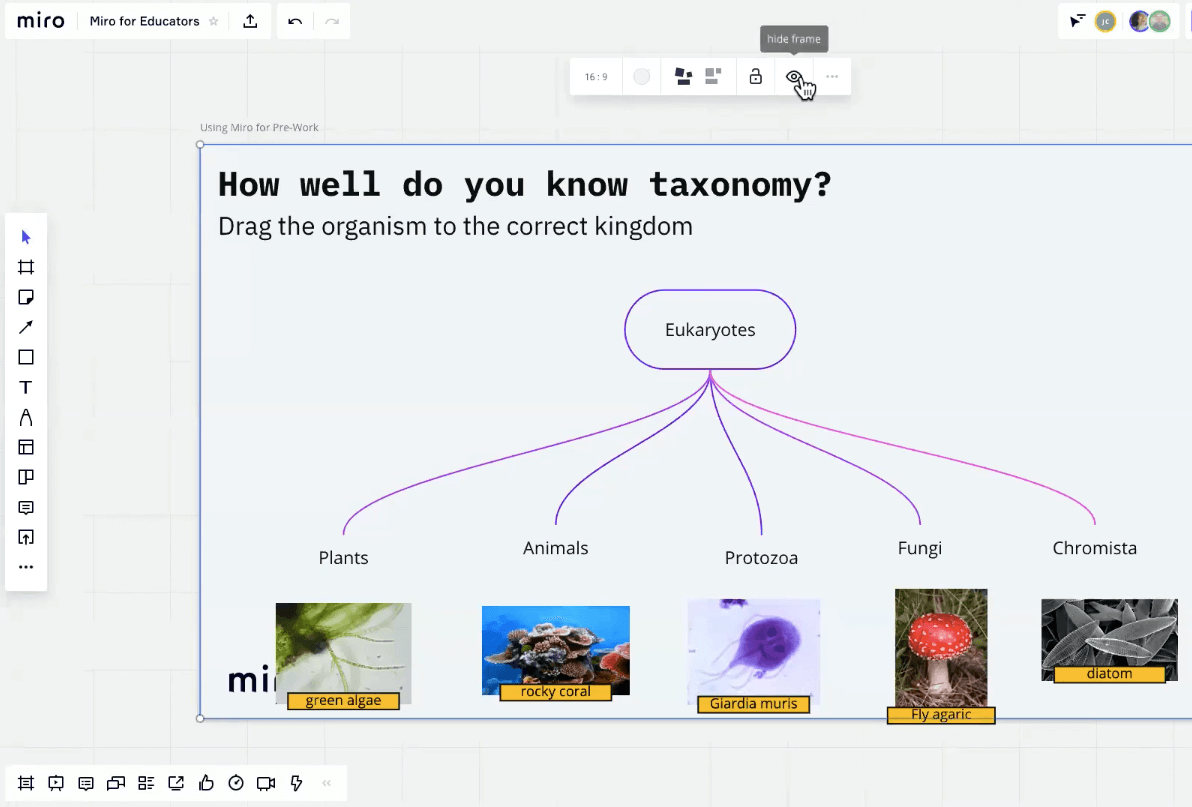
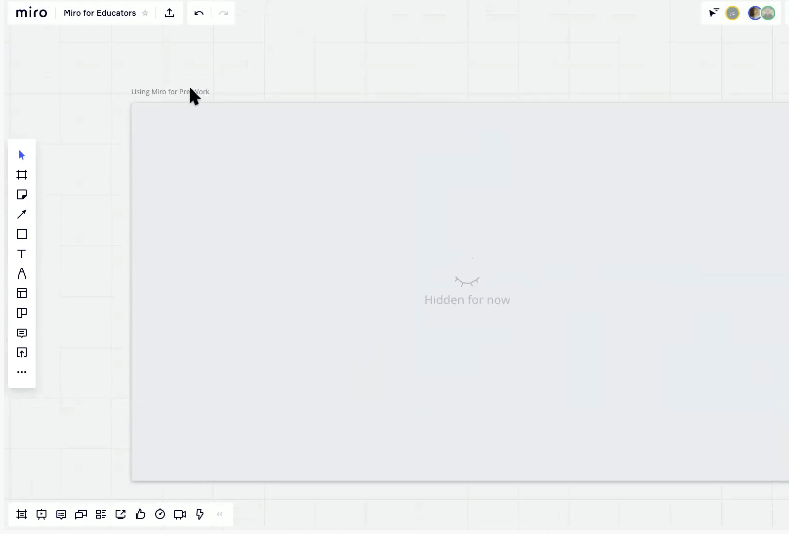
If you’d prefer, you can set up pre-work for students and make it hidden so that you can reveal it when you are ready (maybe as a warm-up exercise before class begins). To hide the frame, click on the title in the upper left corner and then click on the eye icon, which says “hide frame.”
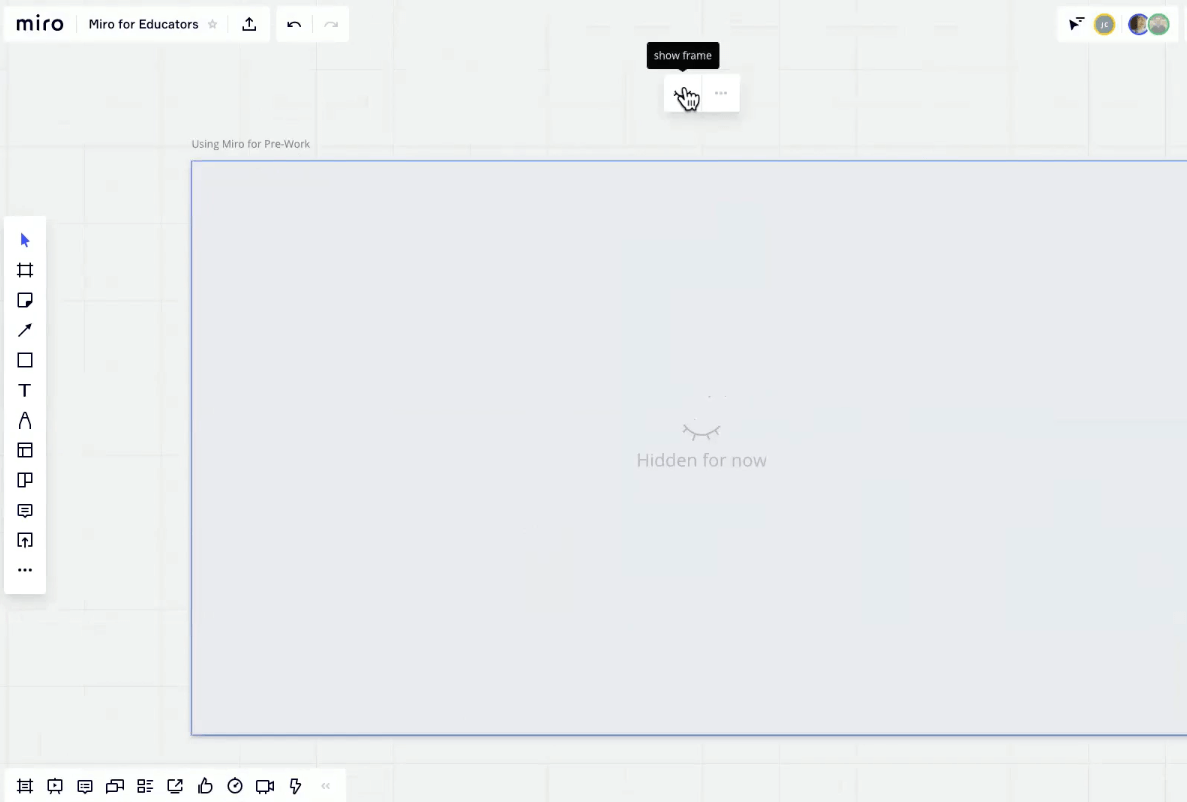
To reveal the frame, you again click on the title and then click on the closed eye which says, “show frame.”
If you’ve created something specific that you don’t want students to move around, you can lock any object or group of objects in place and unlock it as you see fit.

It’s important to note that Miro has made the main types of board content, such as frames, sticky notes, shapes, text, and comments accessible for screen reader users.
How to use Miro during class
Now it’s time to talk about what you can do during class hours. A fun way to kick off class and get a temperature read is to check in with your students via an icebreaker. If you’re short on ideas, you can find plenty of icebreakers in our Miroverse library.
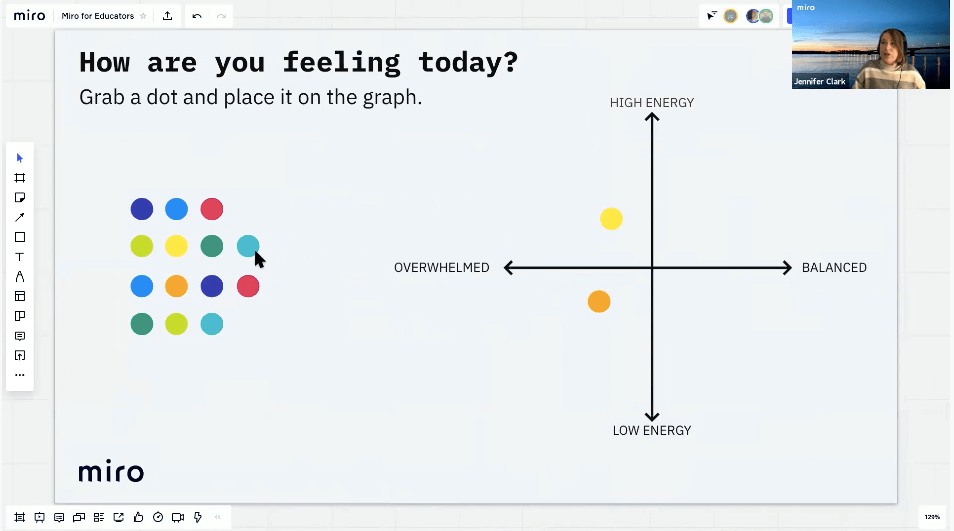
In her webinar, Jennifer Clark shared how you might provide little dots for students to place on a graph indicating how they’re feeling. You may keep it anonymous or have everyone add their initials to the dots.
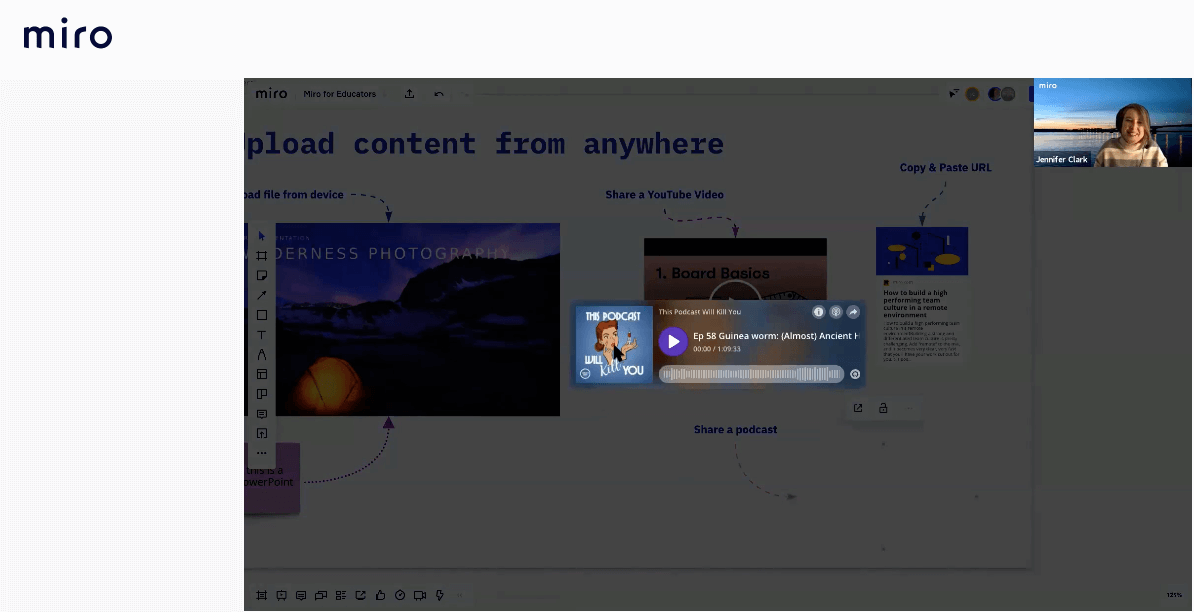
It’s easy to populate a board with unique content. Keep in mind that you can upload content from anywhere: PowerPoint, YouTube, URLs, podcasts, etc., and import everything into Miro.
Look for the little square on the left-hand side with the arrow in it. That’s the upload button.
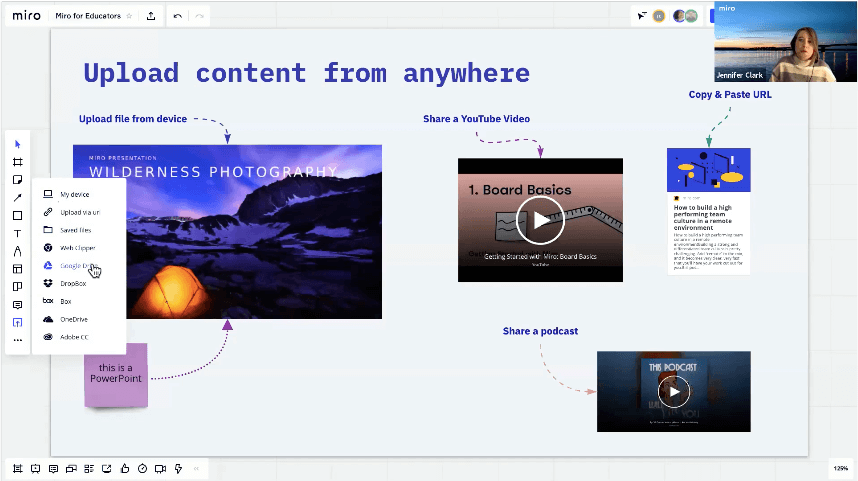
You can upload from your device, Google Drive, Dropbox, and more. Just click on the icon, upload your content, and place it on the board.
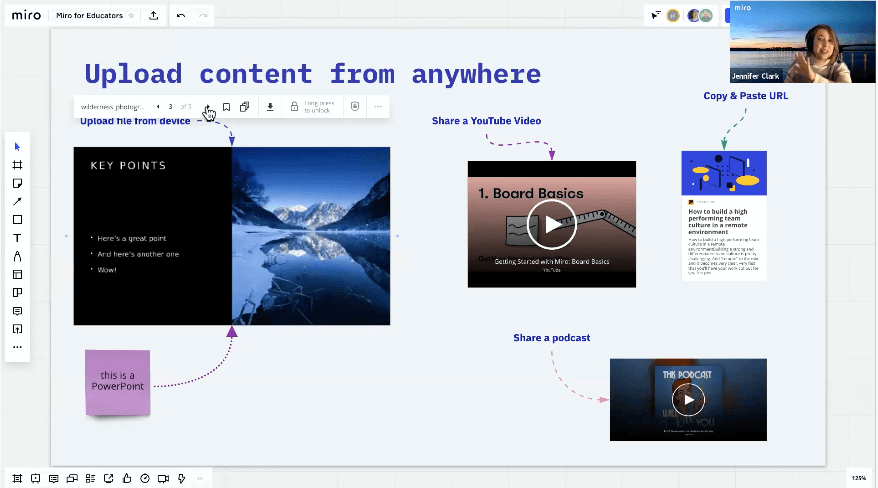
Let’s say you click on a PowerPoint presentation you’ve added. You’ll notice that every slide has been uploaded as a separate page in Miro so you can see it all without having to leave the Miro board if you don’t want to.
YouTube videos also play directly from the Miro board. If you copy and paste a URL from the web, it shows up as an attractive thumbnail as opposed to just a simple link. This is nice for when you want to create an area with articles you’d like your students to read.
If you decide to share a podcast, simply copy the link and insert it. When students click on it, Miro places the podcast player front and center.
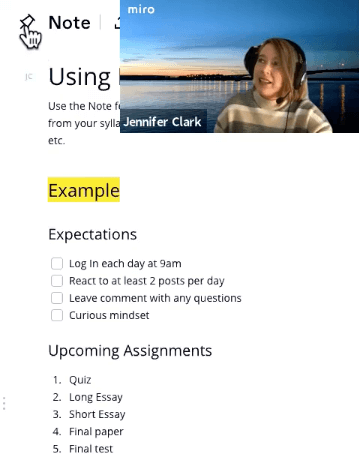
Hot tip: If students are often misplacing their syllabus or have questions about assignments, gather all that information and make it available in the Visual Notes.
Click on the paper icon in the upper right-hand corner of the board to share the info. Click anywhere on the note to start typing. Then click on the plus sign to add a heading, to leave info as a bulleted list, a checklist, or to add images.
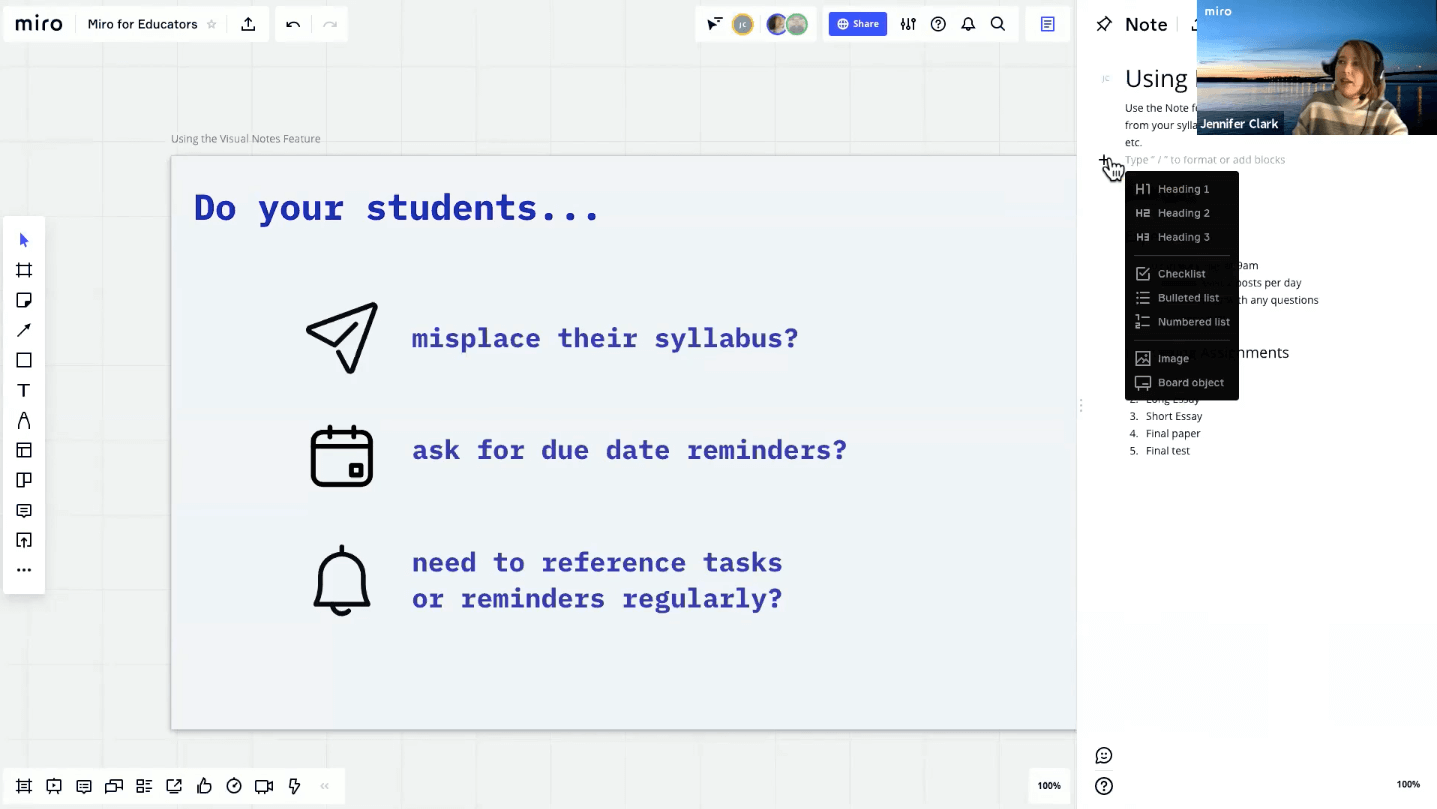
If you click on the pin on the upper right-hand side of the board, your students will see this information first every time they open the board.
Encourage your students to engage with content before class so there’s more time for a discussion. Students can leave feedback, comments, and reactions using sticky notes tagged with their names.
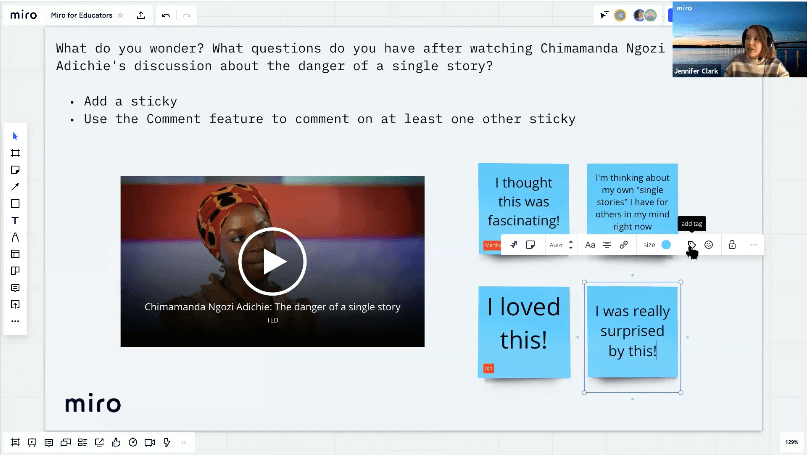
After students write their notes, they simply click on the tag feature on the context menu above to attribute their sticky notes.
How to use Miro during class
Whether you’re meeting online or in person, you can always use Miro to encourage live engagement, discussion, and group work. The Miro app for Zoom makes online collaboration simple, but you can just as easily incorporate Miro in the classroom using the device(s) of your choice.
You might start by explaining a concept and drawing it in real-time using a stylus and your phone or the pen tool on your desktop.
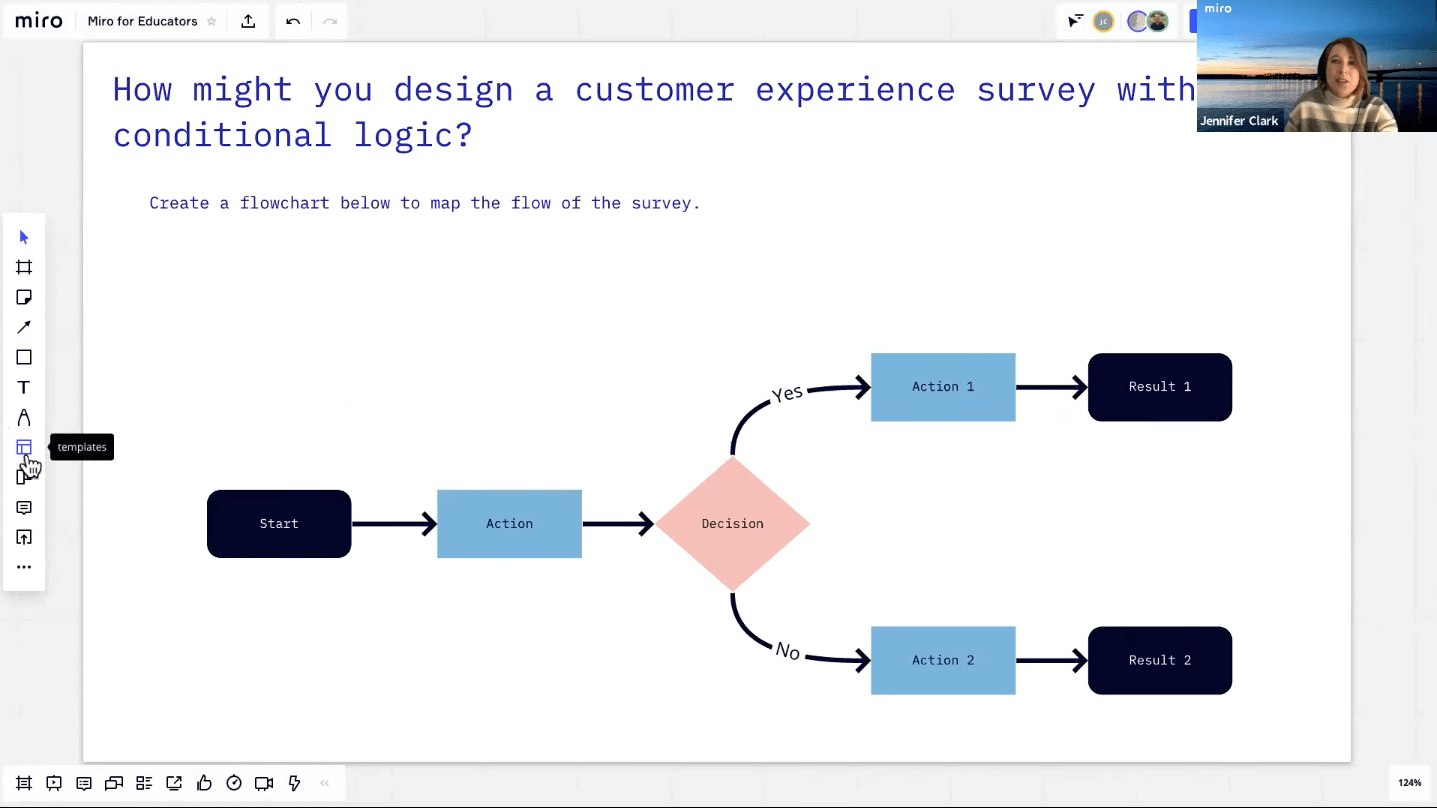
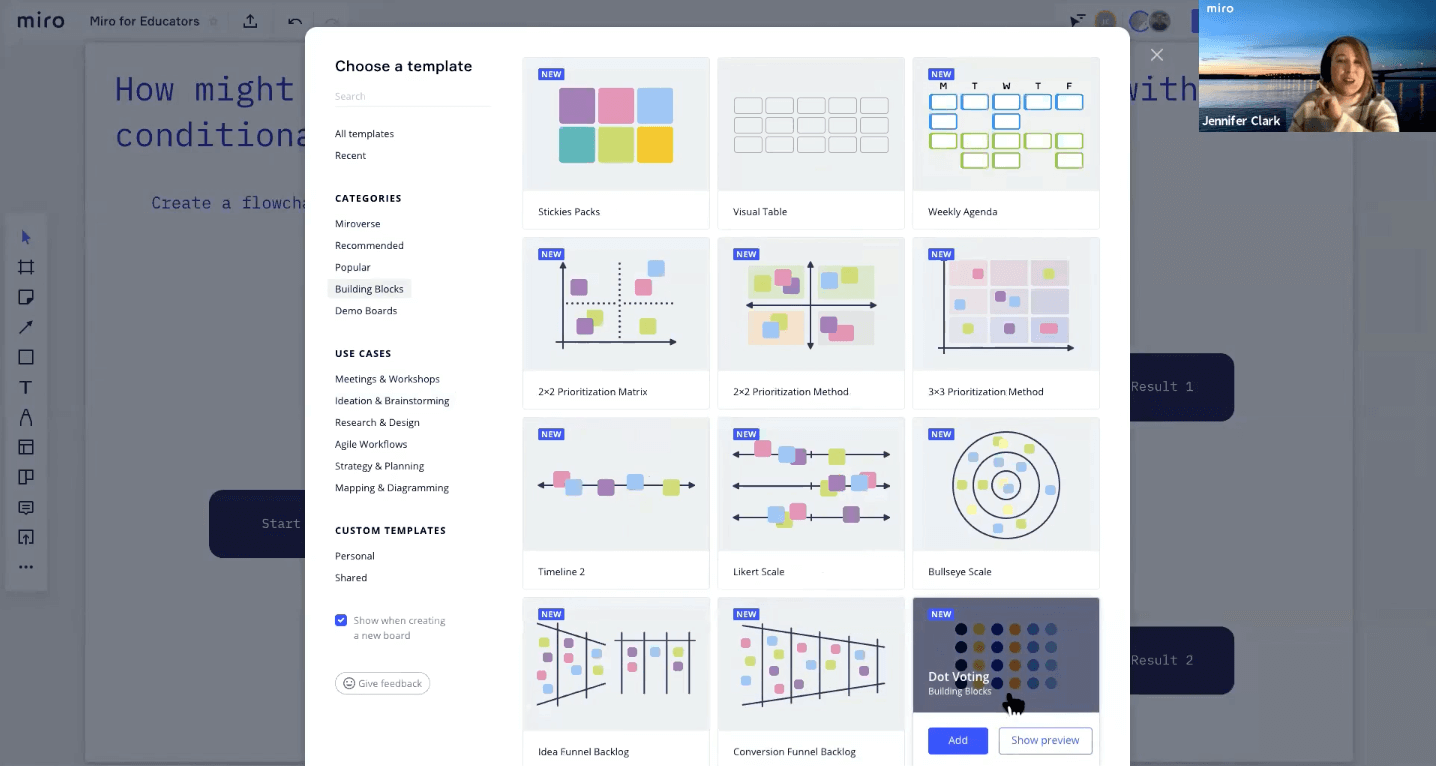
If drawing is not your thing, don’t be afraid to use one of our pre-built templates in our library. You can find the template library in the object menu on the left-hand side of the board.
You can also browse through the Miroverse which has community-generated templates or try one of the Building Blocks. This is where you’ll find the template for Dot Voting, which we saw earlier.
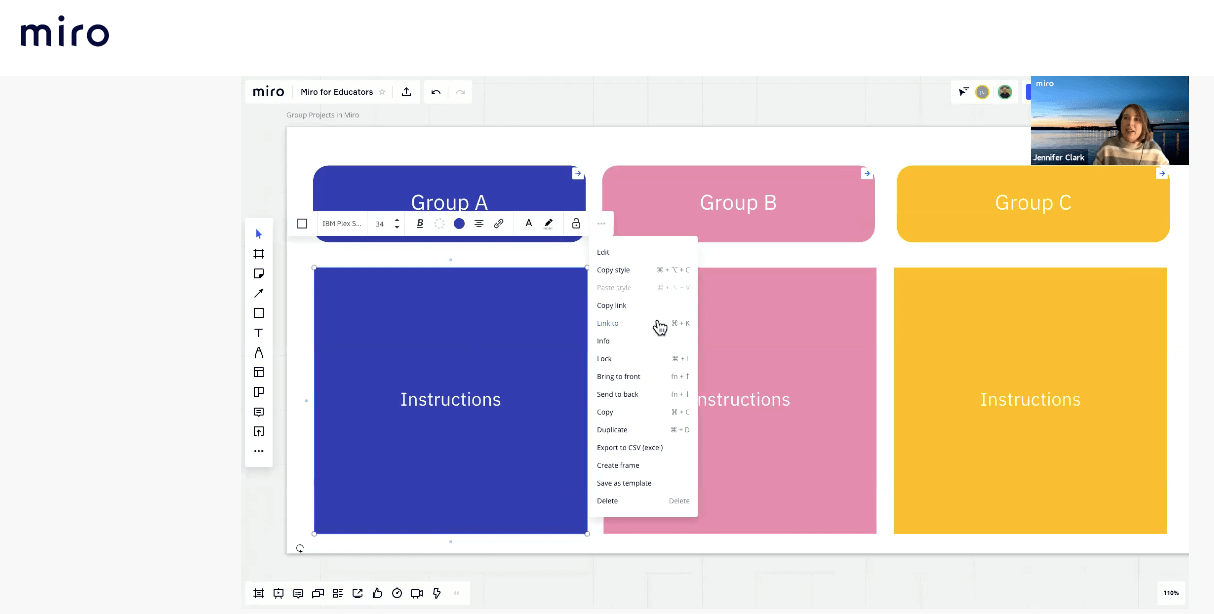
Teachers often facilitate group work to create micro-community experiences. Once you establish groups, you don’t have to create a separate board for each one. Simply create links to different sections of the board, putting groups in designated locations to see instructions for whatever they’re working on.
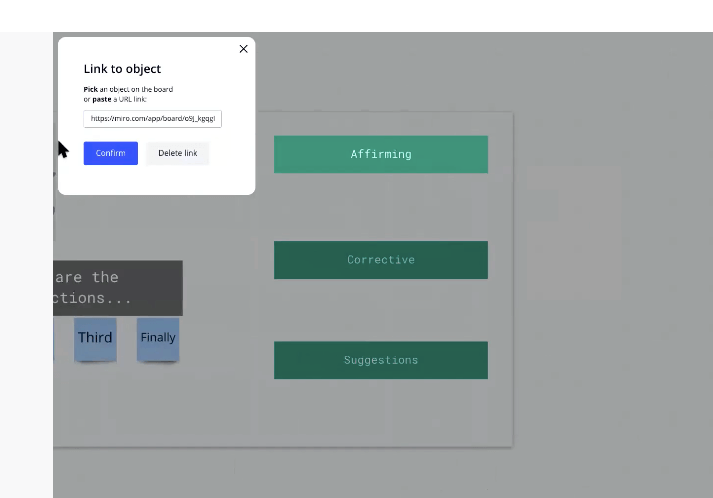
Here’s how it’s done: Click on an object (like the purple box that says “Instructions” below), hover over the three dots, and click on “Link to” (Command + K).
Insert a URL or click on another object on the board and confirm. Your students will then automatically jump to that particular location when they click the initial object.
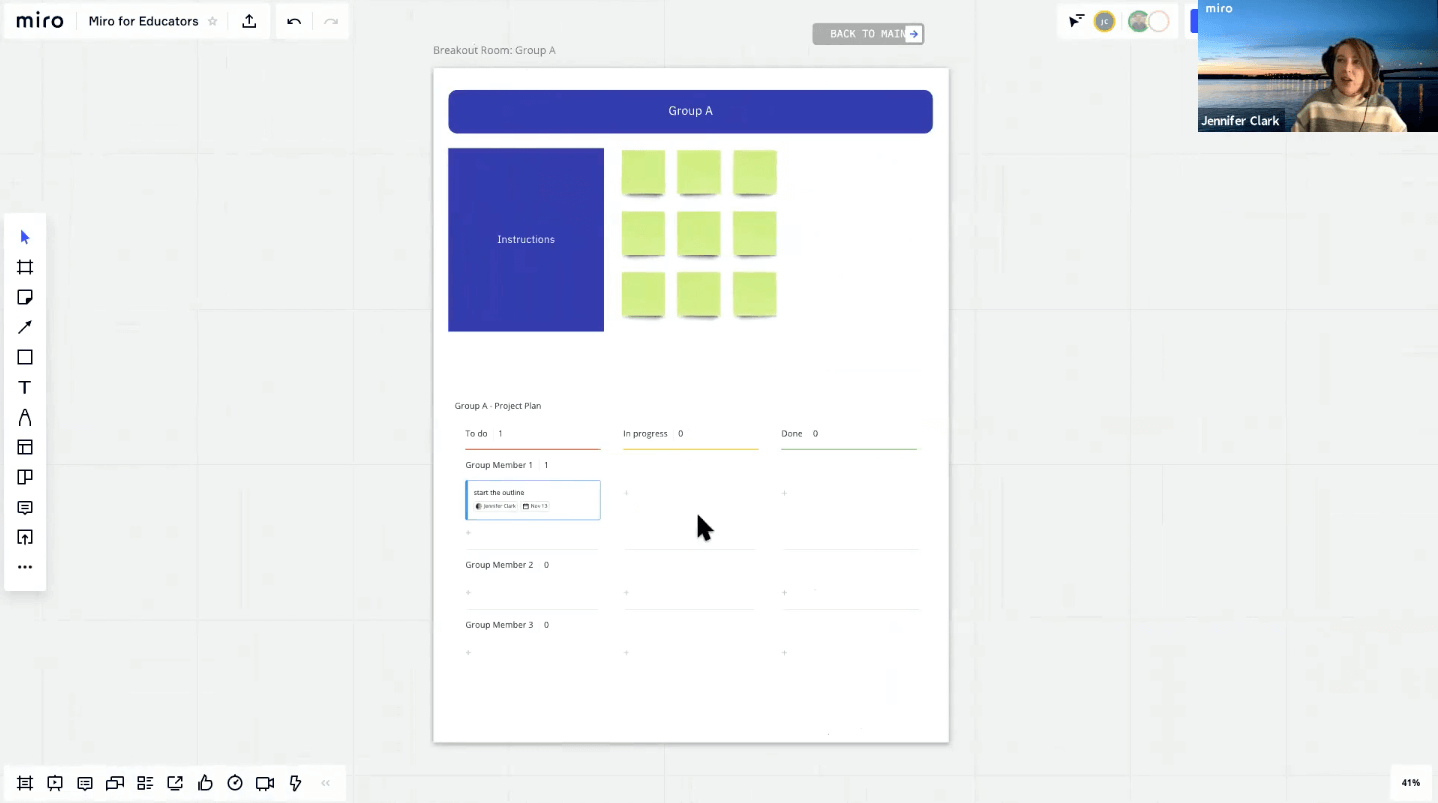
This is a perfect way to create breakout rooms for groups with instructions, sticky notes, and a place to assign each other tasks.
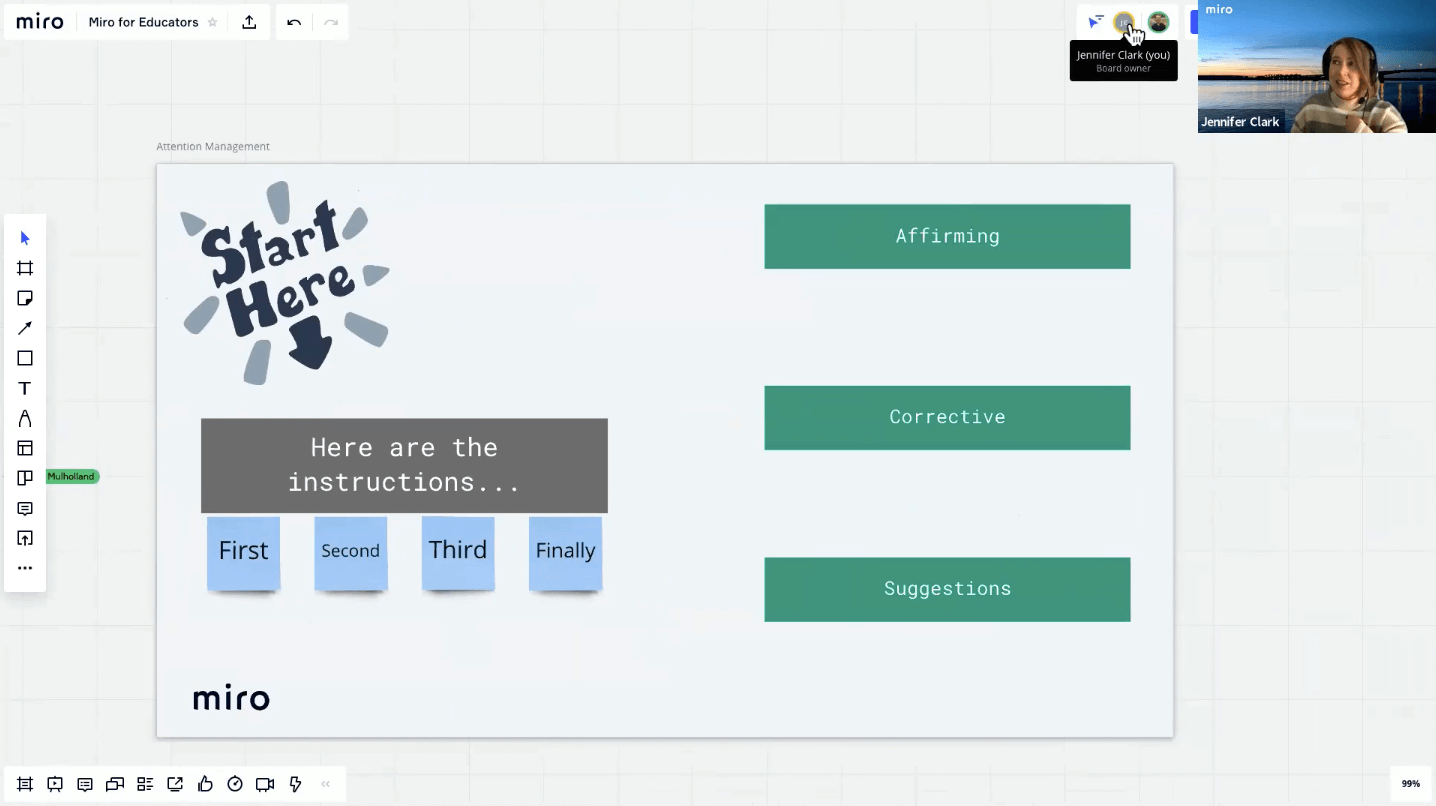
You can include a link back to the main page or snap everyone back with the “Bring everyone to me” tool.
Hover over your avatar in the upper right corner and click on “Bring everyone to me.” Students may be in different areas on the board, but this snaps everyone to your location.
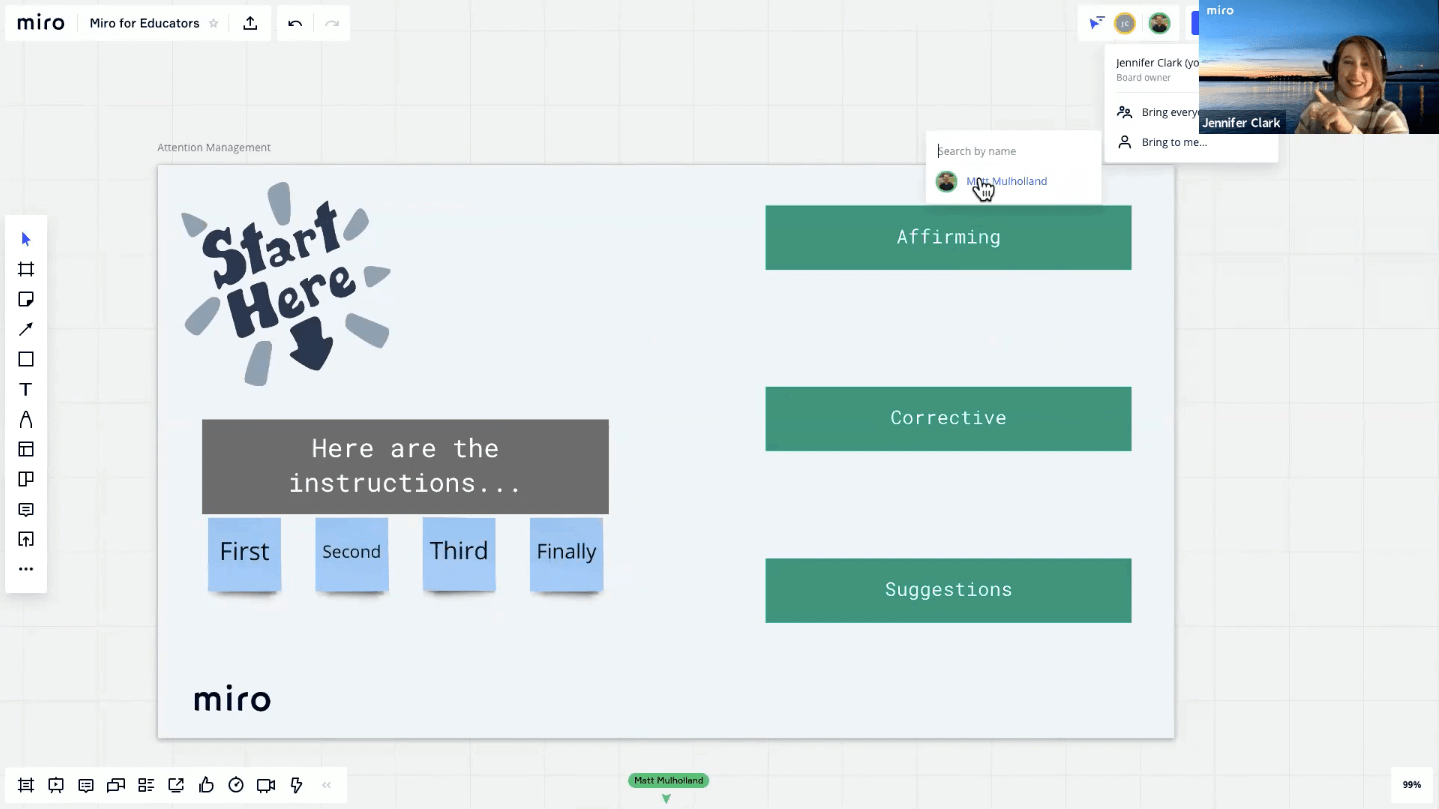
You may also select individuals to bring to you by hovering over their avatar and selecting “Bring to me.” You can also follow a particular person around the board to see what they’re working on by clicking their avatar.
You can rest easy knowing that boards are backed up every hour and at the end of each collaborative session. And with the Versions feature, you can always restore a previous version of your board.
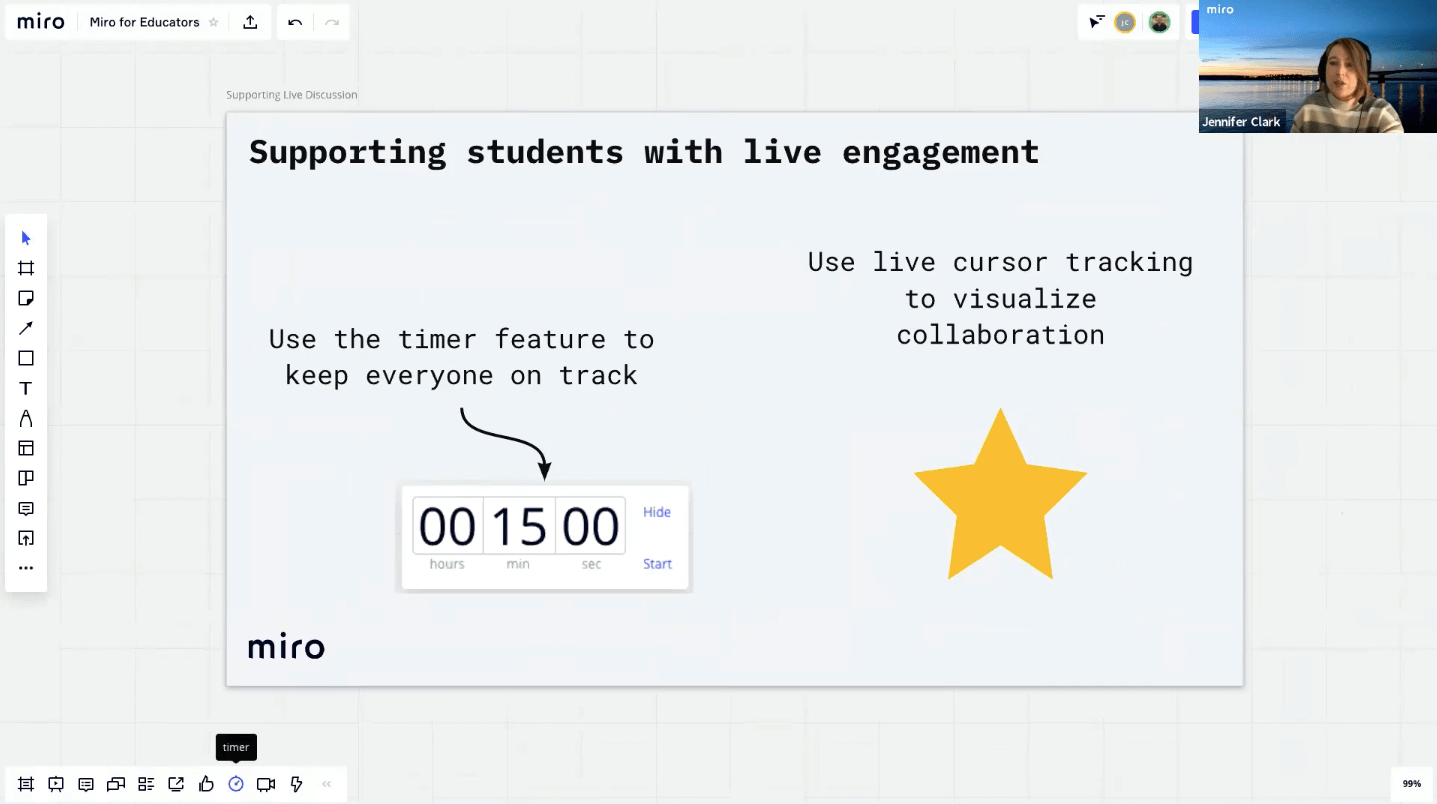
Hot tip: If you want to timebox activities and discussions, use the timer feature. Just click on the stopwatch in the lower left-hand corner of the facilitator’s menu. You can stop it whenever you want and hide it as well. It even has a built-in music player.
How to use Miro after class
Now let’s take a look at how you can use Miro after class and how to save time setting up for future sections and/or semesters.
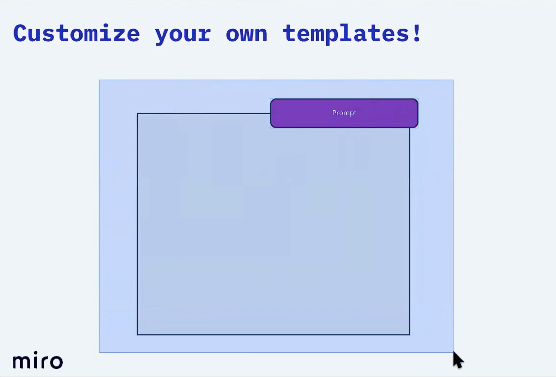
First off, it’s very easy to customize and reuse your own templates. As a daily warm-up, you could have students journal for five minutes to reflect on the previous day or in reaction to a certain prompt.
Here’s a simple way to do this in Miro: Create a box and set up a little writing space. Add a colorful shape for the prompt.
To make this into a template, you need to multi-select and then group the elements that you want. Put the cursor outside of the shapes, hit the shift key, drag the cursor, and it will highlight the shapes.
Click on the icon for grouped objects (the little square with shapes inside) shown below. Once objects are grouped, they move in concert.
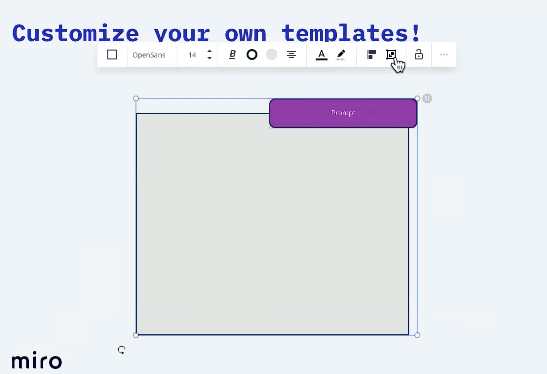
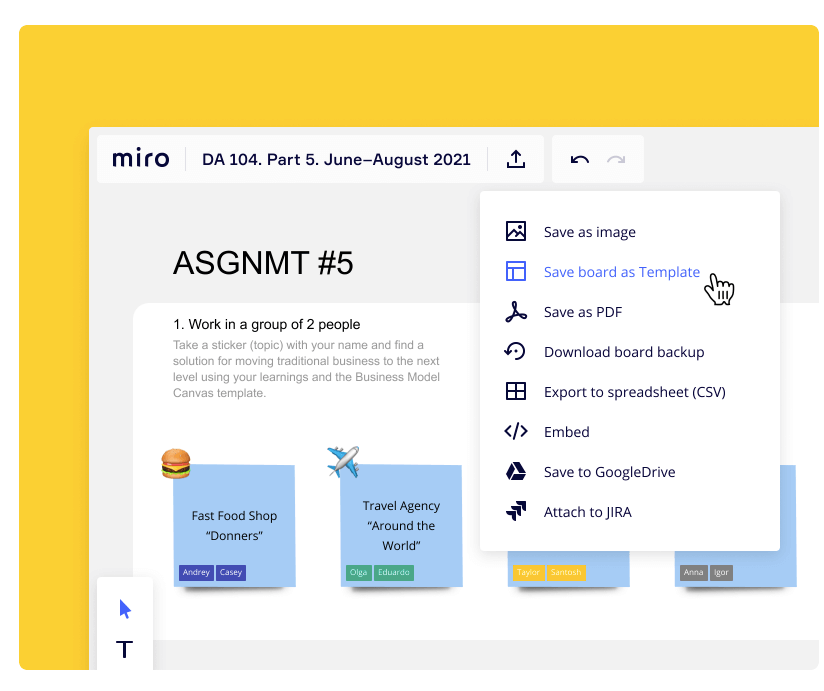
To save as a template, click on the object, hover over the three dots on the upper right, and click “Save as template.” It will then go in the shared library that students can also use.

Keep in mind that you can embed a Miro board into any learning management system (LMS) that supports iFrames such as Moodle, Blackboard, D2L, or Schoology. Click on the export icon on the top, which will say “export this board” and then click “Embed.”
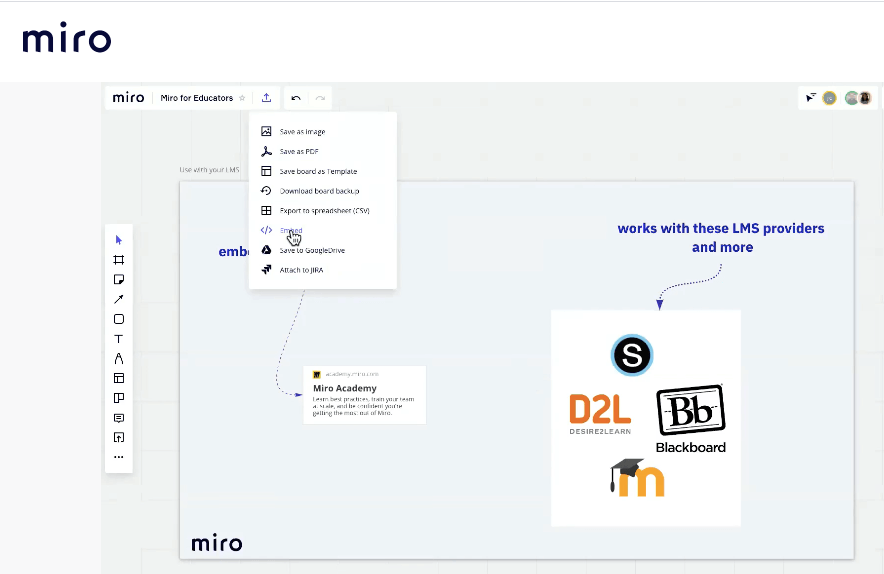
You select the area on the board that you want someone to start in and then you will get a code for the iframe which you can copy. You can then manipulate the Miro board using the iFrame within the LMS.
Another useful activity to incorporate after class is to collect course feedback. Try making and saving a “Know-Wonder-Learned” template, which encourages your class to reflect on what they’ve learned and react to different questions.
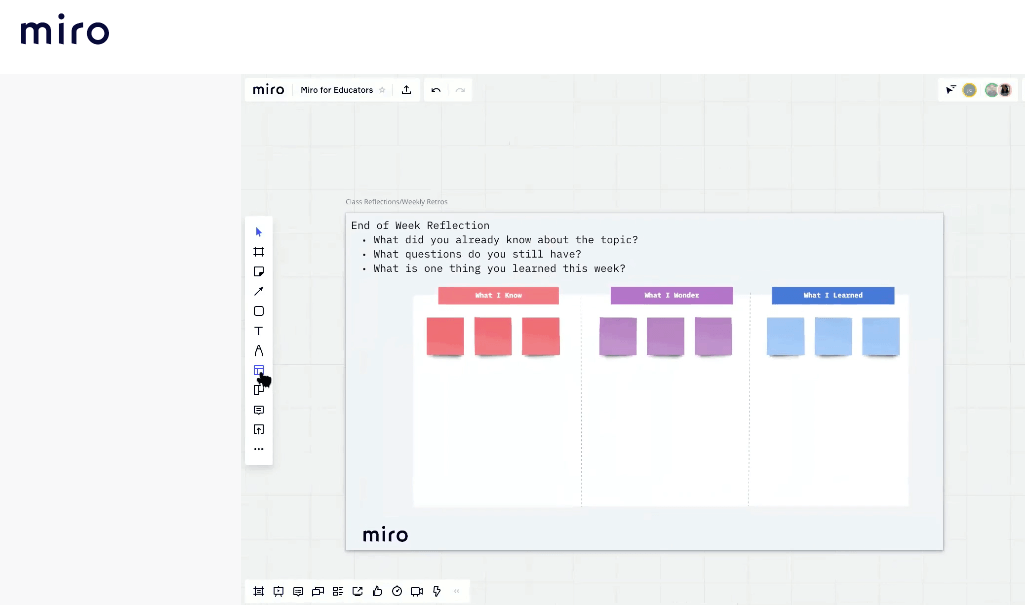
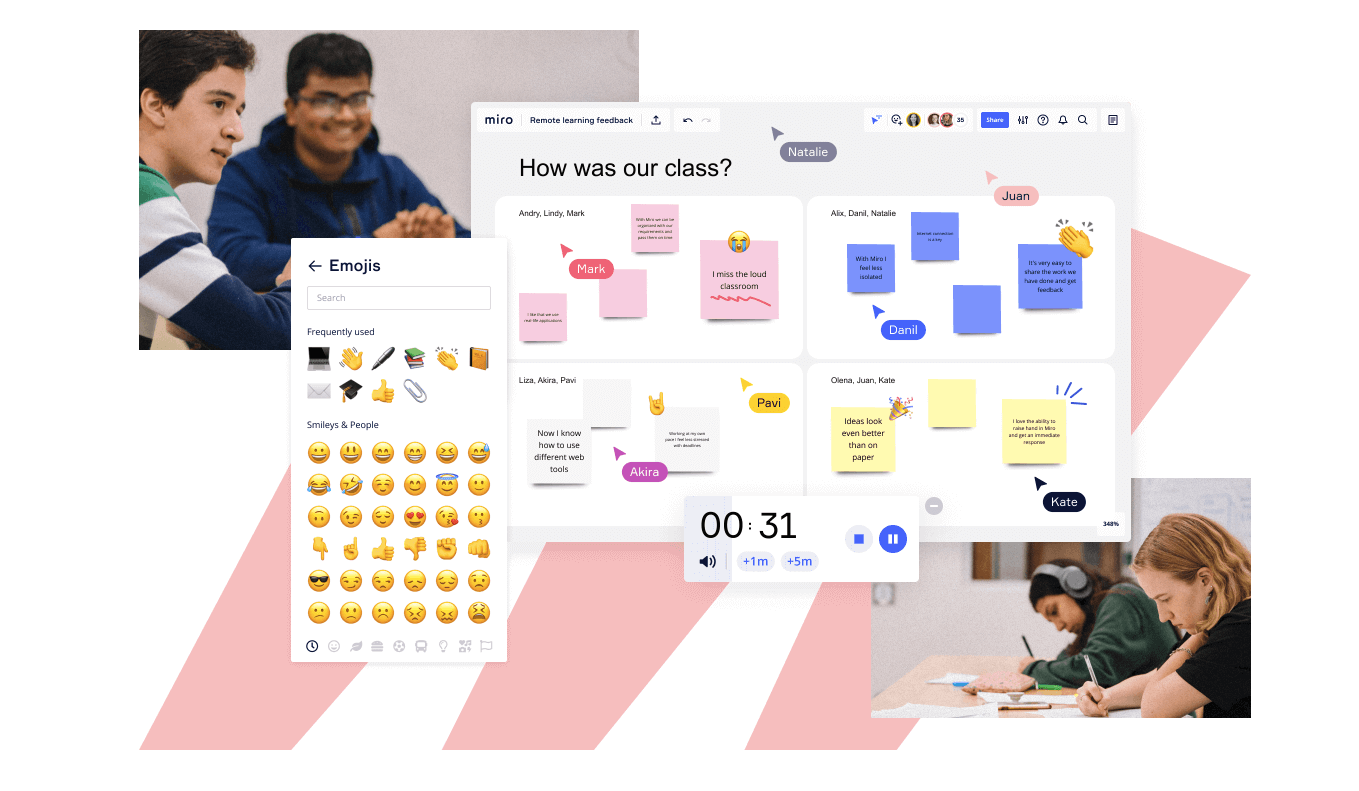
You might even ask students directly, “How was our class?” and use that information to build on and tweak future lessons.
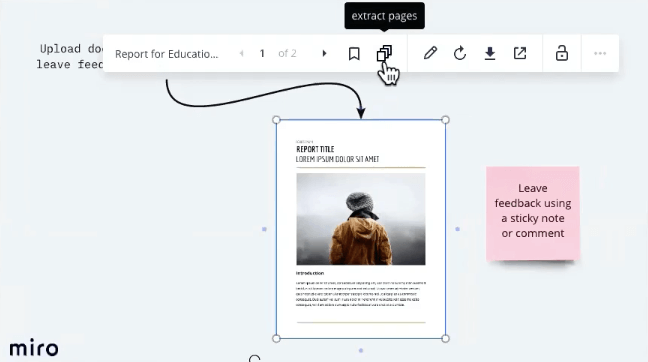
Miro enables you to leave feedback for your students as well. For example, they can write a paper, do a round of peer edits, and then you can come in and leave your own feedback.
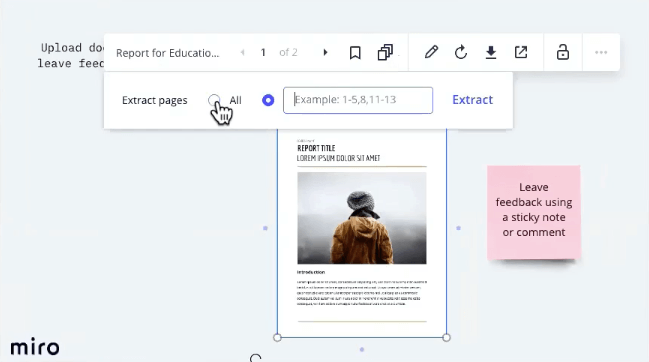
Here’s what that looks like: Upload a document. Click on the paper, go to “extract pages” and pick all or some of the pages to extract which will then be presented.
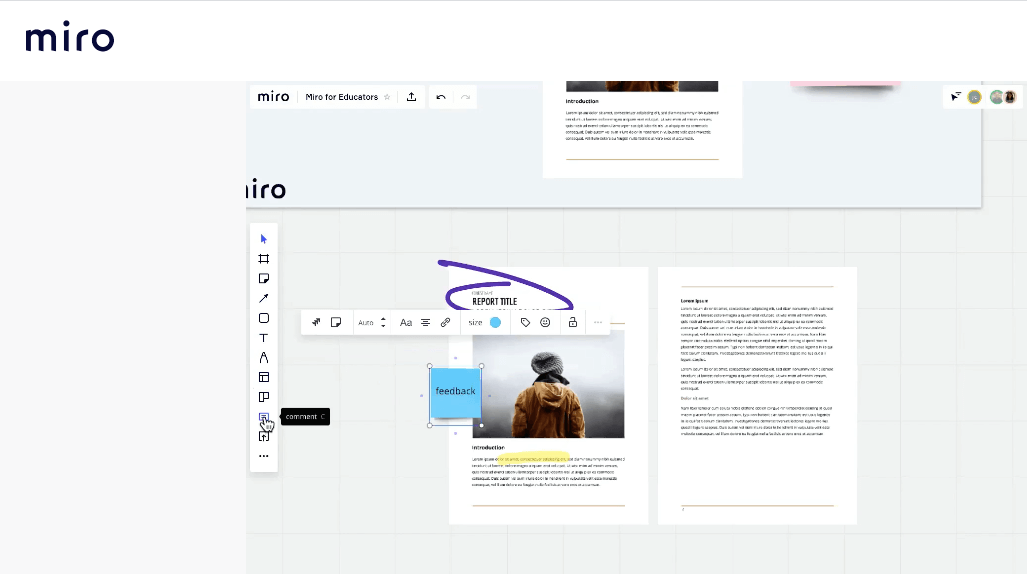
Anyone can then leave feedback using the pen tool, the highlighter, a sticky note, or the comment feature. which is activated by clicking the small dialogue icon in the object menu on the left-hand side. The comment can be moved to a specific point on the board so that it is very clear what the commenter is talking about.
You can see when students uploaded their content to the board by clicking on the activity feature (the small lightning bolt). Each activity is time-stamped.
Making the most of Miro
Miro’s Education Plan is free forever to educators and up to 100 team members. It’s also free for two years for students (with up to 10 team members).
The plan allows you to keep boards private and save custom templates. It also offers a high-quality facilitation and export kit.
To access tutorials, webinars, and more, click on the question mark in the guide on the Miro board. You can also get help by going to the FAQ section, the Help Center, the Community or connect directly with the Support team.
Some final advice for educators:
Don’t be afraid to start small. Maybe start with a warm-up, a group activity, or a presentation to bring some engagement and delight to your classroom.
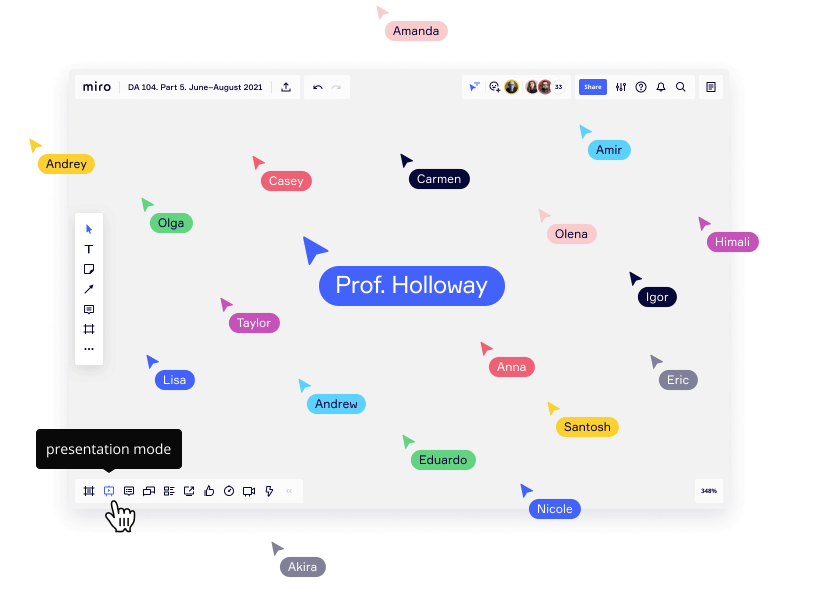
Practice using presentation mode (the play button in the lower left-hand corner of the board). This mode enables you to toggle back and forth between frames and zoom in where you’d like.
Templates can save time from section to section and semester to semester. Save ones you’ve created as custom templates or access the template library and tweak and edit as you see fit.
Use links and frames to help students break out, come back, and collaborate in a dynamic way.
We hope this step-by-step guide encourages you to try new things with Miro in the classroom and helps you to make the most of your infinite canvas. To see these ideas come alive, you can watch the full webinar with Jennifer Clark here.