15 likes
435 uses
A user story map is a visual representation of a product's user journey, capturing the tasks and activities users undertake to achieve their goals. This guide will walk you through the process of creating a user story map, ensuring you capture the essence of your product idea and its user interactions.
Step 1: Frame Your Product
Before diving into mapping, it's crucial to frame your product or feature. This step sets the context and boundaries for your story map.
What: Identify the product, feature, or problem you aim to address. Clearly name it to keep your focus sharp.
Who: Determine the different types of users who will interact with your product. Knowing your audience is essential for creating relevant user stories.
Why: Describe the benefits your product offers. Explain how user actions will lead to increased revenue or reduced costs.
Example Frames:
Story Frame: "As a conference attendee, I want to attend the most interesting workshops, so that I can maximize my learning experience."
Gherkin Syntax: "GIVEN Agile 2024 Conference Attendees have unique interests, WHEN they search for workshops/talking tracks, THEN the best matched results should appear to select."
Hypothesis Frame: "We believe that building a matching engine for conference attendees and speakers will improve overall engagement and experience. We will know we are successful when we see increased participant interaction."
Step 2: Map the Big Picture
Focus on capturing the entire user journey. Think "mile-wide, inch-deep" to get a broad overview of user interactions.
Backbone
Start with the user type most critical to your product's success. Imagine a typical day in their life with your product and map their steps as user tasks from left to right.
User Activities
Identify groups of tasks that support a common goal. These activities form the backbone of your story map and help in understanding the user's journey.
Additional Users
As you map the primary user's journey, you may discover other user types. Continue modeling their stories, integrating their tasks into the map.
Step 3:
Explore + fill the body
Step 4:
Slice releases: include release name, target outcomes, impact and success metrics
Step 5:
Slice development strategy, phased releases
Template for Story Mapping
Activities: High-level tasks that users perform.
User: The type of user performing the tasks.
Backbone: The main flow of user activities.
Narrative Flow: The sequence of tasks and activities.
Slice: Segments of the story map that represent different user scenarios.
Details: Specifics of each user task.
Creating a user story map is like crafting a narrative with a natural flow. By framing your product, mapping the big picture, and identifying user activities, you can visualize the user journey effectively. This approach ensures that your product development is user-centric, leading to better engagement and success.
Steps as described in the book "User Story Mapping" by Jeff Patton, Peter Economy
Agile Product Roadmap 🚀
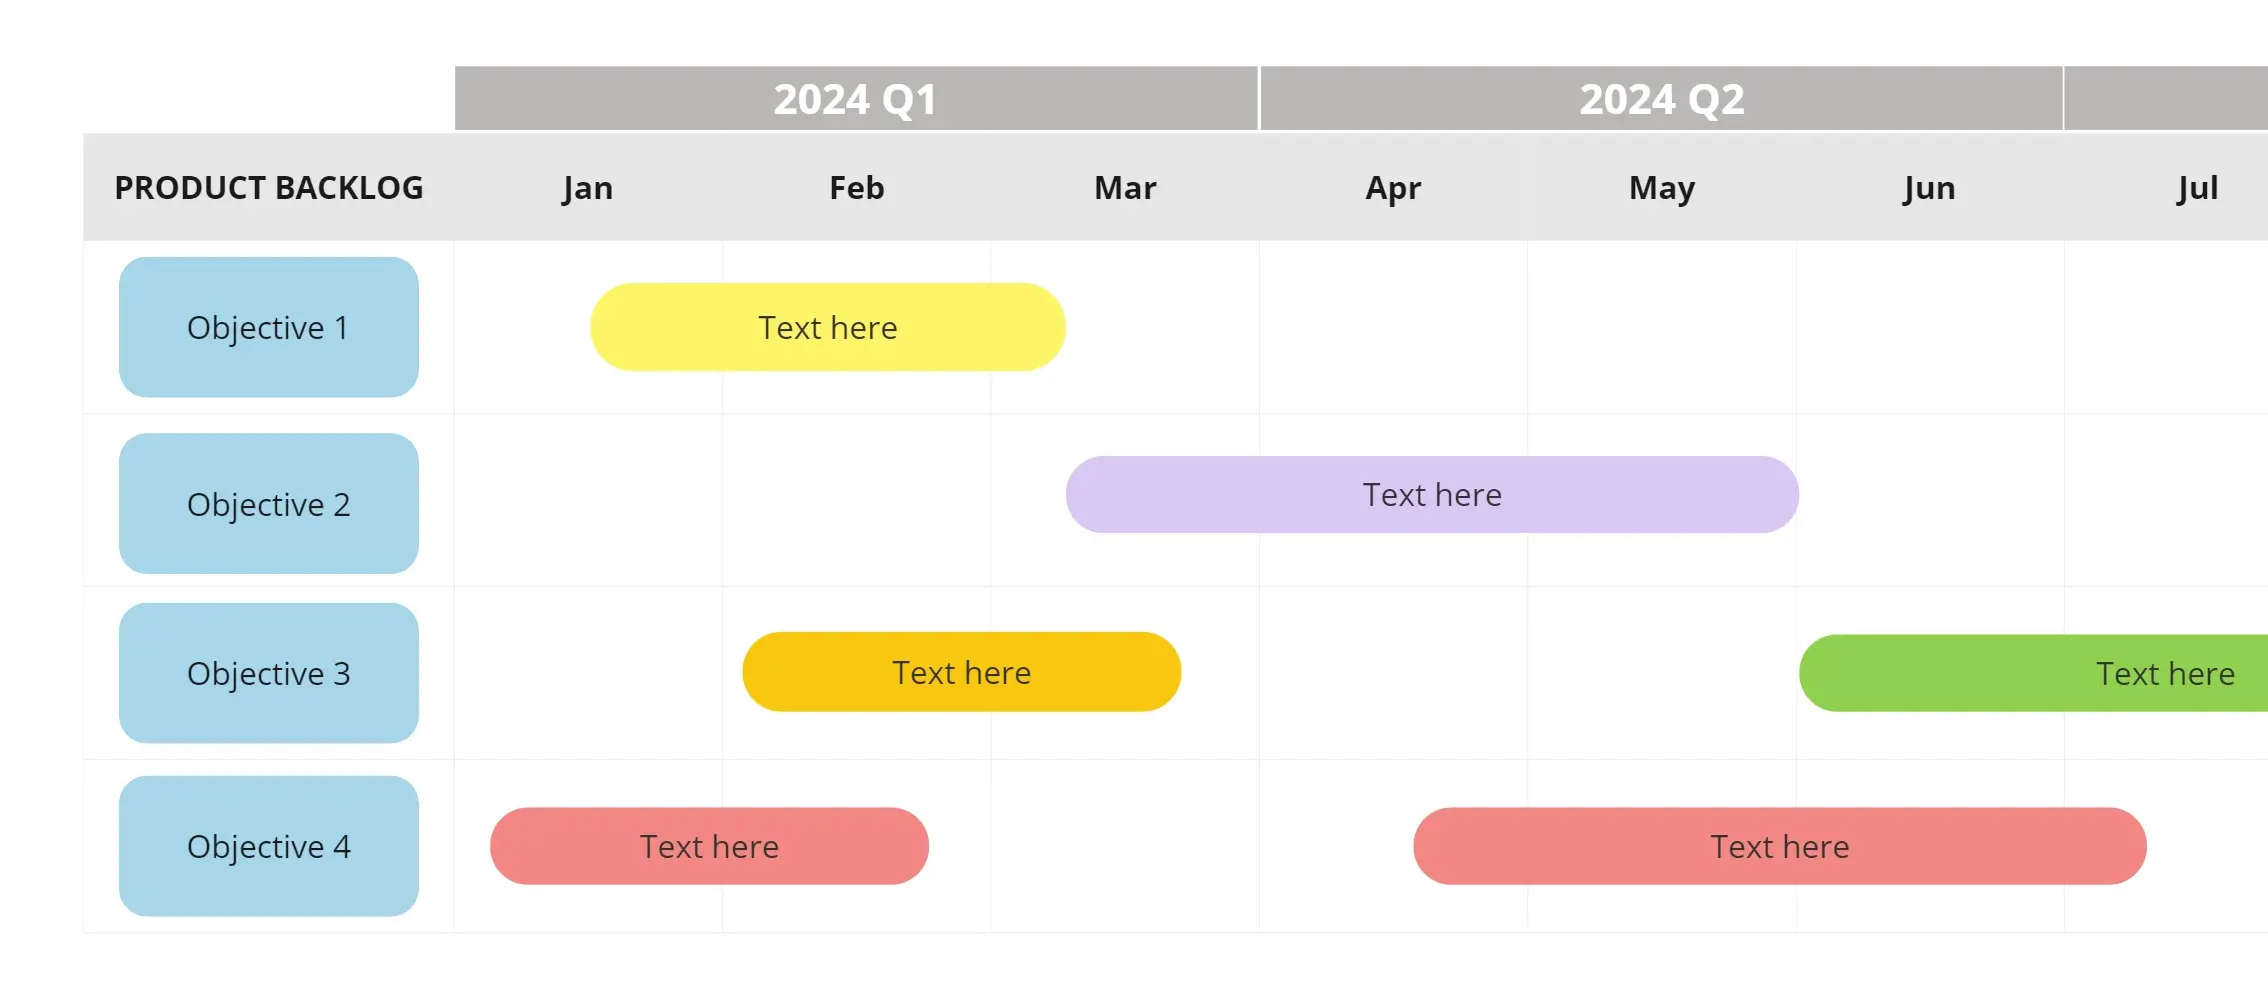
Streamline your product development with the Agile Product Roadmap template. Designed for agile teams, it helps you map out product features, set priorities, and track progress in an iterative way. Use it to align your team, manage backlogs, and adjust plans based on feedback and changing requirements. This roadmap is perfect for product managers, developers, and agile coaches aiming to deliver high-quality products efficiently and effectively.
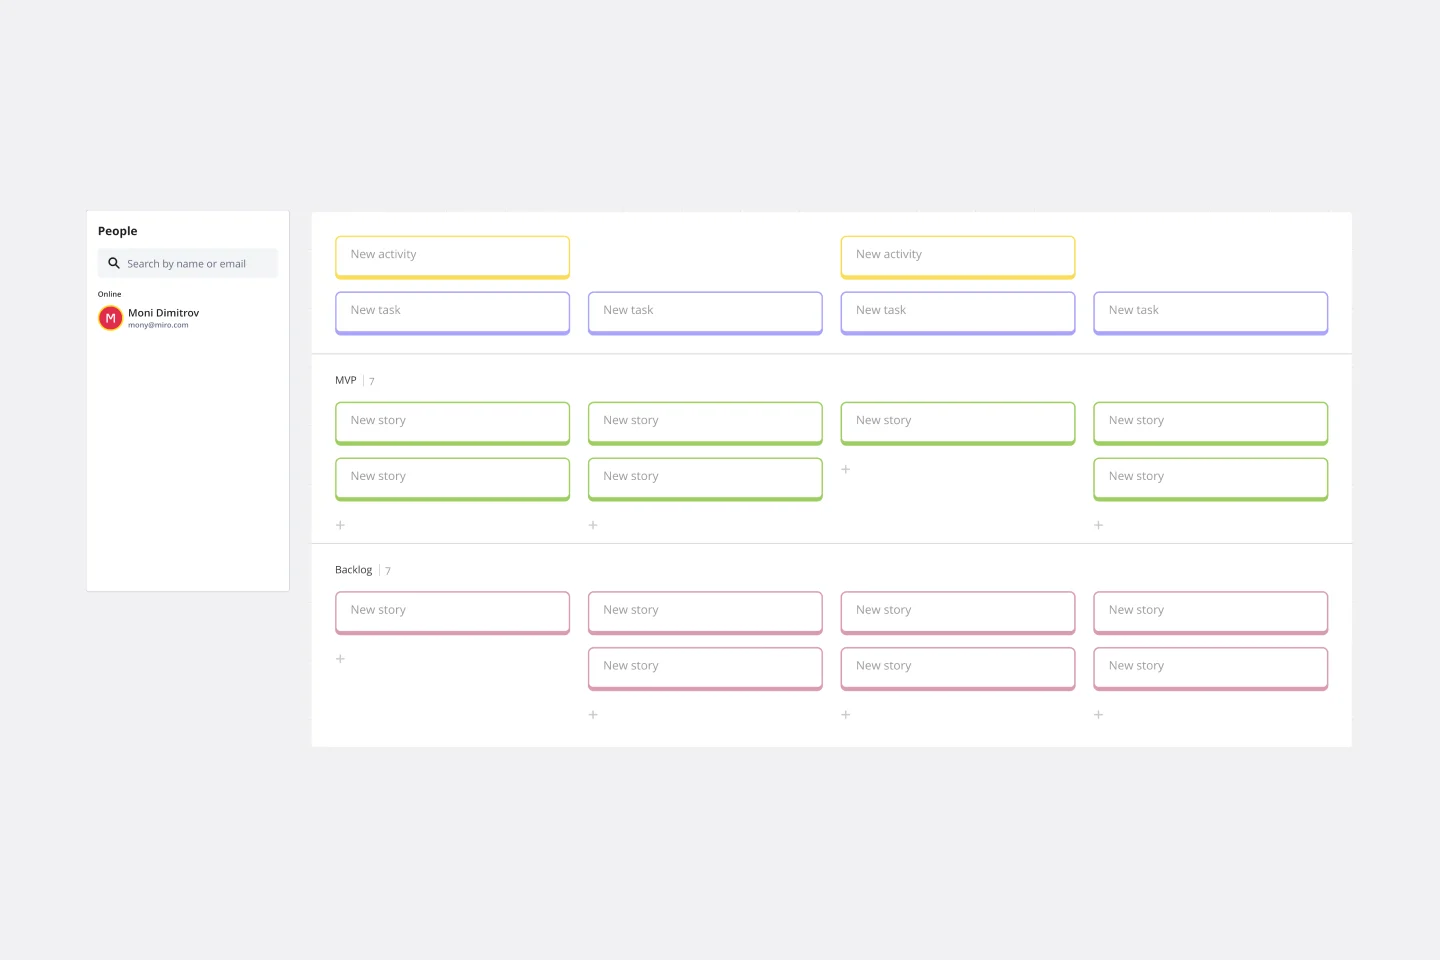
User Story Map Template
Popularized by Jeff Patton in 2005, the user story mapping technique is an agile way to manage product backlogs. Whether you’re working alone or with a product team, you can leverage user story mapping to plan product releases. User story maps help teams stay focused on the business value and release features that customers care about. The framework helps to get a shared understanding for the cross-functional team of what needs to be done to satisfy customers' needs.
Agile Product Roadmap 🚀
Streamline your product development with the Agile Product Roadmap template. Designed for agile teams, it helps you map out product features, set priorities, and track progress in an iterative way. Use it to align your team, manage backlogs, and adjust plans based on feedback and changing requirements. This roadmap is perfect for product managers, developers, and agile coaches aiming to deliver high-quality products efficiently and effectively.
User Story Map Template
Popularized by Jeff Patton in 2005, the user story mapping technique is an agile way to manage product backlogs. Whether you’re working alone or with a product team, you can leverage user story mapping to plan product releases. User story maps help teams stay focused on the business value and release features that customers care about. The framework helps to get a shared understanding for the cross-functional team of what needs to be done to satisfy customers' needs.