Whether you’re new to Miro or a seasoned pro, it’s likely there’s more for you to discover to get the most out of the visual innovation workspace. There’s always Miro Academy, where you can take free courses and attend live training.
But what if you want to learn — fast — how you can use Miro for your specific job? We’re excited to introduce a new “How I do it in Miro” video series, hosted both by regular users and our very own Mironeers who happen to hold some of the same jobs as you.
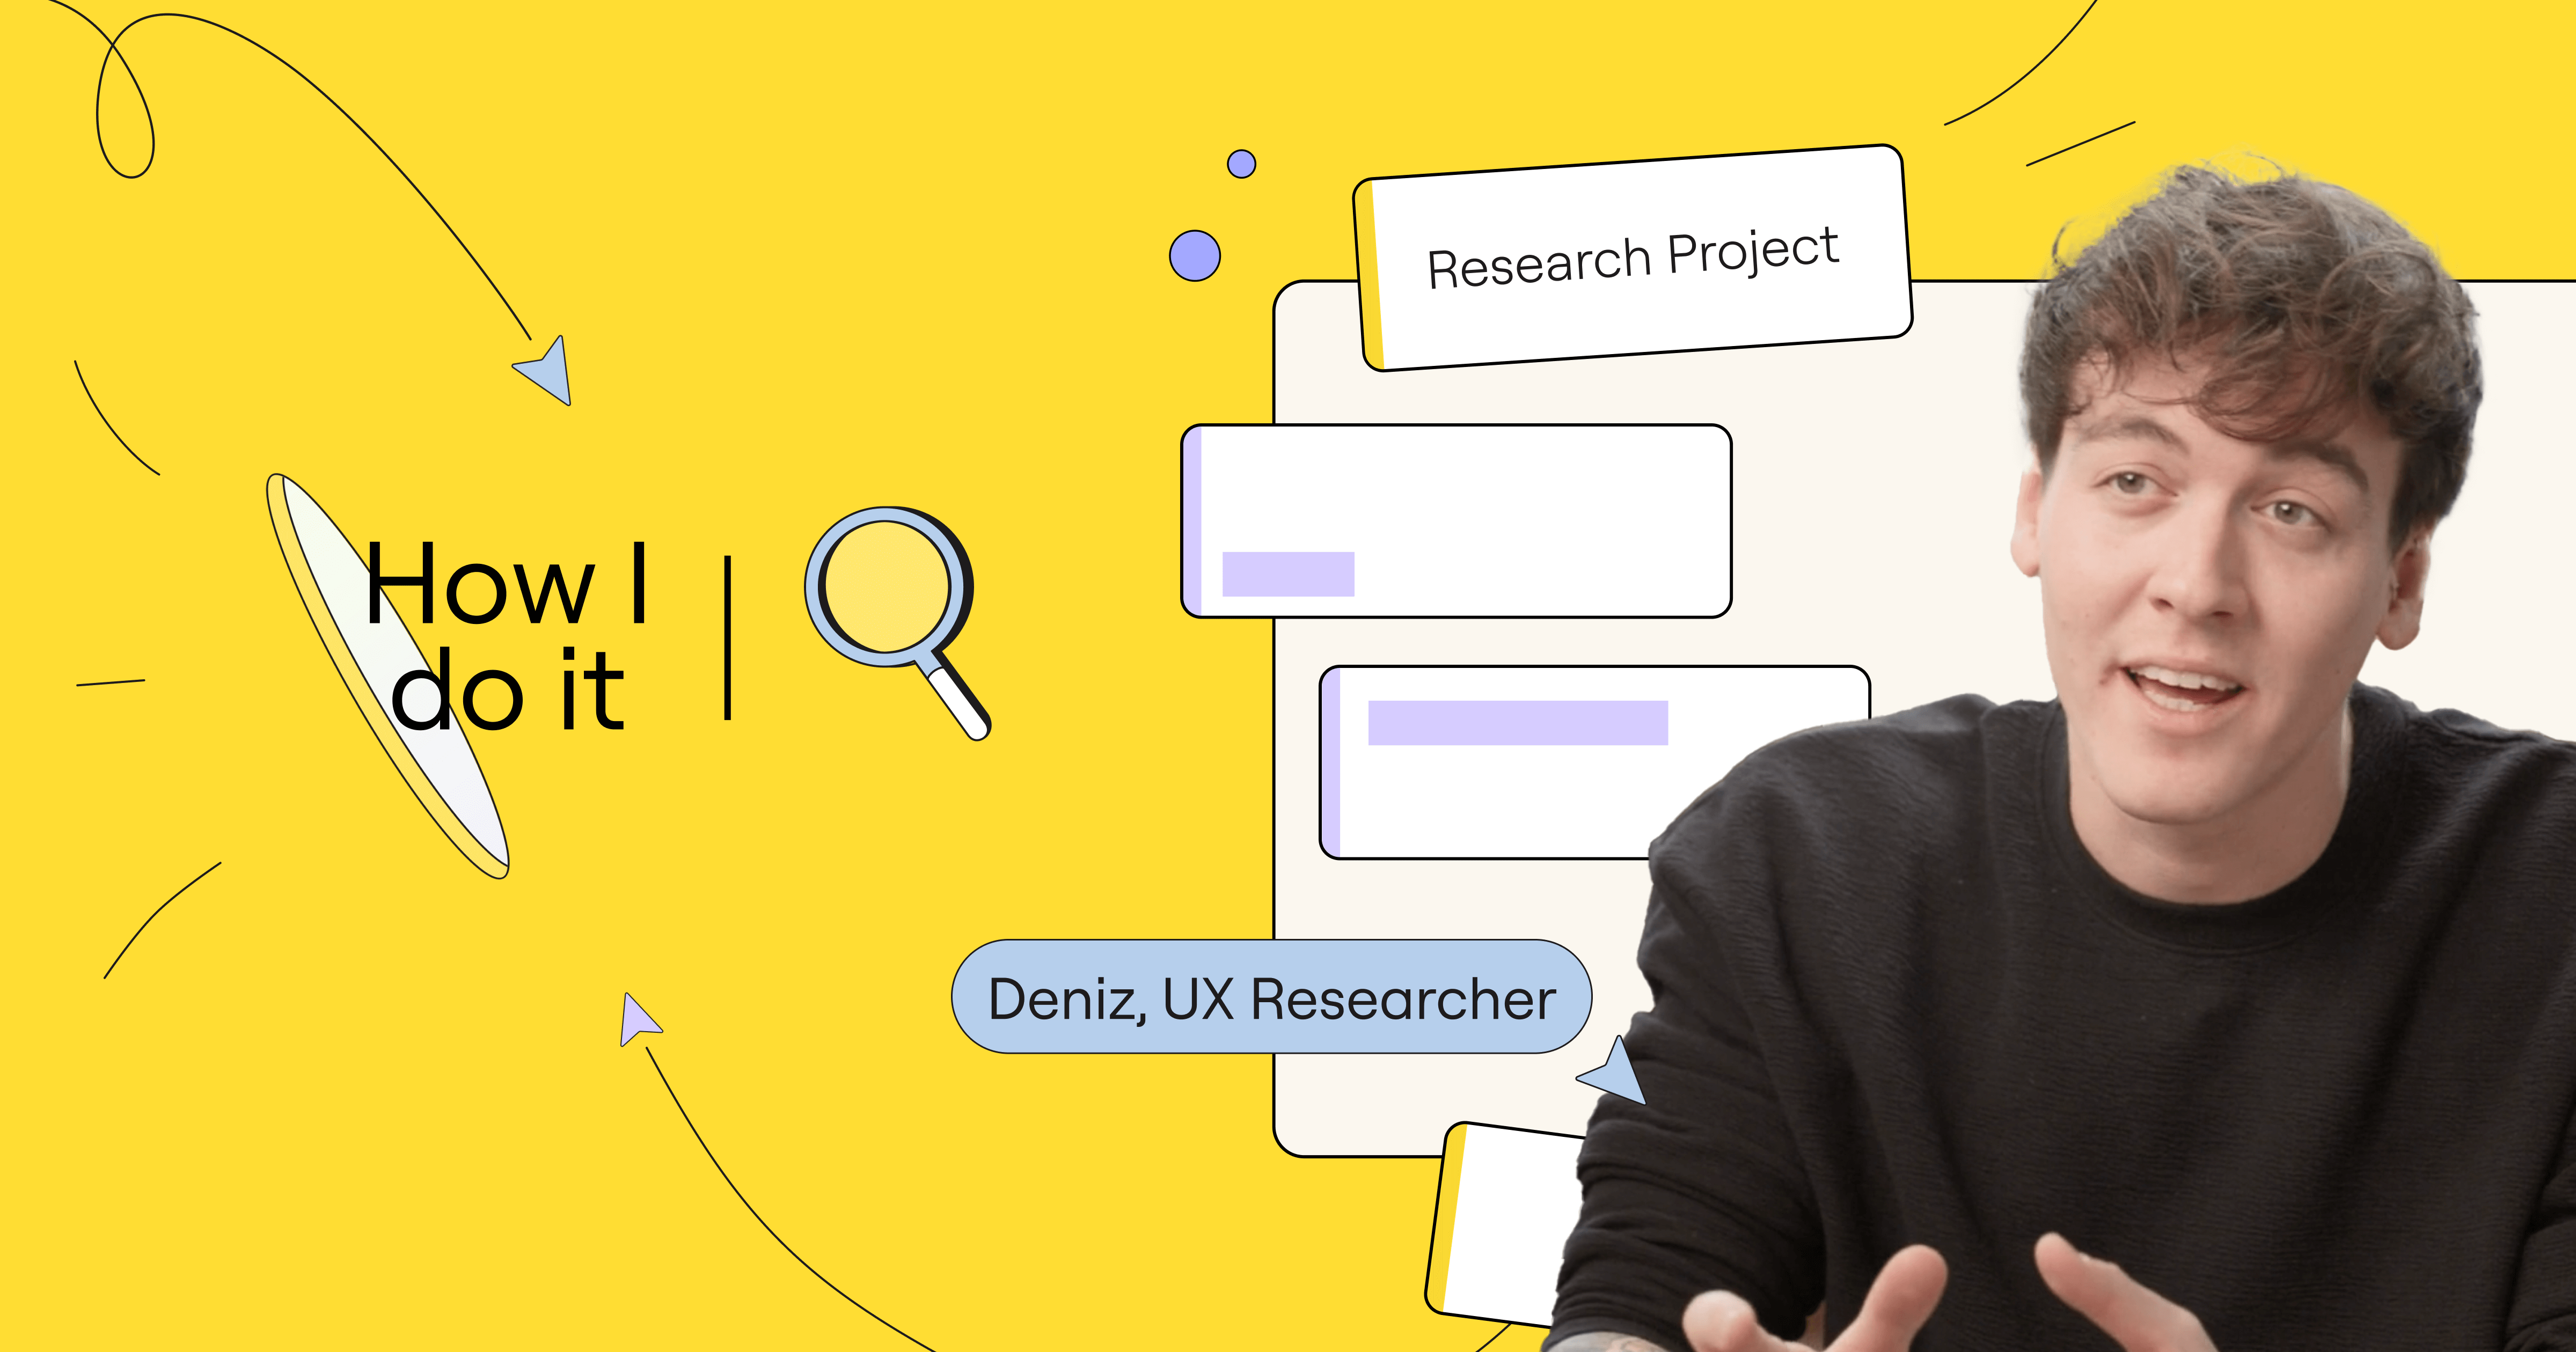
In this first video, learn from Miro UX researcher Deniz Kartepe on how he uses Miro to run a research project end to end. Hopefully it will inspire you as you build experiences that are delightful, logical, and tailored to your customers’ needs.
Identify what you know
Deniz and his team use Miro to complete each step of the research process. Deniz has created a helpful template, which you can download from Miroverse. He’s included a Talktrack recording that walks you through the board before you begin.
First, they establish what they already know by compiling past research and analytics. Deniz can embed relevant data dashboards from third-party tools like Looker, which are fully integrated with Miro. These are live dashboards that can be refreshed right from Miro, and he can click to go to the source if he wants. He can also include PDF exports of past surveys.
This part of the template is where Deniz and his team can note primary and secondary insights and jot down notes as they prepare for the rest of the project.
Clarify what you wish to know
Second, they align on what they want to know. They identify their research goals, objectives, and questions they would like to ask participants.
Plan the research flow and source participants
The third phase is where they plan the research flow, which will help them get answers to the questions identified in the previous phase. Deniz can use Miro’s flow charting capabilities to visually map out the research flow. The result is a final test plan that can be attached as a PDF on the board.
This phase is also where Deniz and his team establish participant sourcing criteria.
Conduct user interviews
Next, as they complete user interviews, they use Miro to save all of their interview data. Not only can they take notes and record key insights using text-based features like stickies, but they can even embed videos of each research session interview right on the board.
Synthesize your data
Once all their interviews are completed, it’s on to the next part. During the synthesis phase, Deniz can use Miro Assist, Miro’s built-in artificial intelligence solution, to move quickly through analysis. Miro Assist can summarize all your team’s sticky notes and conduct a sentiment analysis to speed up insights and decision-making. In this case, Deniz will still review the notes to make sure the summary captures the essence of the insights.
Refine your insights
After consolidating and synthesizing all of the data collected from your interviews, one of the last steps is to prioritize which findings to act on. In Miro, you can tag your teammates to share ideas, request feedback, and discuss the actions you want to take.
Present your findings
Finally, you can use Miro to create a research report or presentation of your findings which you can then share with stakeholders. Using Miro’s Interactive presentation mode makes it easy. But for those who can’t attend a presentation in real time, you can always include a Talktrack recording for others to watch later, in their own time.
There you have it. Be sure to watch the video to hear straight from Deniz how to use his full-fledged, easy-to-use research process framework.
And of course, use the template once you’re ready to dive into your own research.


