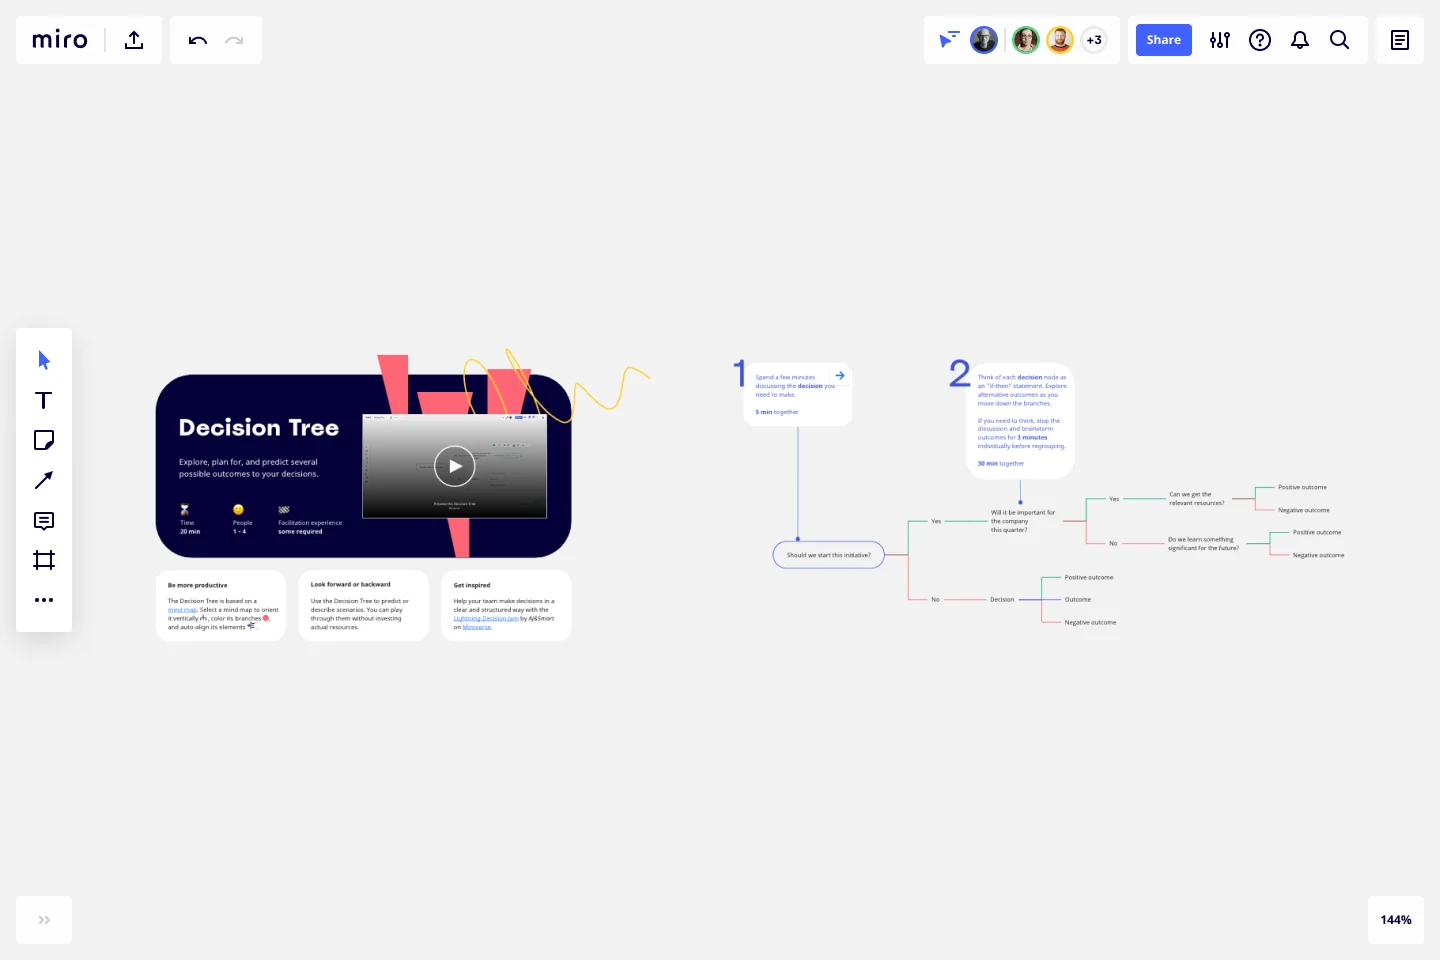
Decision Tree Template
Explore, plan and predict several possible outcomes to your decisions with Miro's decision tree template.
Trusted by 65M+ users and leading companies


About the Decision Tree Template
The decision tree template (also known as a decision tree diagram template) is a ready-to-use flowchart template meant to help teams make decisions more effectively, namely by exploring all possible options and outcomes. The name “decision tree” refers to the way a tree is built, where your flowchart is “rooted” in one central topic, each “branch” represents a decision you could make about it, and each “leaf” represents a potential outcome of that decision.
But the branches don’t have to stop growing once you’ve identified its leaf. If an outcome leads to another action you could take, the decision tree template makes it easy to branch out from a leaf as many times as you need. In other words, the template is infinitely scalable, allowing you to explore as many angles as needed to solve your overarching problem as thoughtfully as possible.
Benefits of using a decision tree template
Using a decision tree template will save you time from having to build a flowchart from scratch, allowing you to dive straight into the problem-solving process. Plus, with Miro’s real-time collaboration features, you and your teammates can build a comprehensive decision tree together at the same time, within the same decision-tree maker — even if you aren’t all in the same room.
Filling in this decision tree template not only helps with filtering through multiple ways to solve a problem but also with identifying potential pitfalls and blockers in advance. Because of that, it’s especially beneficial for smaller teams with fewer resources. When it’s particularly challenging to get financial buy-in from senior stakeholders, building a decision tree helps you and your team make major commitments with confidence by carefully weighing all your options.
Enterprises and larger companies stand to benefit from the decision tree template too. Some key use cases include identifying new market opportunities and determining product viability. You might even use a decision tree to narrow down a list of solutions worth test-driving before presenting one to senior stakeholders.
The bottom line is that it’s for anyone tackling a problem with multiple possible solutions, wanting to identify the best approach based on their unique circumstances.
How to use Miro's decision tree template
Ready to fill in Miro’s decision tree template? Here are six steps to help you make the most of it:
Step 1: Define your question
First, open the decision tree template by scrolling to the top of this page and clicking on the “Use template” button. That’ll take you straight to the template in Miro, allowing you to start filling it in.
Once you’ve opened it, start by adding your central question or problem you want to solve to the oval on the lefthand side of the template, replacing the pre-filled text with your own. For example, if you’re trying to decide between different companies to partner with, write down “What company should we partner with?”
Step 2: Fill in the branches
Now, it’s time to branch out from your central theme. Edit the text along the first set of red and green connection lines by entering the initial decisions you could make. Sticking to our company partnership example from Step 1, replace the text that says “yes” along the green line with “Company A” and the text along the red line with “Company B.” Want to add more branches so you can consider more than two companies? Hover over the oval where you wrote your central theme to reveal the + button, then click on it. You’ll then see a new branch appear.
While the branches in this template grow horizontally toward the right, you can edit the template to have them grow vertically or even toward the left if you prefer.
Step 3: Fill in the leaves
You’ll notice that the initial decisions you added in Step 2 each branch out into more red and green lines. The text boxes at the end of these lines are the leaves; they’re your chance to identify any possible outcomes of your decisions. Not quite sure what to write here? Just think of them as the product of if-then statements.
For example, if you decide to partner with Company A, then you might need to think about whether you have the resources to do so. In this case, edit the text box that appears down the path of partnering with Company A and write, “Do we have the resources?” Similarly, partnering with Company B might require you to consider brand impact. In this case, edit one of the text boxes branching out of Company B and write, “How will it impact our brand?”
Step 4: Fill in more branches and leaves
Remember, the decision tree template is yours to customize. That means you can add as many branches and leaves as you need to identify the best possible decision. And since the outcomes we identified in Step 3 resulted in more follow-up questions, it’d make sense to answer them by branching out again.
For example, the follow-up question for choosing Company A is, “Do we have enough resources?” So fill in the text boxes along its red and green branches on the right to provide alternative answers. In this case, the template already comes with relevant pre-filled text to answer that question: “yes” and “no,” but feel free to edit the text or add more branches as needed.
As for their outcomes, remember to think of these as products of if-then statements. So if the answer is yes – meaning you have the resources – you could edit the text at the end of that branch to say, “Then we partner with Company A.” In this case, you’ve created a leaf that also happens to answer the original question. So feel free to delete any unnecessary branches and leaves to the right.
If you’re not sure whether you need to branch out more, take a few minutes to discuss possible follow-up questions and outcomes with your teammates.
Step 5: Final check
Before you conclude your decision tree and identify a final outcome, review the template to see that you’ve answered every possible question by making sure each branch has at least one leaf. In other words, you’re making sure you’ve worked through all “if-then” statements. When you’re done, align with your teammates on the best outcome of your decision tree.
Step 6: Double-check with stakeholders
When you’ve identified your key takeaway from the decision tree exercise, share it with your stakeholders to get them on board. Use the tree to talk through the pros and cons of your decision, identify valuable alternatives, and build out additional branches as needed based on any feedback you get.
The decision tree is only one example of a methodology for decision-making. if you'd prefer to diagram from scratch, get started with Miro's tree diagram maker and collaborate with your team.
What are the benefits of using Miro’s decision tree template?
Using Miro’s decision tree template comes with many unique benefits. With real-time collaboration features, you and your teammates can build your decision tree in Miro together at the same time, even if you aren’t in the same room. It’s also easy to add images, videos, or any other documents you need. You can even embed Google Documents, Spreadsheets, or Slides, saving you time from having to copy and paste any important notes. When you’re ready to share your completed Decision Tree Template, you’ll get to choose between multiple ways to do that — including exporting it as a PDF or sharing it using a link. You can also invite team members and stakeholders to share their thoughts by commenting directly on your Miro board.
Can I customize a decision tree template to suit my needs?
Yes. The decision tree template is meant to help you kickstart the problem-solving process by saving you time on creating a flowchart from scratch. But what you want to add to it, how much you expand on it, or even what you want it to look like is up to you. Using Miro’s decision tree template, you’ll have plenty of customization options like being able to adjust the thickness or color of your connection lines and shapes. You can even change your Miro board’s background color. That means you not only get to customize how detailed your decision tree is but also its entire look and feel. This is especially helpful if you prefer to keep your decision trees in line with brand colors and styles.
Get started with this template right now.
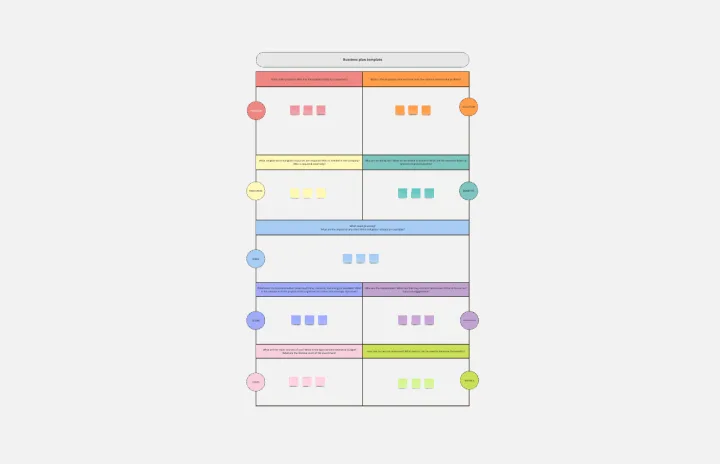
Business Plan Template
Works best for:
Strategy & Planning
The Business Plan Template not only streamlines the complex task of crafting a business plan but also enhances collaboration and creativity. Whether you're a seasoned entrepreneur or just starting, Miro's Business Plan Template offers a practical, comprehensive solution to turn your business ideas into actionable strategies.

Product Roadmap (Now, Next, Later, Trash)
Works best for:
Planning, Mapping
The Product Roadmap (Now, Next, Later, Trash) template allows teams to organize their product development initiatives into four distinct categories: current priorities, upcoming features, future plans, and discarded ideas. By visualizing the roadmap in this manner, teams can maintain focus on immediate objectives while keeping an eye on future opportunities and managing stakeholder expectations effectively.
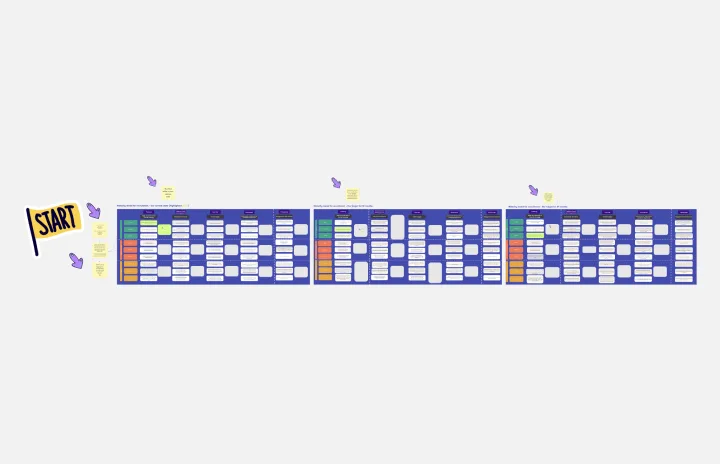
Recruitment Strategy Roadmap
Works best for:
Roadmap, Planning, Mapping
The Recruitment Strategy Roadmap template helps organizations plan and execute their talent acquisition initiatives effectively. It provides a structured framework for identifying hiring needs, sourcing candidates, and evaluating recruitment channels. By aligning recruitment efforts with business objectives, organizations can attract and retain top talent, driving organizational growth and success.
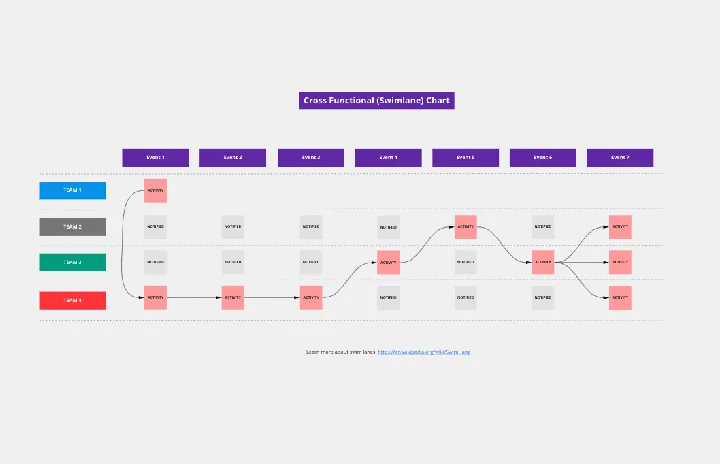
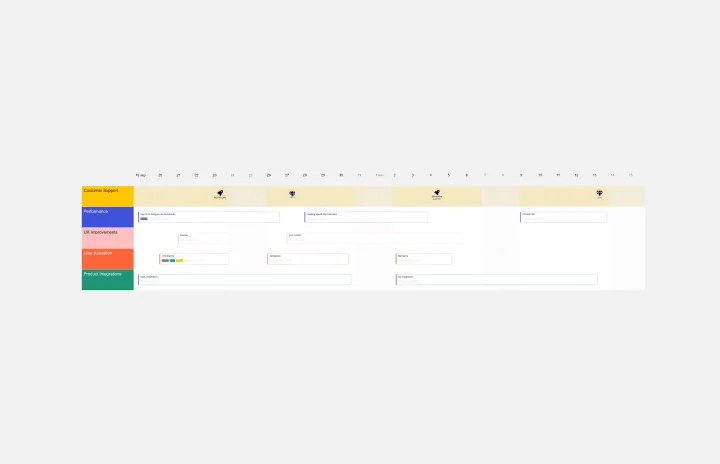
Cross Functional (Swimlane) Chart
Works best for:
Flowcharts, Mapping, Diagrams
The Cross Functional (Swimlane) Chart template offers a visual tool for mapping out processes or workflows with multiple stakeholders or functional areas. It provides swimlanes for organizing tasks and responsibilities by department or role. This template enables teams to visualize process flows, identify handoffs, and improve coordination and collaboration across functions. By promoting transparency and accountability, the Cross Functional (Swimlane) Chart empowers organizations to streamline workflows and drive cross-functional alignment effectively.
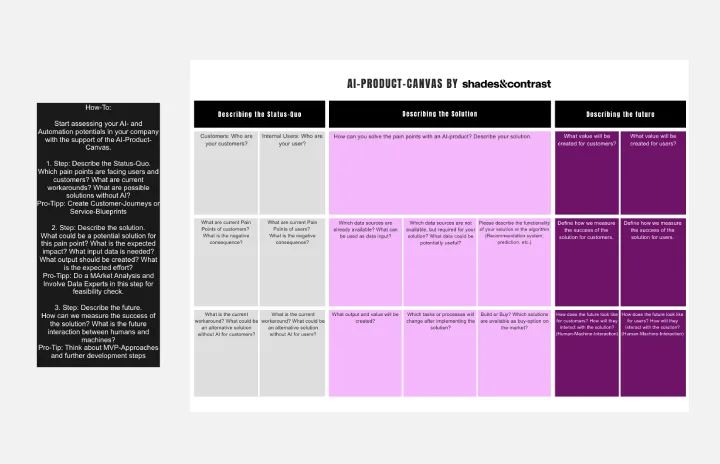
AI Product Canvas
Works best for:
Product Management, Planning
The AI Product Canvas template facilitates the development of AI-powered products with a comprehensive framework. By defining AI capabilities, data requirements, and ethical considerations, this template guides teams through the AI product development process. With sections for identifying use cases, defining algorithms, and assessing model performance, it ensures that AI solutions meet user needs and ethical standards. This template serves as a strategic guide for developing innovative AI products that deliver value and drive business success.
Product Development Roadmap Template
Works best for:
Product Management, Software Development
Product development roadmaps cover everything your team needs to achieve when delivering a product from concept to market launch. Your product development roadmap is also a team alignment tool that offers guidance and leadership to help your team focus on balancing product innovation and meeting your customer’s needs. Investing time in creating a roadmap focused on your product development phases helps your team communicate a vision to business leaders, designers, developers, project managers, marketers, and anyone else who influences meeting team goals.